Remove background from image Use Magic Wand Tool

Contents
Remove background from image Use Magic Wand Tool
Today i’m going to show you How to Use Magic Wand tool in adobe Photoshop cs5.
The Magic Wand tool by far one of the simplest,most basic tools in Photoshop for isolating an image.
Remove Background Using Magic Wand Tool Photoshop -Tutorial
The Magic Wand Tool in Photoshop is a selection tool used to replace, remove or edit any part of an image.
If you utilize Photoshop regularly, you may be familiar with the Magic Wand Tool and its functionality.
The Magic Wand Tool allows for quick and efficient selection of specific areas in a photo, including the ability to create a transparent background in a matter of seconds.
The magic wand tool in Photoshop is useful for making selections and replacing or removing backgrounds.
Wand Tool:
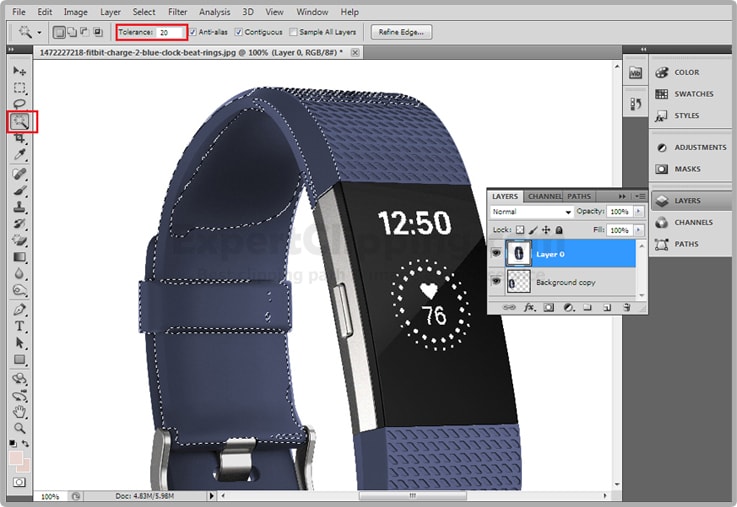
I’m gonna introduce you to where it’s at it W on the shortcut key and it’s look like here in your tools palette. Just Click on magic wand will have one magic wand symbol here and you can just clicking around and magically selecting things wherever you like.
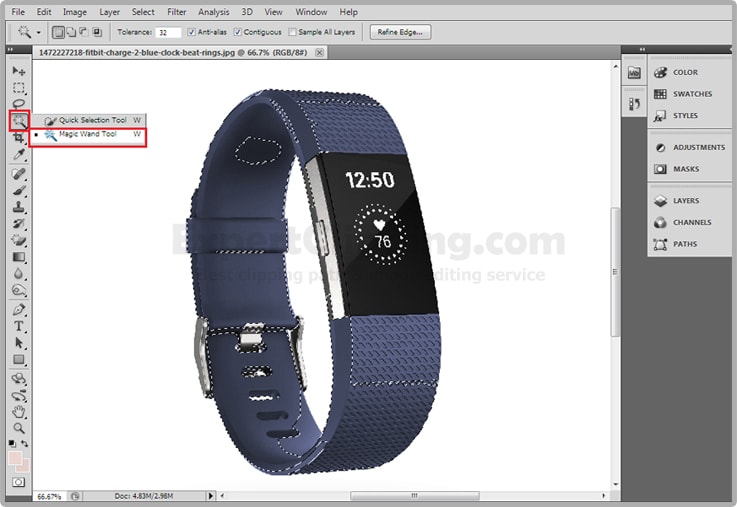
New Selection:
When you click background which isn’t difficult to do it on if you click. you’ll notice that the magic wand has selected all the area you choose with a tolerance have 32 which was preset up in the tolerance box. And it’s done a fairly good job.
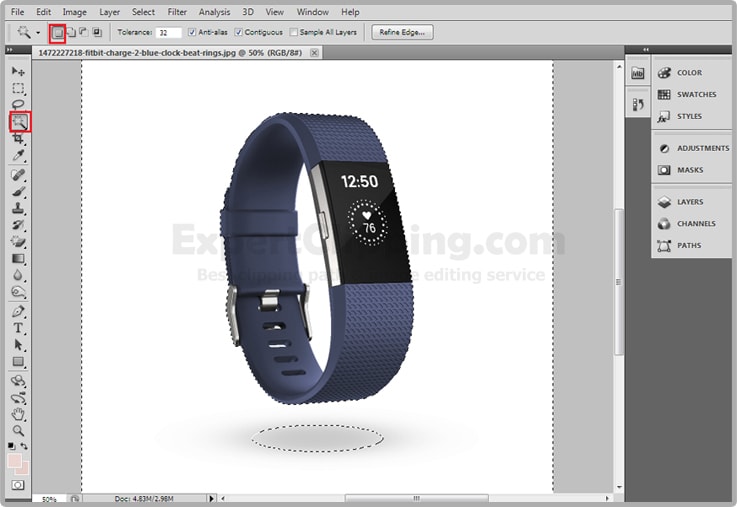
Add To Selection:
If it’s missed few parts and those parts can be added in couple of different ways you add them in by going up Add To Selection in your toolbar, And simply add the new areas you want to add. There’s actually a simpler way of doing it.
And different way is change your option and that would be after you made your main selection just hold on the shift key and click the extra areas that you need to change any option. You’ll notice whenever you’re in an deselected area and you press shift, a little plus sign will appear below the magic won allowing you to add to your selection.
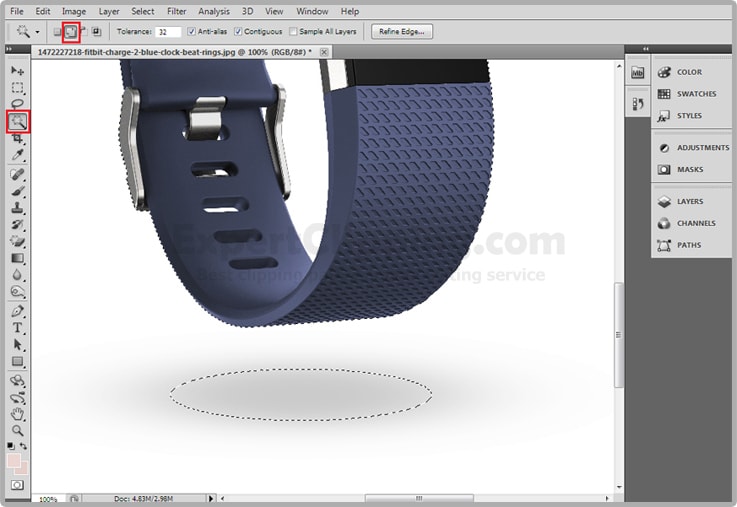
Subtract From Selection:
Conversely you’re already selection and you press alt key and you’ll be giving a negative sign which is subtraction from the current selection.
Let’s dig into some of the other functions of the magic wand tool real quick. If you want deselect this for ctrl d.
Up here you’ll noticed several options for the magic tool.most I’ve which never get touched using Photoshop. That is the really useful if you know how to adapt them.
Intersect With Selection:
It’s an interesting option that allows to make two different selections that overlapped in your end result is going to be only were the two overlaps that will be your selection. It’s usually not very useful with the magic wand tool.

Tolerance:
The Tolerance is going to be the variation the color you’re selecting.
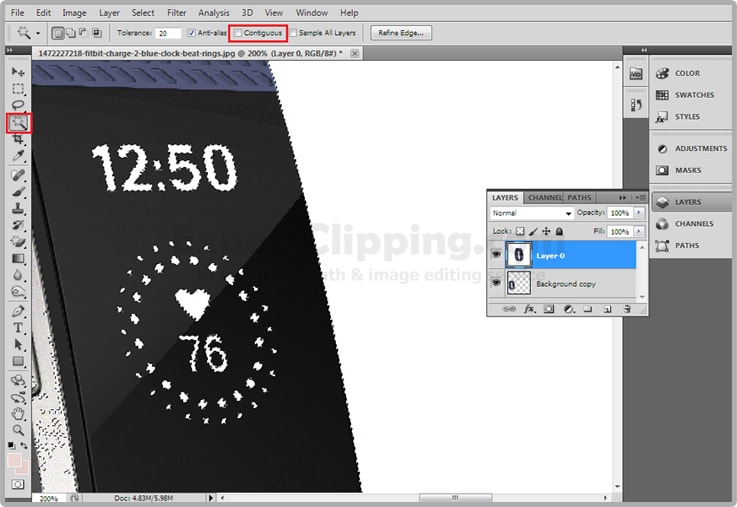
Contiguous: Contiguous is something you can deselect and try this your own click in there, and you’ll notice that is selected all the color in any image, not just in the area you clicked
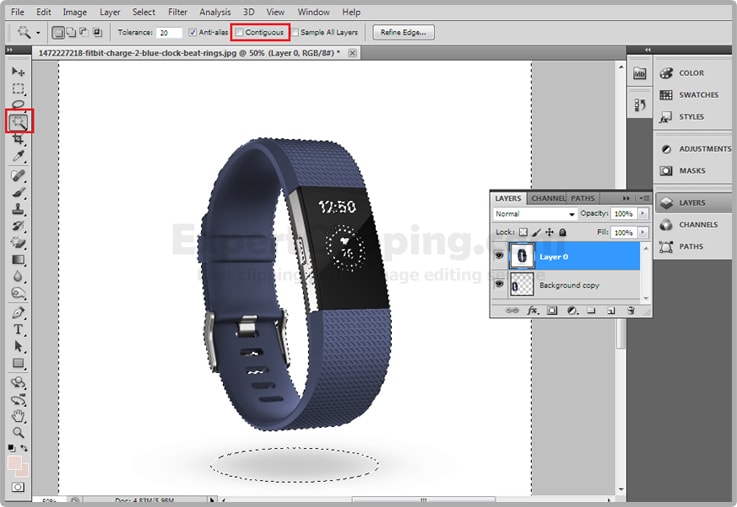
This is a really useful feature but be careful because with it deselected if you were to sample all the color in the image. You’ll get anything that falls within that tolerance which might end up cutting out some of your image.
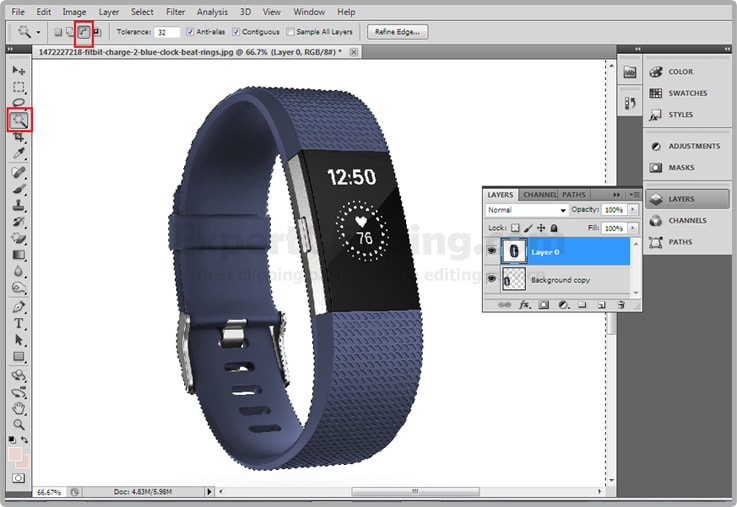
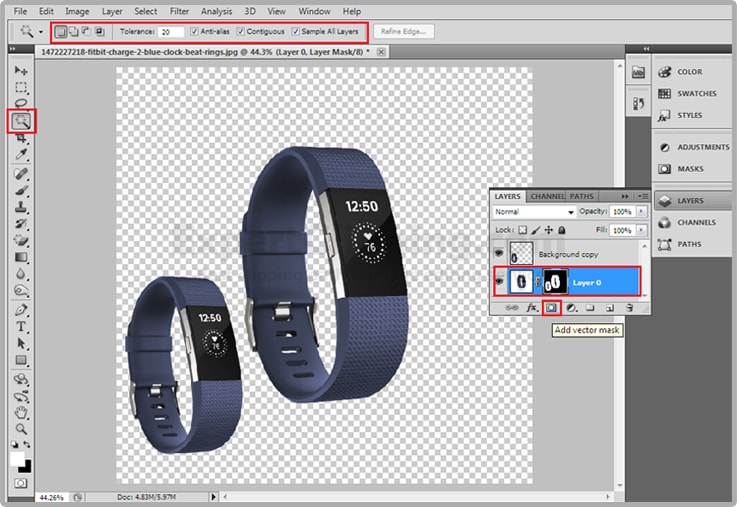
Sample All Layers:
It’s useful if you’re on a multi-layered document. It didn’t even register that this back image was there if you you select your current layer.
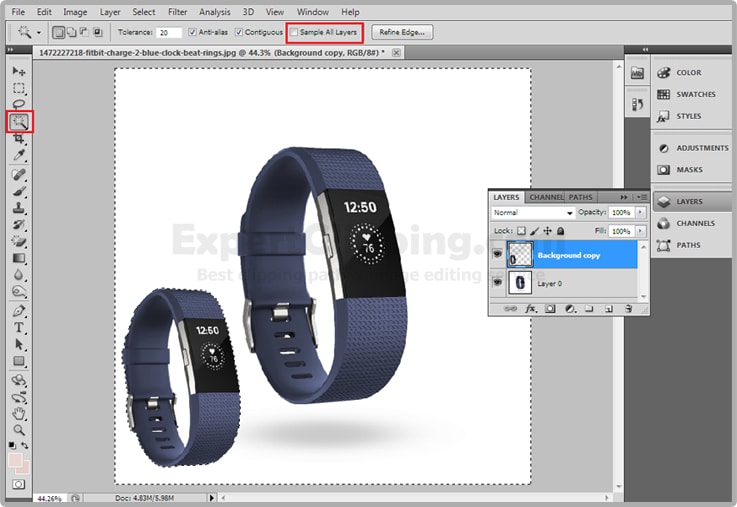
If were to click sample all layers then click again you would then get a selection love that area on all the layers including the ones below and above the picture you working on.

Lets mask it out just using the mask tool add a layer mask down here at the bottom. And you’ve isolated it and it’s now on a transparent background and it’s really be dropped over into another image.
How To Remove Background From Image Video
Expert Clipping is one of the best image editing company & photo editing services which has a large number of professional image editors working specially for it. These image editors have been selected after examining a lot of different images edited by them and it has been noticed that Image background removing is one of those areas in which these professional image editors of Expert Clipping are extremely good. As it has already been told that Image background removing is not an easy work to do but in fact it is a very complicated process which involves a great attention and concentration along with a great experience.
What is the Magic Wand Tool?
The Magic Wand tool is a selection tool commonly found in graphic design and photo editing software. It allows users to select areas of an image based on their color or tone, making it a powerful tool for quick and accurate selections. The tool works by selecting pixels with similar characteristics to the one clicked, making it particularly useful for images with distinct areas of color or tonal variation. The Magic Wand tool often includes options for refining selections, such as adjusting the tolerance level or selecting contiguous or non-contiguous areas. Overall, the Magic Wand tool is an essential tool for designers and photo editors looking to quickly select and edit specific areas of an image.
When to Apply the Magic Wand Tool in an Image?
The Magic Wand tool is an excellent choice for selecting areas of an image based on color or tonal variations. It is particularly useful when you need to select large areas of an image quickly and accurately. For example, if you have an image of a blue sky against a green landscape, you can use the Magic Wand tool to select the sky with just a few clicks. It is also useful for removing unwanted elements from an image, such as a background or a specific object. However, the Magic Wand tool may not be the best option for more complex selections or images with subtle color or tone variations. In such cases, other selection tools may be more suitable.
How To Remove Image Background with Photoshop Magic Wand Tool?
To remove the background of an image with the Magic Wand tool in Photoshop, first select the Magic Wand tool from the toolbar. Then click on the background to select it. Adjust the tolerance level as needed to ensure that the entire background is selected. Once the background is selected, press delete to remove it. Finally, save the image as a PNG file to preserve the transparency of the background. This method works best with images that have a clear contrast between the subject and the background.
Join our Facebook, Youtube, Google+, Twitter page to learn more video


Leave a Reply
Want to join the discussion?Feel free to contribute!