Posts

, ,

Ultimate Guide to Clothing Photography: Capturing Fashion in its Finest Form

Welcome to our comprehensive guide on clothing photography, where we unveil the secrets to capturing fashion in its finest form. At [Our Company Name], we understand the significance of visually appealing content that showcases clothing products in the best light possible. In this guide, we will provide you with expert insights, tips, and techniques that will help you excel in clothing photography and outrank other websites. So, let’s dive in and discover the art of creating stunning visuals that leave a lasting impression!

  1. The Importance of Clothing Photography

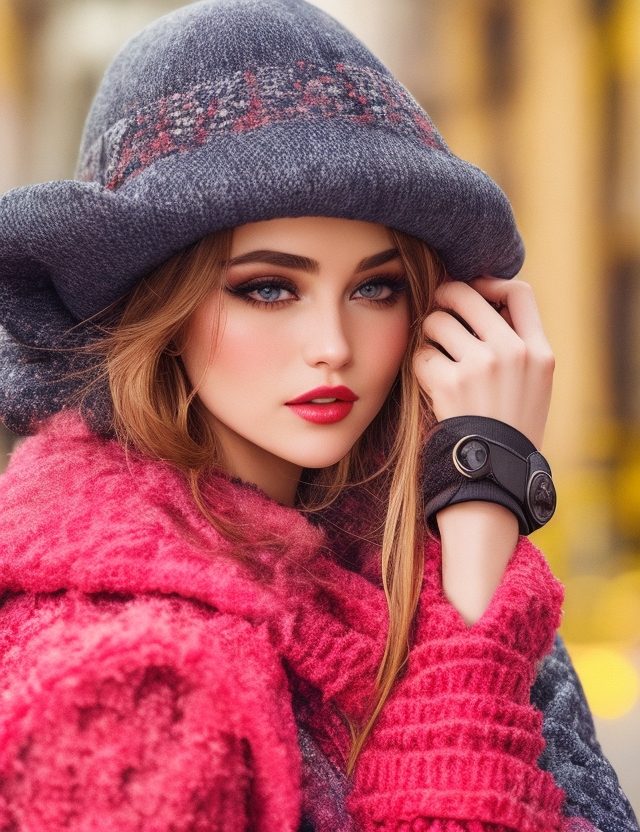
Clothing photography plays a pivotal role in attracting customers and driving sales. High-quality images can make or break a buyer’s decision when browsing online. By investing time and effort into your clothing photography, you can enhance your brand’s reputation, engage your audience, and ultimately increase conversions.

  1. Preparing for a Clothing Photoshoot

Before you start capturing breathtaking images, it’s essential to prepare adequately for a clothing photoshoot. Here are some crucial steps to follow:

2.1 Conceptualizing Your Vision

Begin by defining the style and mood you want to convey through your clothing photography. Consider your target audience, the clothing’s characteristics, and the desired emotional response. This step sets the foundation for a successful photoshoot.

2.2 Choosing the Right Location

Selecting the appropriate location can significantly impact the outcome of your clothing photography. Whether you opt for a studio setup or an outdoor setting, ensure that the backdrop complements your clothing and aligns with your vision.

2.3 Assembling the Necessary Equipment

Clothing Photography Tips

To achieve professional results, you’ll need the right equipment. Here’s a list of essential items:

  • High-resolution camera (DSLR or mirrorless)
  • Quality lenses (standard, wide-angle, and macro)
  • Tripod for stability
  • Lighting setup (studio lights or natural light modifiers)
  • Reflectors and diffusers for controlling light
  • Mannequins or models (depending on your approach)
  • Steamer or iron for wrinkle-free clothing

2.4 Styling and Preparing the Clothing

Before the shoot, ensure that the clothing items are in pristine condition. Remove any tags, straighten seams, and eliminate wrinkles. Pay attention to small details that can make a significant difference in the final images.

  1. Mastering Composition and Lighting

Composition and lighting are two critical elements that can transform an average photograph into a captivating masterpiece. Let’s explore how to harness these factors effectively:

3.1 Composition Techniques

  • Rule of Thirds: Divide your frame into a 3×3 grid and place key elements along the intersecting lines for a balanced composition.
  • Leading Lines: Utilize lines to guide the viewer’s eyes towards the clothing, creating a visually engaging image.
  • Framing: Use objects in the foreground or background to frame the clothing and draw attention to the focal point.

3.2 Lighting Considerations

  • Natural Light: Make the most of diffused natural light by shooting near a large window or in an outdoor environment during the golden hour (early morning or late afternoon).
  • Studio Lighting: Control the lighting setup to highlight the clothing’s texture and colors. Experiment with soft boxes, umbrellas, or beauty dishes for desirable effects.
  • Avoiding Harsh Shadows: Use reflectors, diffusers, or additional light sources to soften harsh shadows and create a more balanced lighting setup.
  1. Showcasing Clothing Details

When it comes to clothing photography, showcasing the intricate details is crucial. Here’s how you can bring out the best in your clothing items:

4.1 Focus on Textures

To capture the texture of fabrics, use macro lenses and ensure proper lighting. Zoom in on specific areas of the clothing to highlight unique patterns, weaves, or embellishments.

4.2 Accentuating Colors

Colors play a vital role in clothing photography. Use complementary color schemes to make the clothing pop. Experiment with various lighting techniques to accurately represent the hues and tones of the garments.

4.3 Displaying Fit and Silhouette

To provide an accurate representation of how the clothing fits, consider using models or mannequins. Experiment with different poses and angles to capture the silhouette effectively.

  1. Post-Processing and Optimization

Once you’ve captured stunning images, it’s time to fine-tune them and optimize for the web. Follow these steps for optimal results:
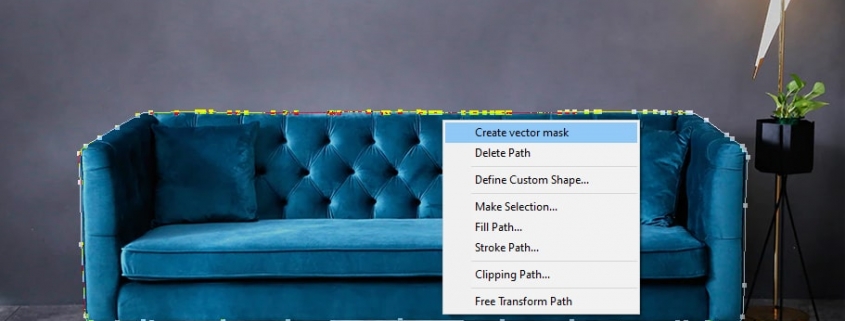
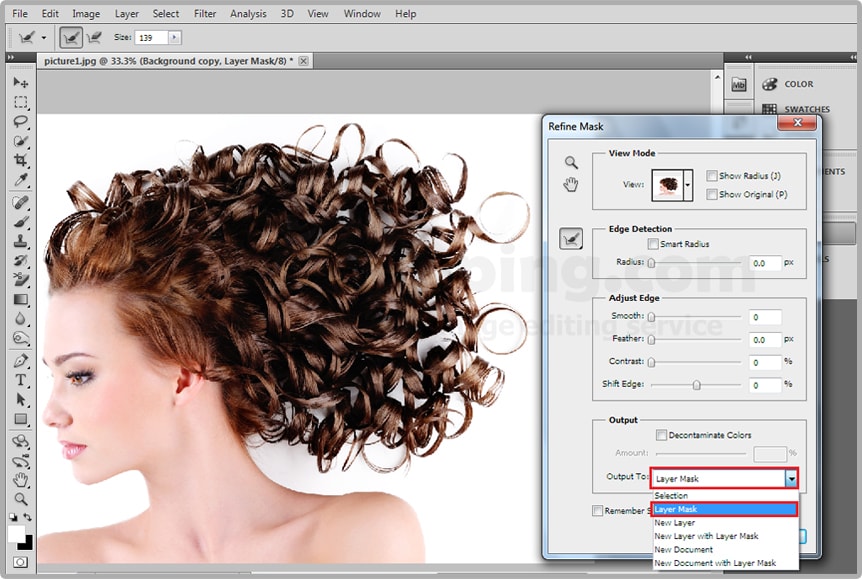
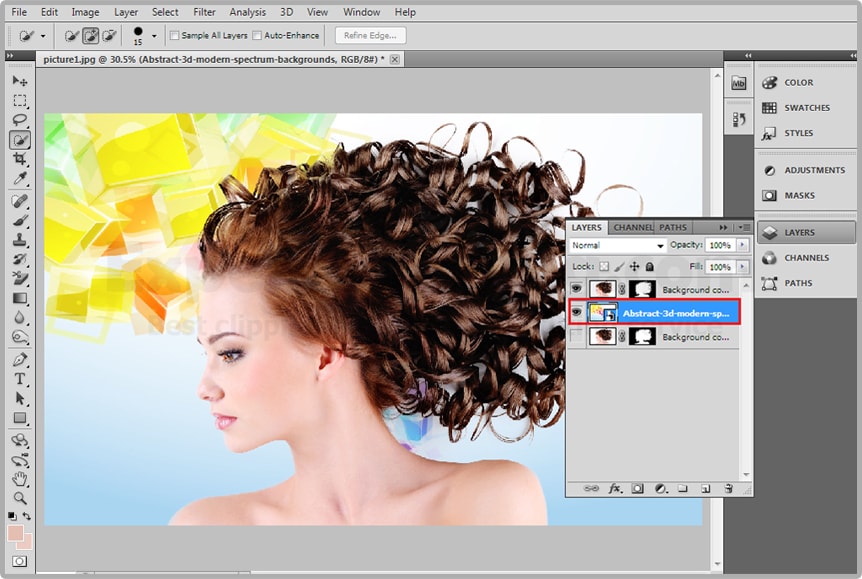
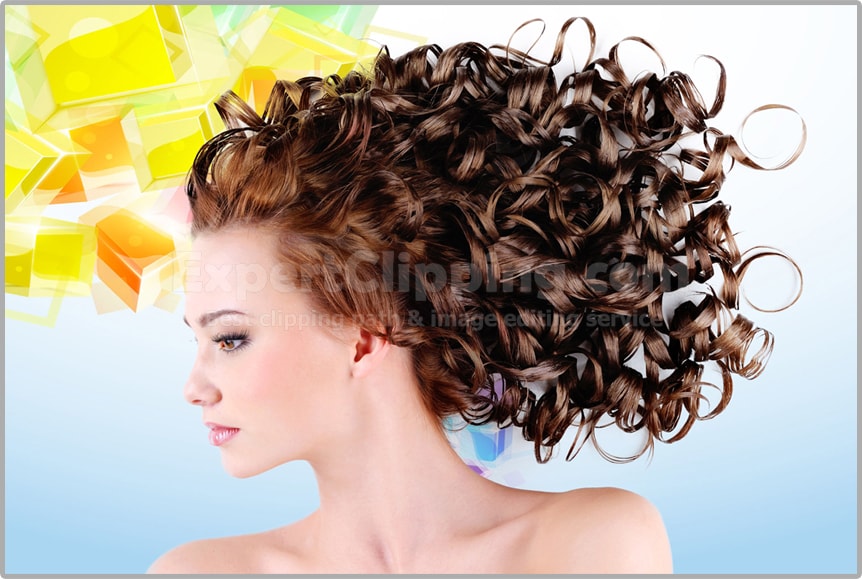
5.1 Image Editing

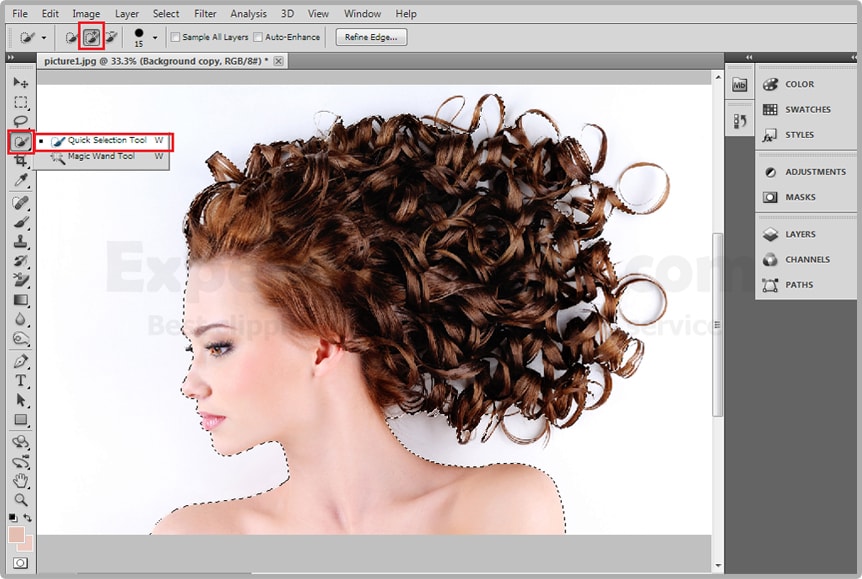
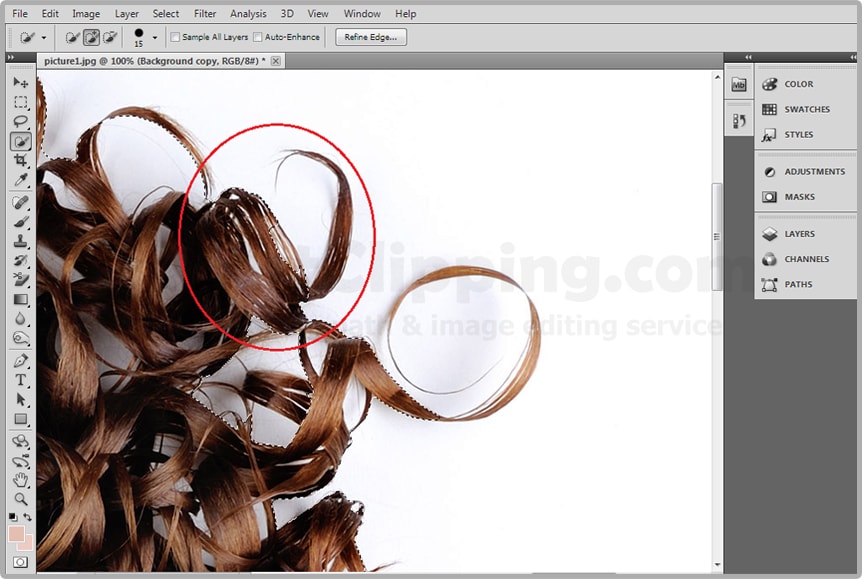
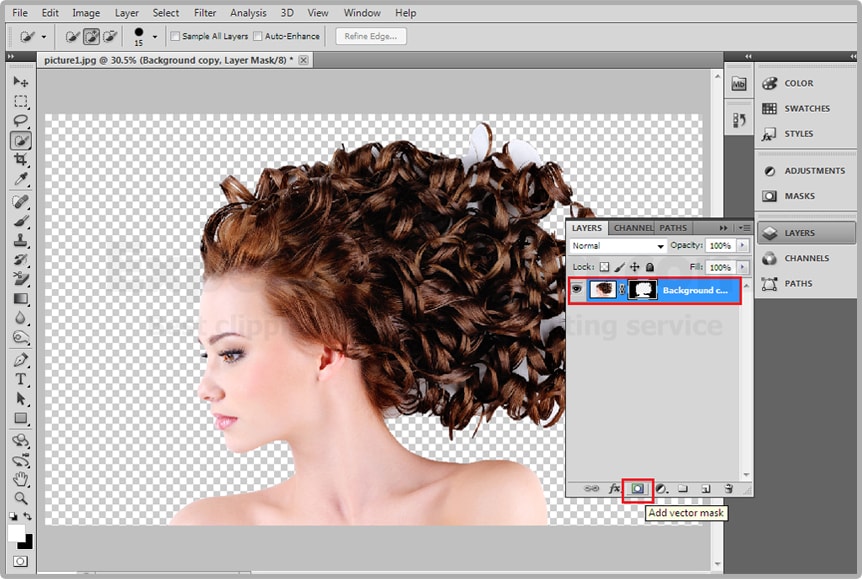
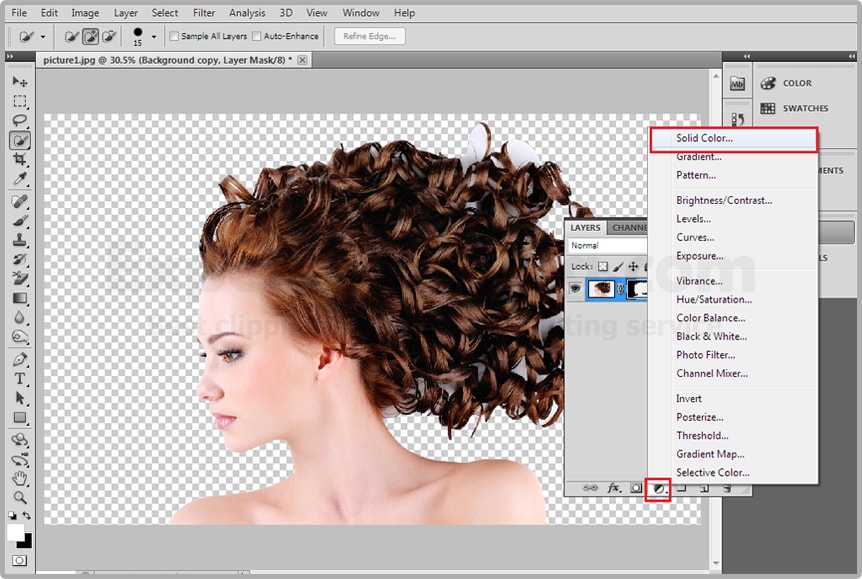
Use professional image editing software, such as Adobe Photoshop or Lightroom, to enhance your photographs. Adjust colors, remove imperfections, and ensure consistency throughout your clothing collection.

5.2 Image Optimization for the Web

Before uploading your images to your website, optimize them for web usage. Compress the files without sacrificing quality to improve loading times. Additionally, provide descriptive file names and alt tags that incorporate relevant keywords.

Clothing Photography Guide

Conclusion

Congratulations! You are now equipped with the knowledge and insights needed to excel in clothing photography. By following the guidelines outlined in this ultimate guide, you can create captivating visuals that set your website apart from the competition. Remember to continuously refine your skills, stay updated with industry trends, and always strive for excellence. Best of luck in outranking your competitors and achieving the recognition your clothing photography deserves!

Learn How To Choose Good Clipping Path Service

Clipping Path Service Provider – Photo Editing Retouching Service Provider Outsourcing Company

If you are looking for clipping path service provider, we can help you. We provide clipping path service to our clients in a very professional way with all the necessary materials and equipment that is required by us.

Retouch & clipping path within budget and time

The clipping path service can help you to create clipping paths in Photoshop, Illustrator and InDesign. You will have the clipping path as a vector file that you can use later on for the design of your website or print project. The Paths are easy to edit, so there is no need for an expert graphic designer!

How To Choose the Best Service

Clipping path is an important part of clipping path service. Clipping paths are created to cut the image and send it to clipping software like Adobe Photoshop, Corel Draw or Gimp. This process helps in creating a new file from existing one by selecting certain parts of the image and making some adjustments as per your need.

Clipping Path Services & High Volume Photo Editing

Clipping Path Services is a company that offers clipping path services and high volume photo editing. Clipping path service enables you to create clipping paths for any type of product or service that can be used in print, web, mobile apps and more. The clipping paths are created by tracing the objects on your image using a white pen or marker while they’re still wet after being scanned into the computer from film negative or digital camera images. We offer our clipping path services at a very affordable price. We offer 360° and Pup Mod images for photo manipulation conversion.

We offer a one stop solution to all your specific needs. Our team has expertise in photo editing, photo retouching and video editing
service.

We make full use of the latest in hardware technologies to provide the best quality services with very less turnaround time, we also have an experienced team of coaches who can help you learn professional Photoshop image editing ,copy and paste path services at a reasonable price without spending a lot on unnecessary teaches .

It is important to create high-quality product images. Professional users invest in expensive products, and as a result, they are looking for good quality product photos that portray the quality of their products.

Thanks for reading.

, ,

How To Cut Out Hair From Image In Photoshop

Cut Out Hair From Image In Photoshop

Cut Out Hair From Image In Photoshop

Today i’m going to show you how to cut out every single hair from your image by using this method.

First of all i’d like to use my quick selection tool as you can see the top of your tool palette And make of selection like you.

cutouthairec-1-min

If you made a selection of her body properly, but the hair doesn’t have to accurate like. The basic of the selection would work just fine.

cutouthairec-2-min

Once this thing is has select your Add Vector Mask option for mirror and click bottom of your layer. It will apply a layer mask. 

cutouthairec-3-min

If you actually see the image properly go to and create a solid layer from Create new fill or adjustment layer>Solid Layer And choose a color you like it. Now put this under your layer so now you can see your chosen solid color in your image background

cutouthairec-4-mincutouthairec-5-mincutouthairec-6-min

Now you can see your background color fringing and her hair doesn’t look really good after that you need to select your mask not the image, then right click on that and select refine mask now the refine mask first of all check the option smart radius  after that make the radius full 100% actually it 250% and after that you need to still get rest of the remaining hair’s like you.

cutouthairec-7-mincutouthairec-8-min

Now click this option Decontaminates Color and give it sometime night it doesn’t do anything, to take it right way and you can got rid of that and it’s looks like magic. And now you can hit ok, and you can explore further options.
cutouthairec-9-mincutouthairec-10-min

Now bitter reality and if you don’t how this kind of different layer after hitting OK. Here’s the trick right click refine mask whenever you hit OK make sure this layer mask option selected and then it OK.
cutouthairec-11-min

And you completely remove the every single hair from images like you, and you can delete the solid color layer from your layer bar and you can add another image in your background like you.

cutouthairec-12-min
cutouthairec-14-min

Thanks for seeing it. I’ll show you another tutorial in my next lesson on adobe Photoshop you’re invited to see it,

If you have any question please comment…

How To Cut Out Hair From Image In Photoshop Video

Expert Clipping  is one of the best image editing company & photo editing services which has a large number of professional image editors working specially for it. These image editors have been selected after examining a lot of different images edited by them and it has been noticed that Image background removing  is one of those areas in which these professional image editors of Expert Clipping are extremely good. As it has already been told that Image background removing is not an easy work to do but in fact it is a very complicated process which involves a great attention and concentration along with a great experience.

Clipping Path is a photo editing technique which is done manually. This technique is used to cut out any unwanted background from the image. It is mostly used in image editing when you need to place your image in another context. It is also used to make editorial images. You can read more on clipping path service providers if you want to.

Before you hire any clipping path service provider, make sure you have gone through their portfolio and see samples of their work. This is the only way to see whether or not their work is up to the mark and is of the same quality as their portfolio. This is necessary because having a good portfolio is not always a good indication that they will be able to do excellent work for your business. If they have a good portfolio and can handle your job, then there is nothing stopping you from handing them a job.

Join our FacebookYoutubeGoogle+Twitter page to learn more video