How To Create Water Head Photo Manipulation In Photoshop

Contents
How To Create Water Head Photo Manipulation In Photoshop
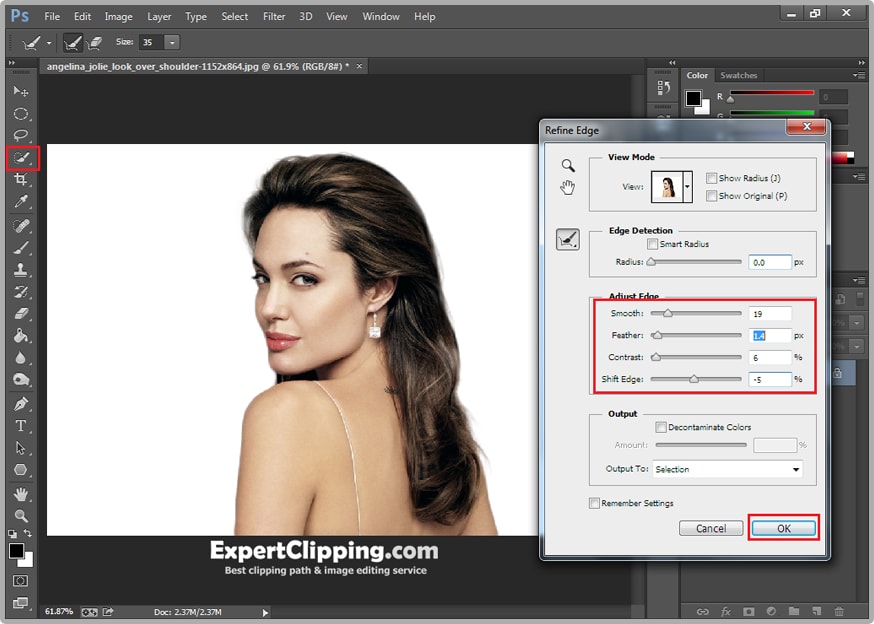
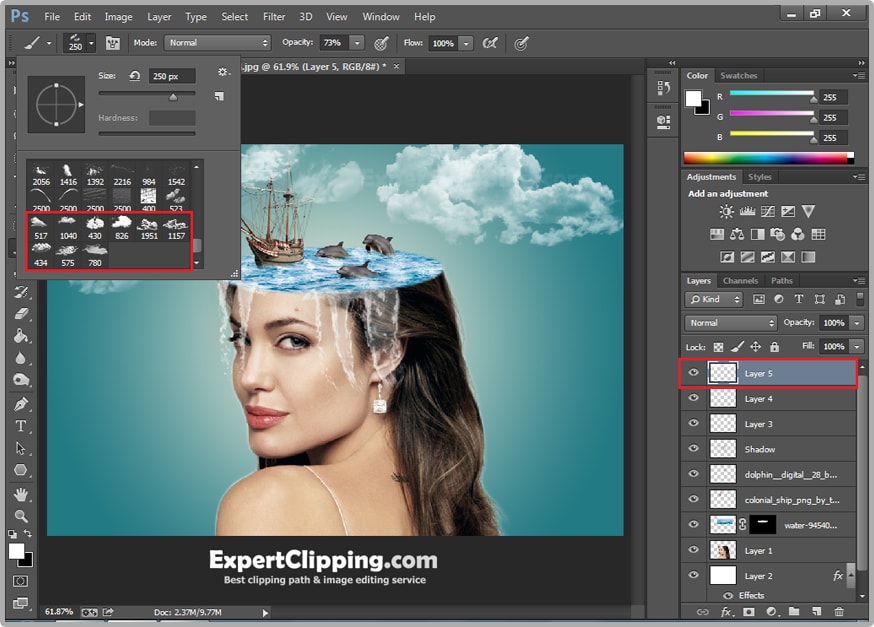
Open a photo you like to use for this project. First you need to remove the background from your image open your quick selection tool and make a selection of him. After that click on your Refine Edge option and increase the smoothness, feather, and contrast little bit. Here include How To Create Water Head Photo Manipulation In Photoshop video to learn more easy to make this manipulation work. Video include underneath the post.
After that click on your right button and Layer Via Cut now subject on the different layer. Now select your background and you can delete it. Then create a new layer and click your paint bucket tool and fill it. Then put it under your image.

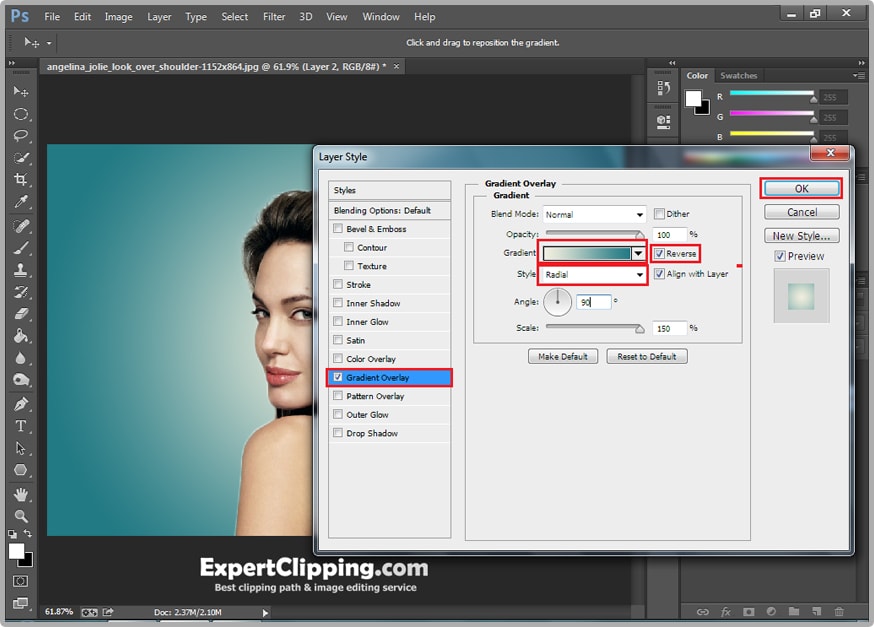
Right click on your new white layer and Blending Option. The blending option select Gradient Overlay change its style radial then click Reverse and change the gradient color you like to use.
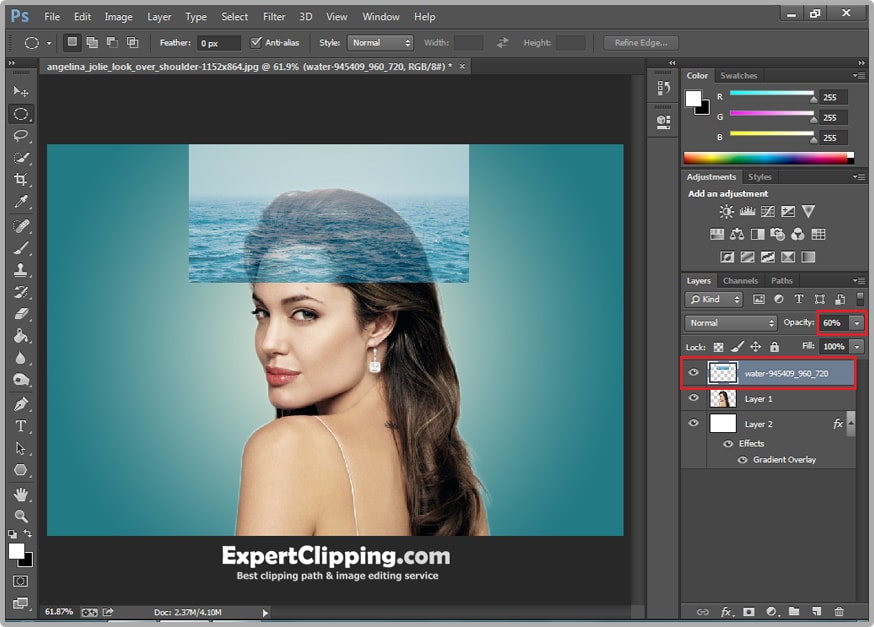
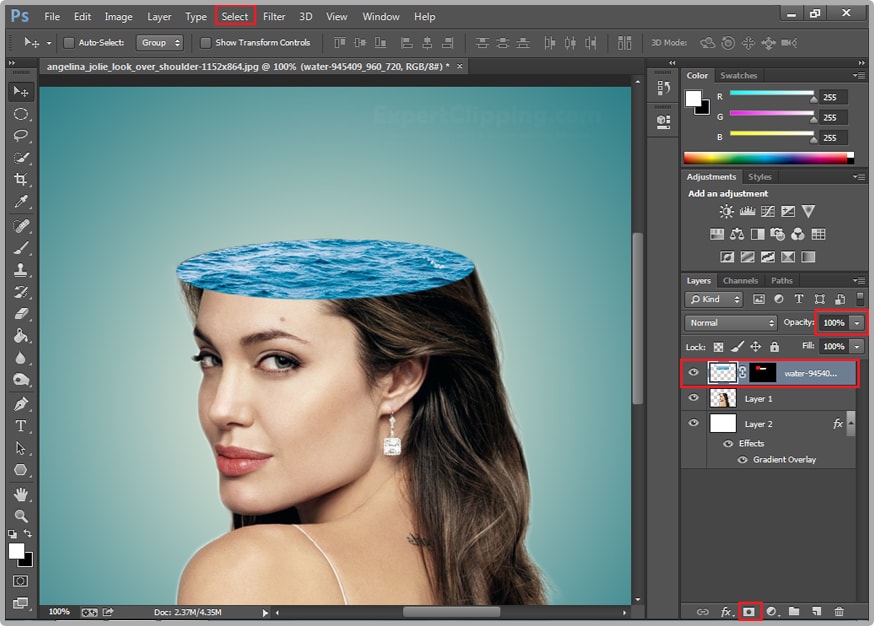
Now you can add in the water, go to file menu and place open your water images. And make this on top of your image and decrease its opacity. And make its smaller.
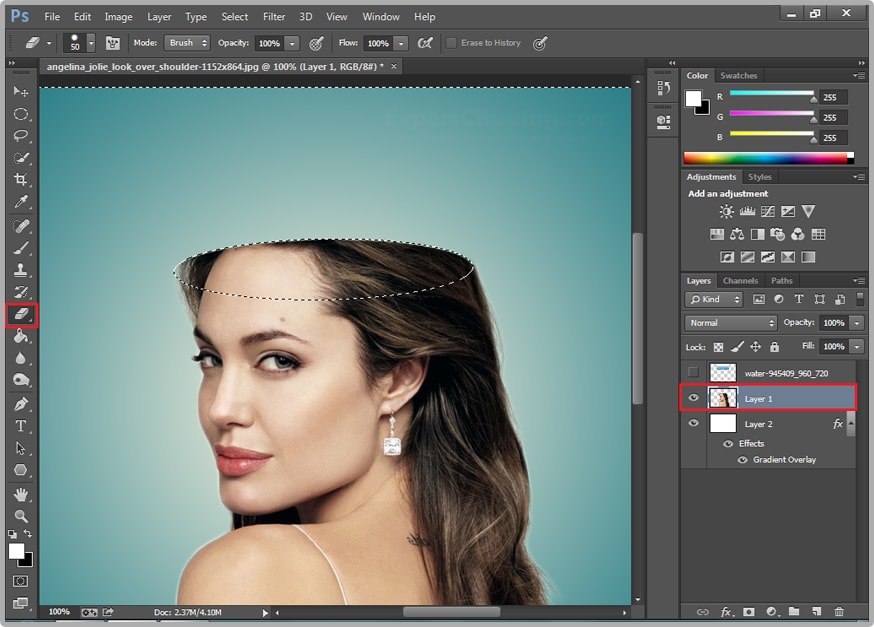
You can hide the water image. After that go and select your Elliptical Marquee Tool, and active your original image and make a selection, now you make to inverse it so to select and inverse. So you have outside area selected, open your eraser tool and erase the area that you don’t want.
Next go back your select and inverse again, active your water layer and visible. And click the layer mask option the increase its opacity to 100 percent.
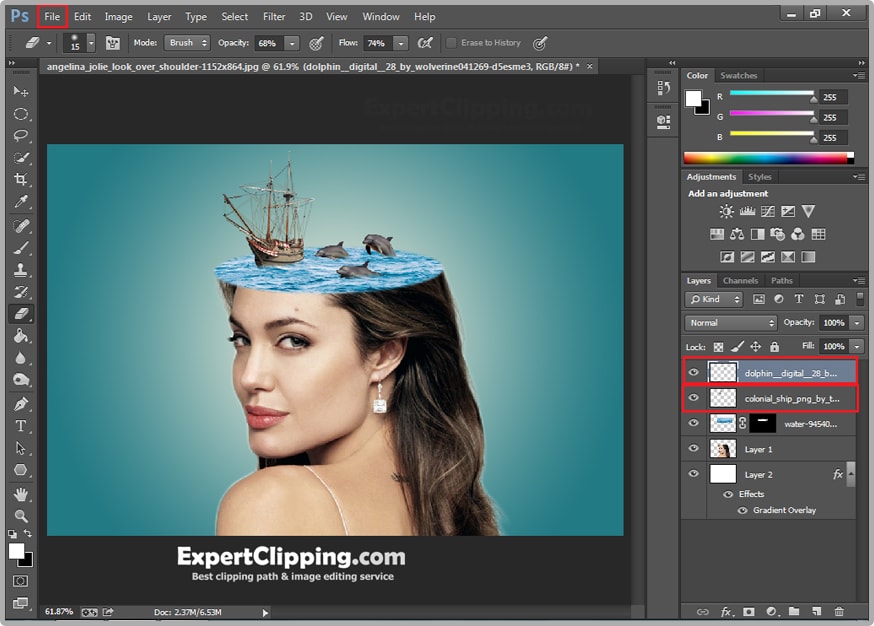
Now you can add in ship on the water, open your ship and place it where you want. Then you can add here dolphin so open it’s same as other.
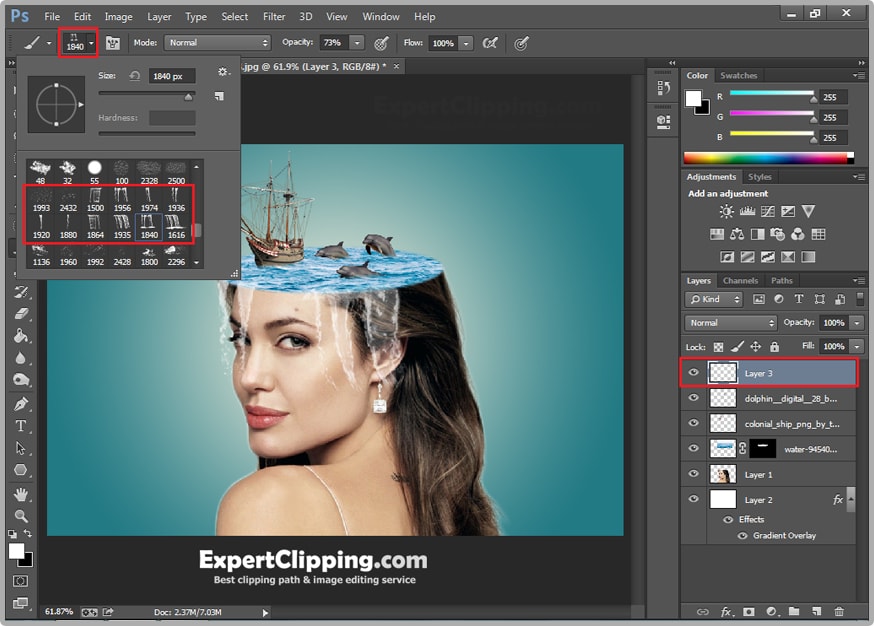
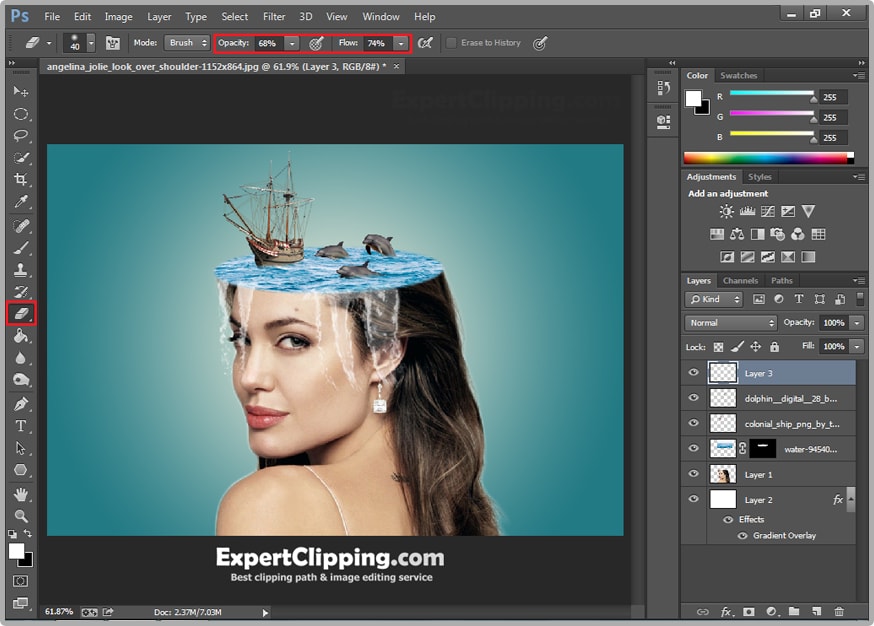
Then you can add in the waterfall you need to download a waterfall brush and install it. First go and create a new blank layer and open your brush tool and waterfall brush. Then go and do a click. You can remove some unnecessary area using eraser tool.
Now you can add in the clouds so same thing again you need to downloaded the cloud brushes then open your brush tool, create a new black layer, select the cloud brush and draw the background.
Again create a new blank layer and select your brush tool and regular brush. Make it smaller and do a click, after that create another black layer and change its color some oranges. And change its blend mode to screen.

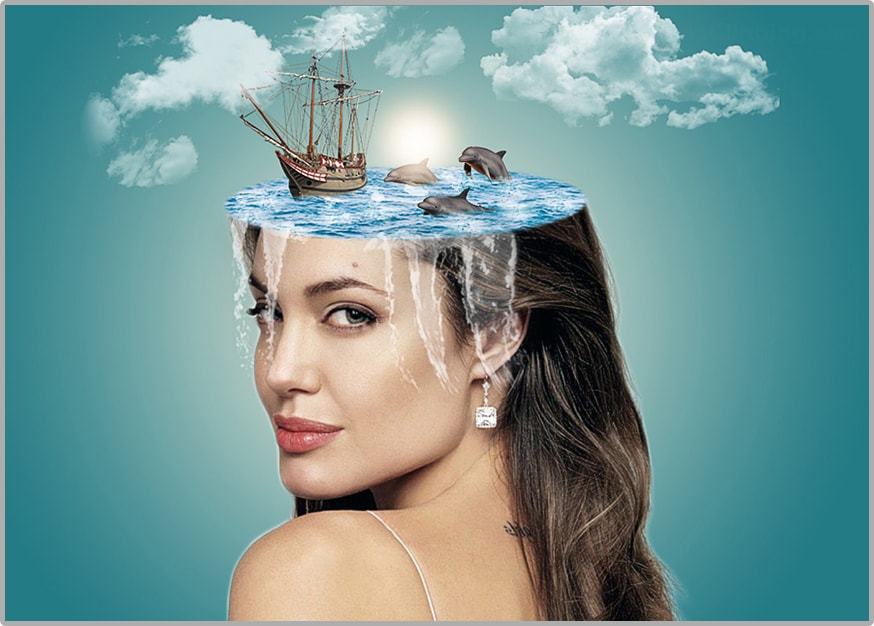
Then go to layer and flatten image. And you successfully created a water head effect.
How To Create Water Head Photo Manipulation In Photoshop Video
If You Have Any Question About This Please Comment.
We offer our services in every aspect of editing the photos such as Removing Backgrounds, Photo Retouching, Enhancing the Photo,Photo Restoration, Photo Processing, Amazon Photo editing services, Clipping Path services, Photo Collage,Masking, Cropping, Resizing Jewelry retouching, Raw/Jpg color correction and a lot more. In short, we offer any kind of services related to photo editing which you are looking for. The expert and highly professional team of Expert Clipping is confident in saying that we will shape your photo according to your imagination and we will provide you any kind of photo editing service.
Join our Facebook, Youtube, Google+, Twitter page to learn more video


Leave a Reply
Want to join the discussion?Feel free to contribute!