HOW TO REMOVE A GIRL IMAGE BACKGROUND
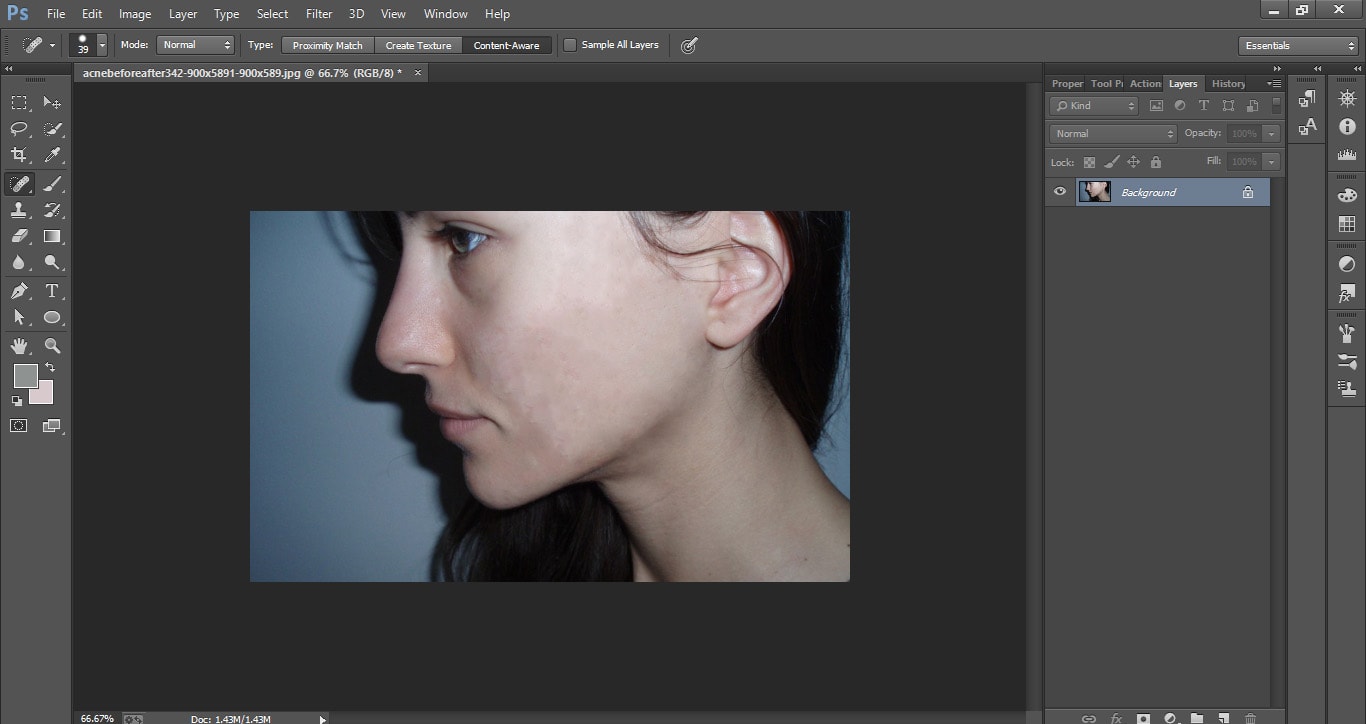
Open up your photo in Photoshop & let’s get started. All of these adjustments are 100% editable. If you want to change up the effects, absolutely go for it. I thought it would be a great example for editing.

1 The healing brush retouching will be allotted on the Background layer, on a derived Background layer or associate degree empty new layer. In this example, I selected the healing brush from the Tools panel and edited the brush style to create a hard edged brush. The brush mixing mode ought to be traditional, the supply radio button checked and ideally the Aligned box left unrestrained.
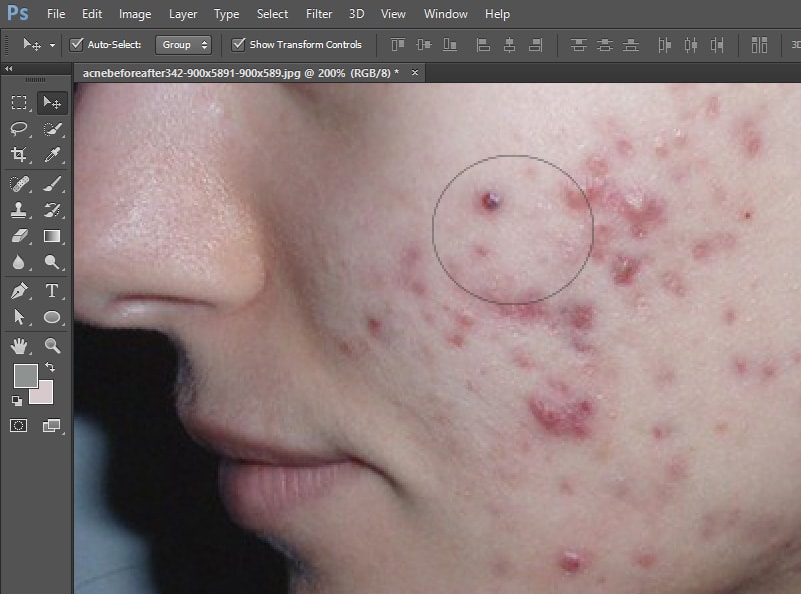
2 To use the healing brush I Option/Alt-clicked to define the source point, which in this example was a clean area of skin texture. I was currently able to retouch with the healing brush. within the example shown here, I merely clicked on the blemishes to get rid of them with the healing brush. If you are using a pressure sensitive tablet as an input device, then the default brush dynamics will be size sensitive. You can use light-weight pressure to color with a tiny low brush, and use heavier pressure to induce a full-sized brush.
3 continued using the healing brush to complete the skin tone retouching. In this example I sampled one pixel source point for the mouth areas and another to retouch the face.
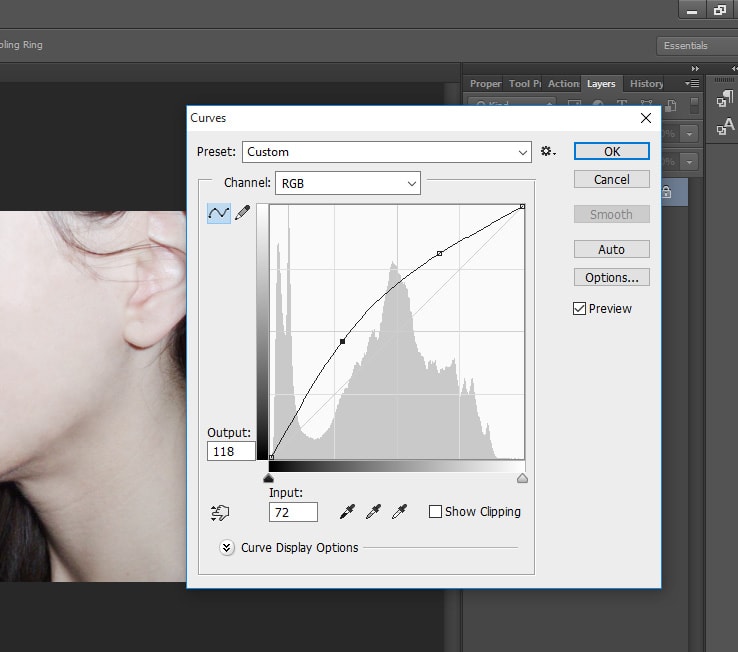
4 Adding in a curve adjustment lets you make the brightness & contrast levels in the photo a bit more fine-tuned. In the Adjustments panel, click on curves. The properties box will pop up, with a diagram that looks a bit like a graph. There’s a line that goes diagonally through it, you’ll click thereon line & add points, and drag those points to adjust the brightness. I click about 3/4 of the way up the line & drag up. This photos the highlights to be brighter. I also click on the very bottom endpoint and drag that straight up as well. This lifts the darkest areas up a little bit. To bring back a bit more contrast, click a little higher on the line & drag it down. I like to call this the ‘s’ curve and is what I use on the majority of my photos that I’m editing quickly. Feel free to add other points & play around with that some more. You can get a lot of really unique looks.
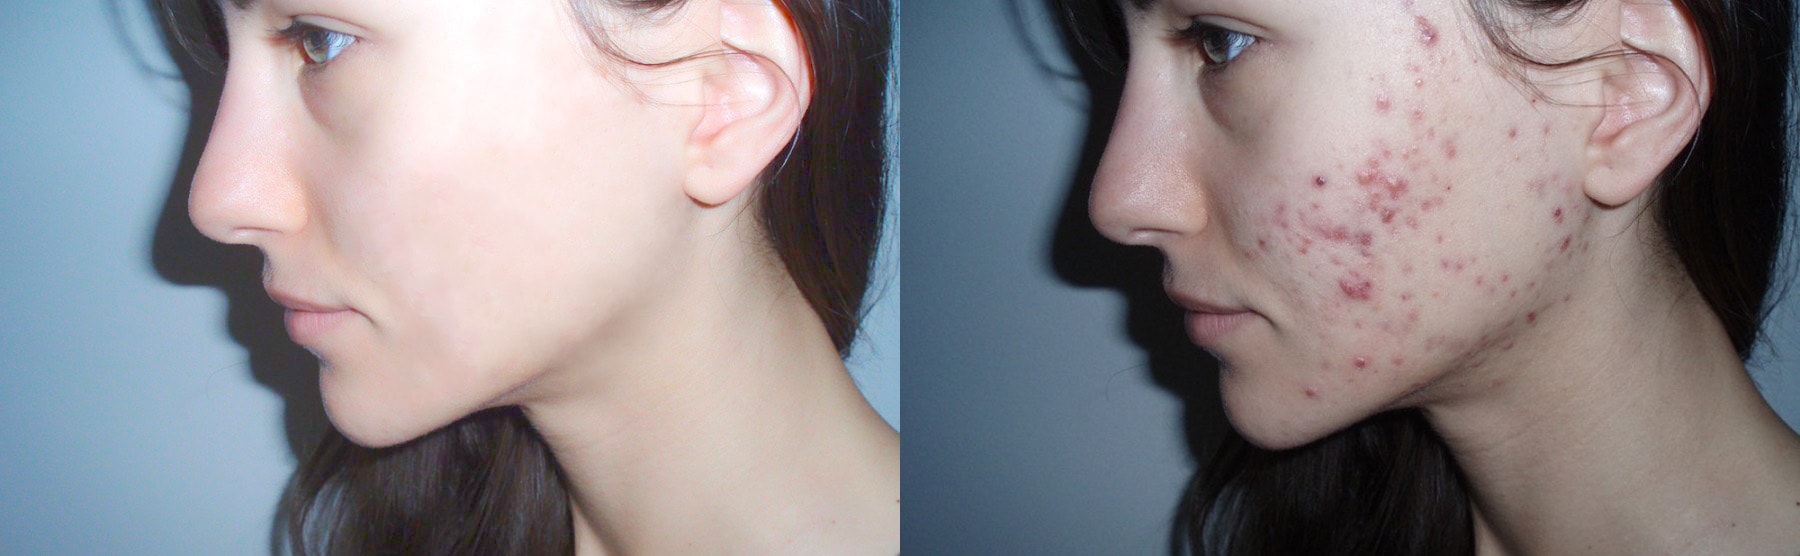
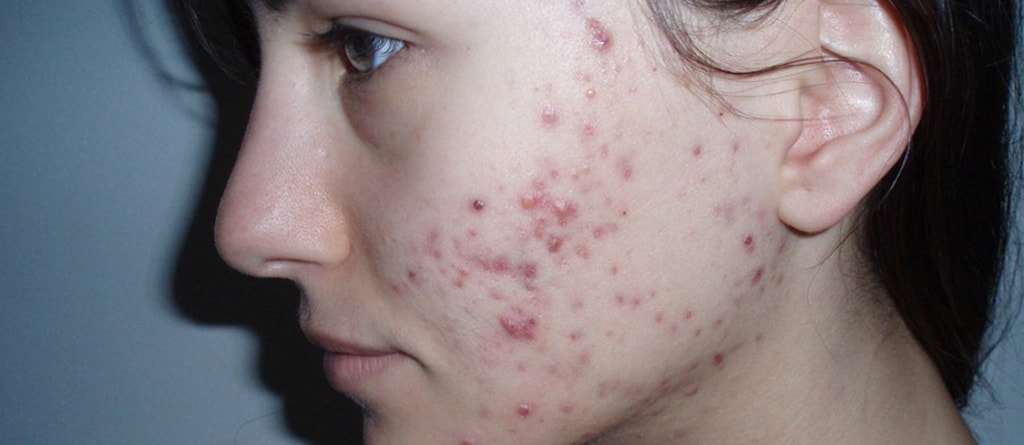
Difference between after and before photo.
How to edit photo a girl image in Photoshop video
Please Like Us, Comment And Share This
If You Have Any Question About This Please Comment.
Join our Facebook, Youtube, Google+, Twitter page to learn more video


Leave a Reply
Want to join the discussion?Feel free to contribute!