How to Create a Powerful Text Portrait from a girl image

In this Photoshop tutorial, we’ll learn how to create a text portrait effect. In other words, we’ll create the illusion that the image seen in the photo is actually being created by multiple lines of type. I’ve seen this impact used with several celebrity photos, from Warhol and actress to singer, David Beckham, even Barack Obama.
Of course, you don’t need a photo of someone famous to create this effect. In fact, the a lot of you recognize regarding the person within the pic, the a lot of attention-grabbing the impact will become as a result of you’ll add a lot of customized text. You may want to write about what the person in the photo means to you, or share a funny story, or describe something they’ve accomplished. Or, on the other hand, you’ll essentially snatch some arbitrary content from some place and glue it in. I’ll be abuse Photoshop CS4 for this instructional exercise, however any variant of Photoshop should work.
Open a photo you like to use this project I download this one from Google chrome and open e Photoshop.
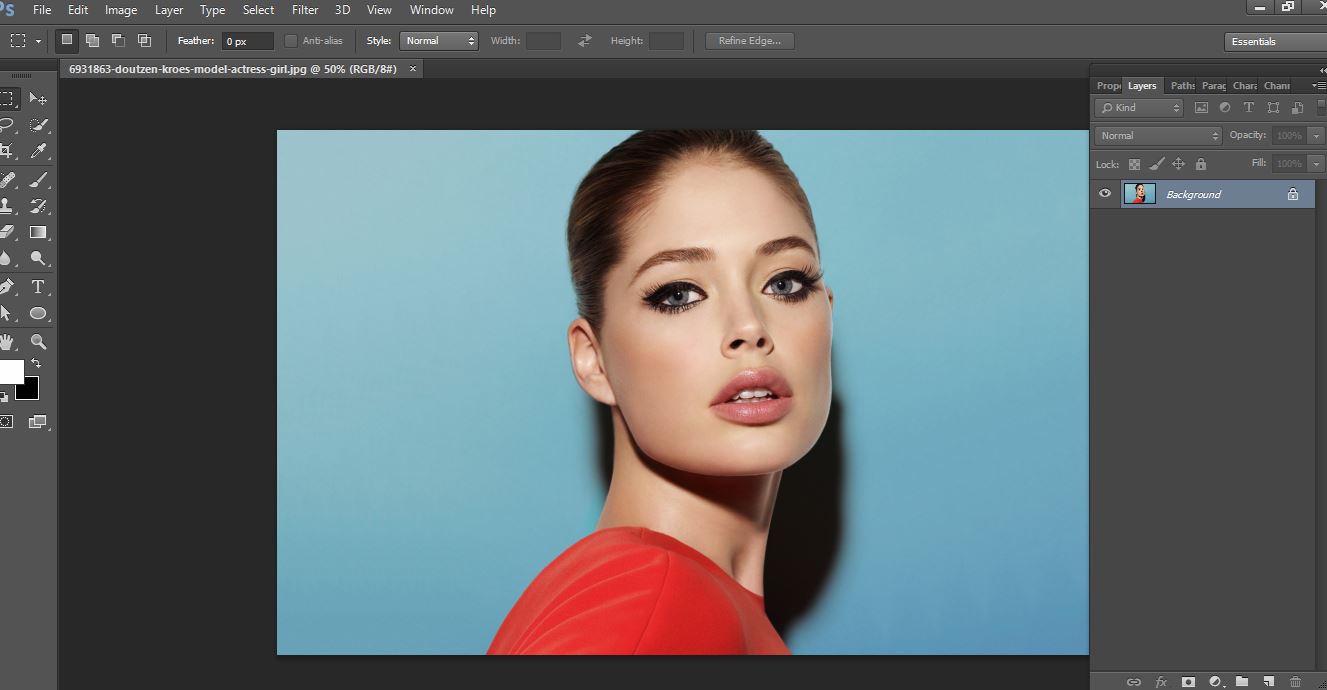
image editing services
The 1st step is the remove background from the subject making a selection around a subject, there many way to do this by for this example I will use the quick section tool I will drag the tool over my subject to section rounded the subject, Remove background go to select refine age and work with them.
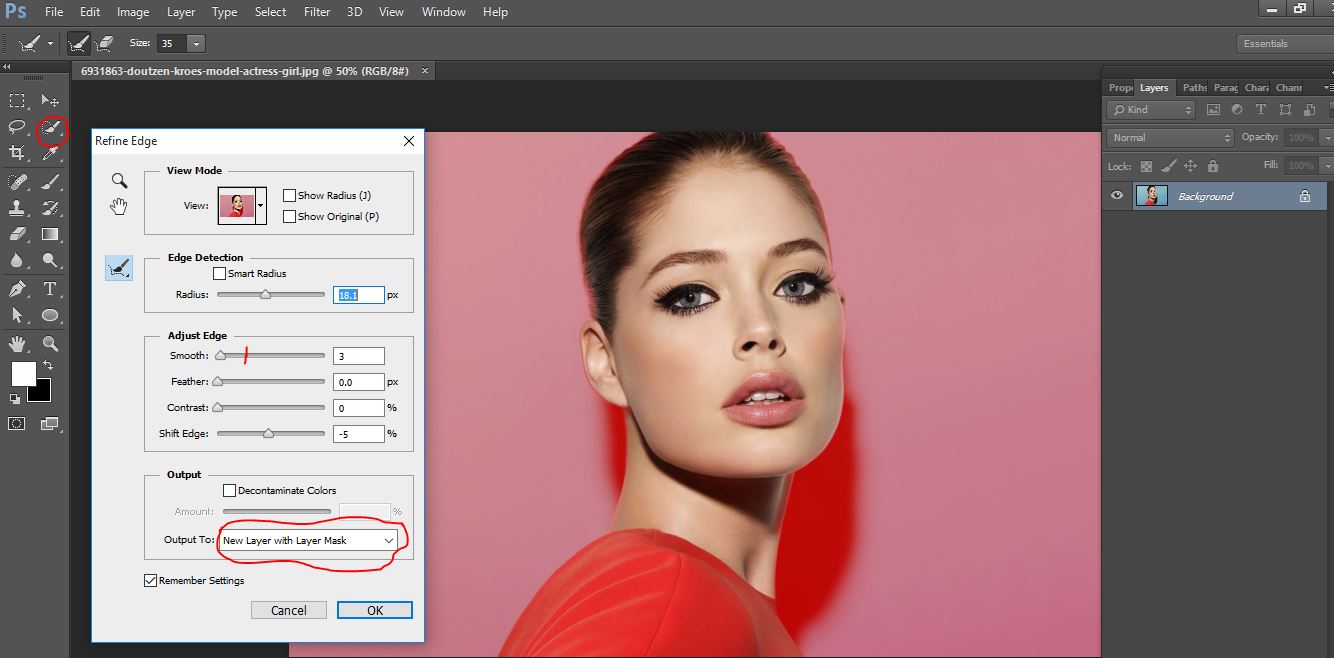
image editing services
Now go to <filter>blur>goussian blur> click ok
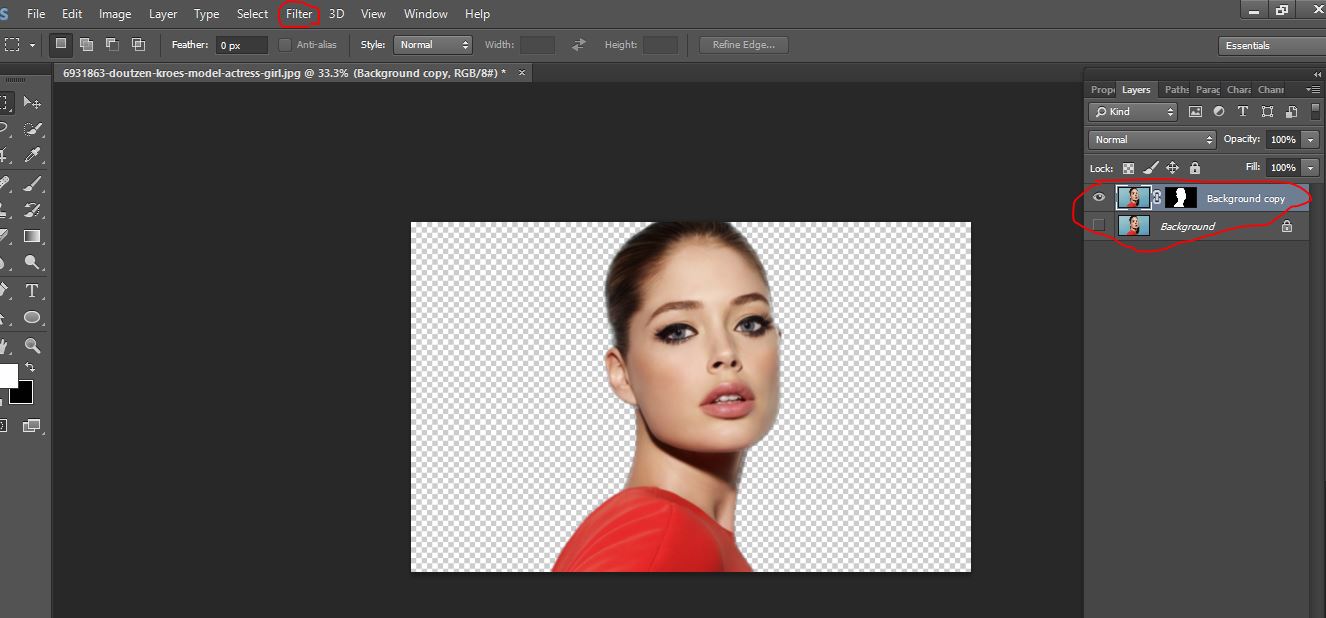
image editing services
Now create new layer and color with them
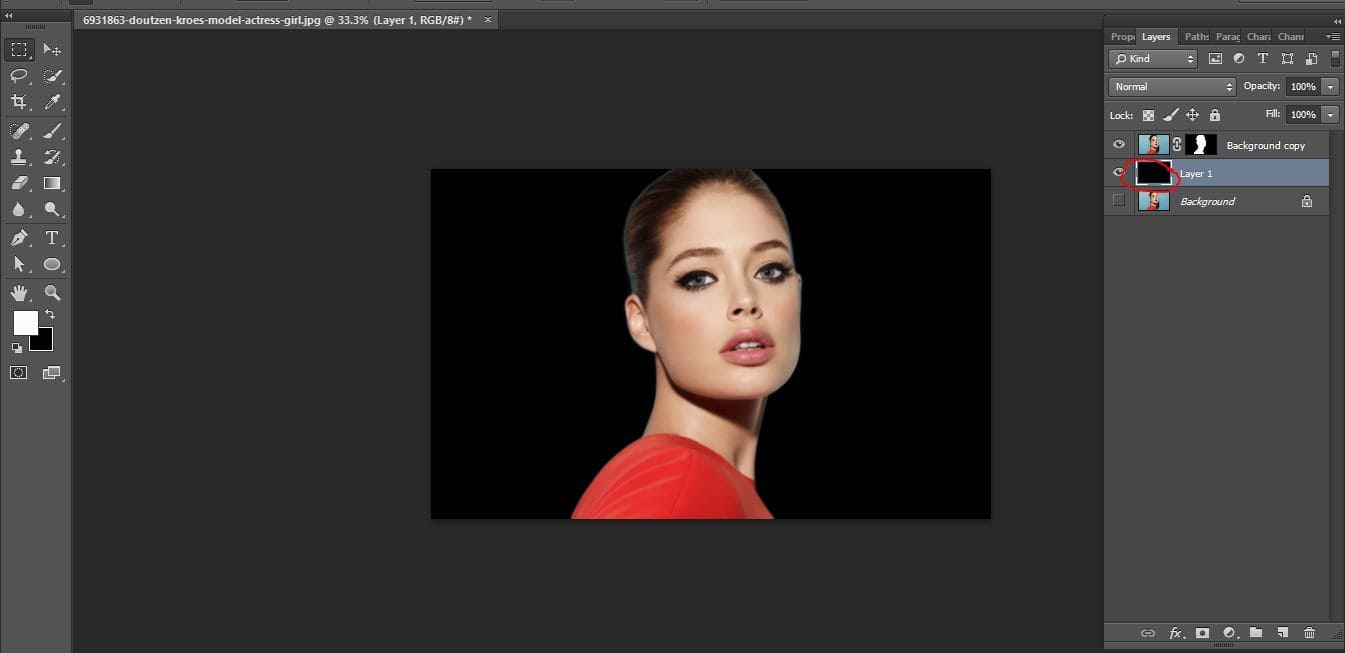
image editing services
Now 1st step you active background cope and select the icon upon right the corner and click duplicate layer and open the document list and create new and click ok and go to <filter>blur>goussian blur> click ok
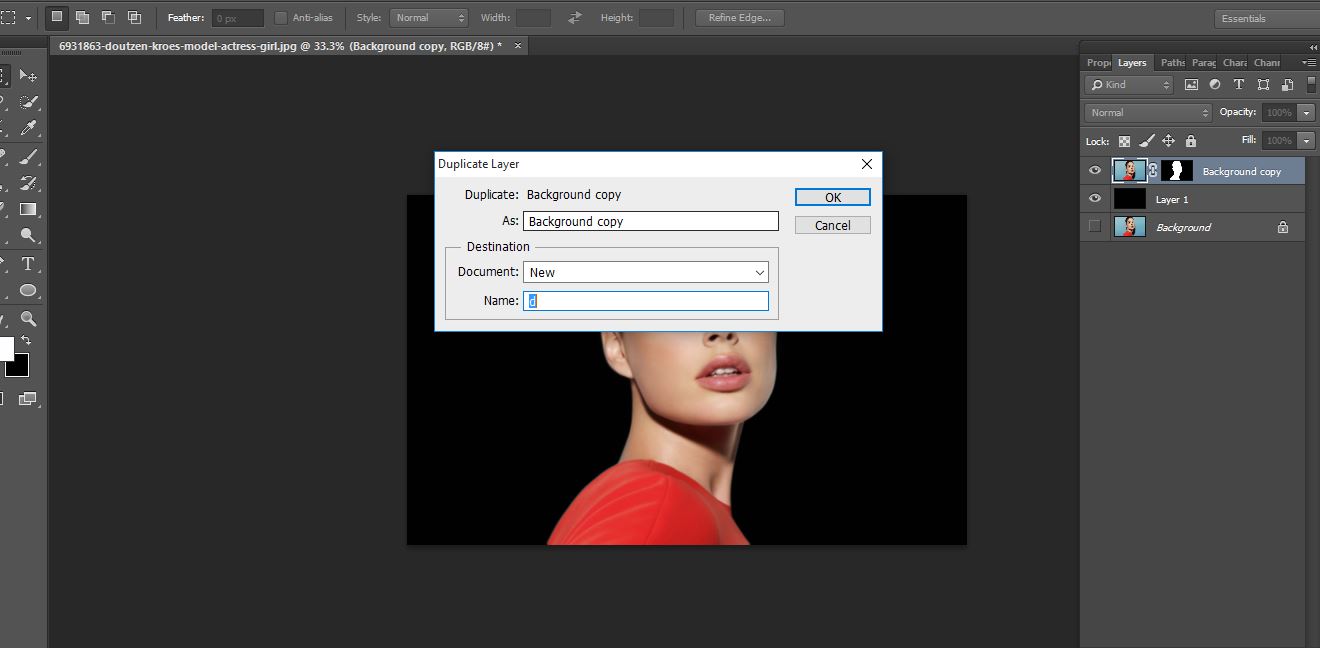
image editing services
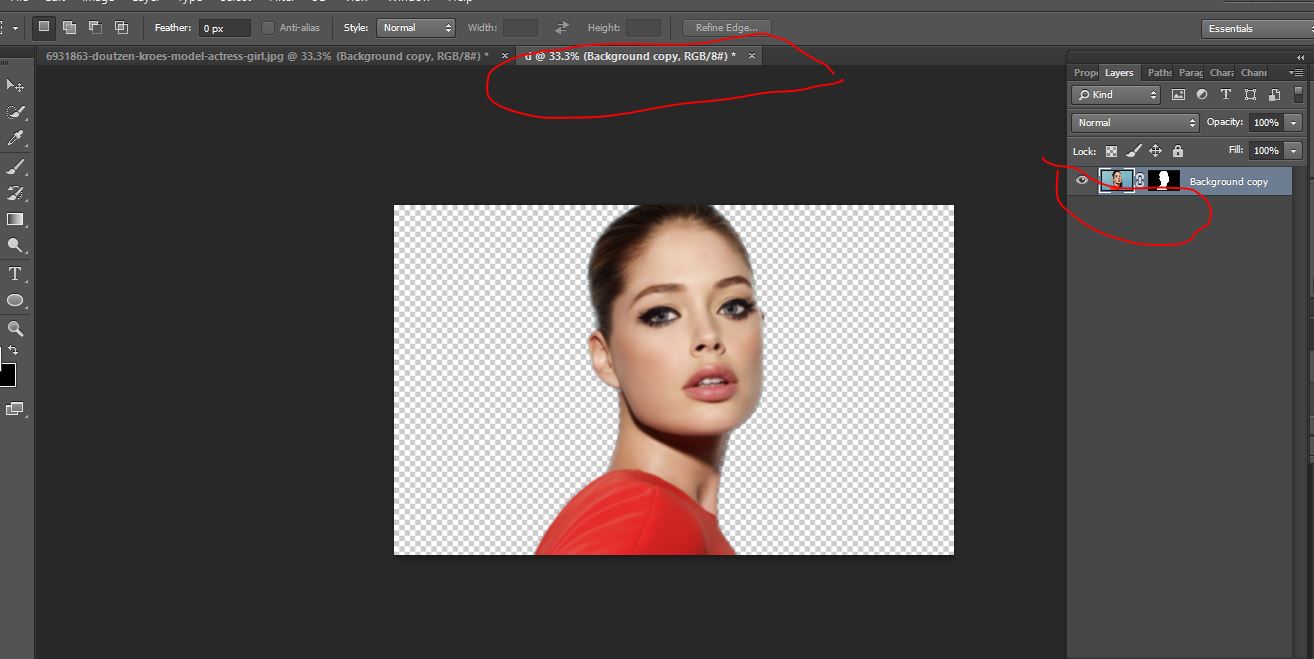
image editing services
Now go to <file>save as now you get your desktop and save it psd format and you close the d format
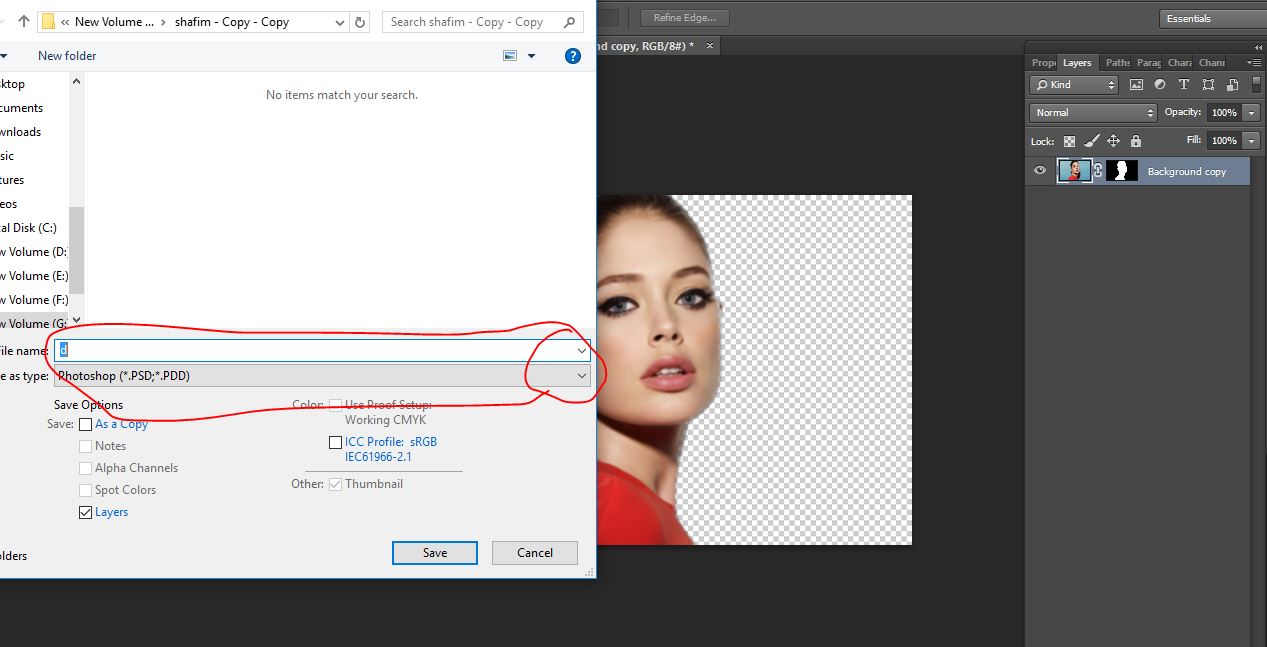
image editing services
Now you go to file and open your text image and open it now open your channel panel and click control and select it and go to your layers panel and click ctrl+j now you drag your text open with pic image.
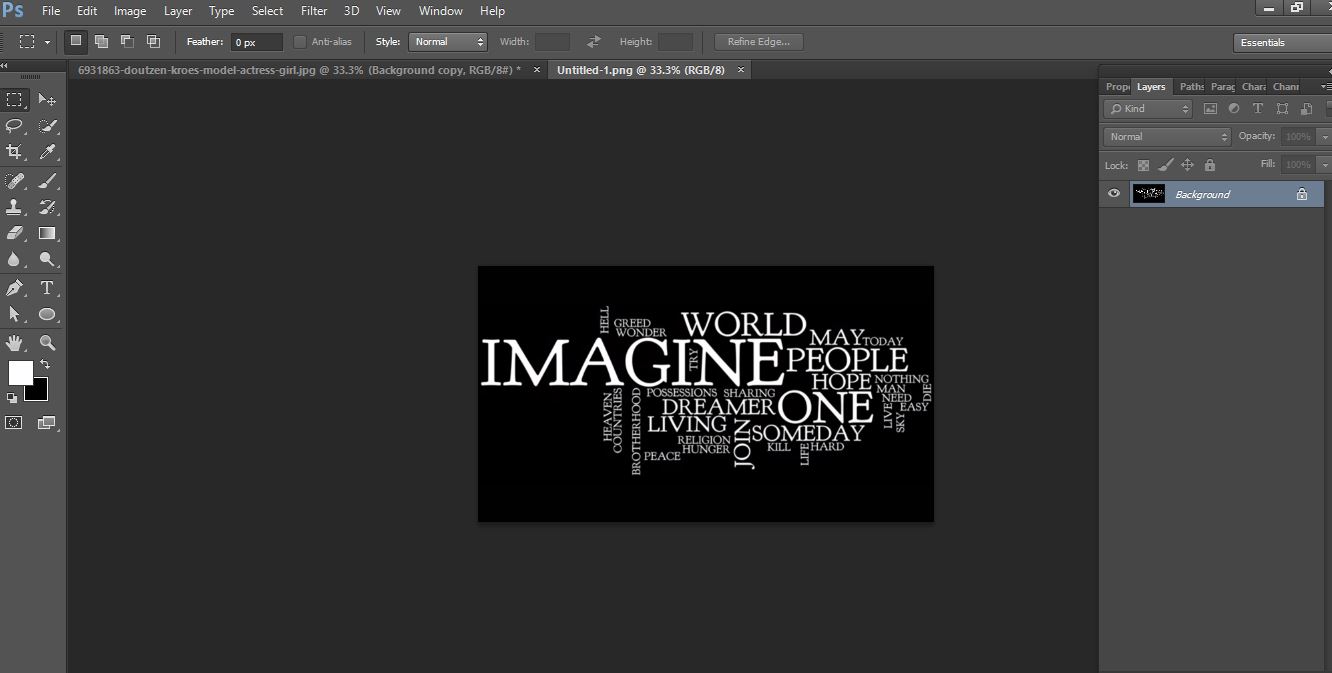
image editing services
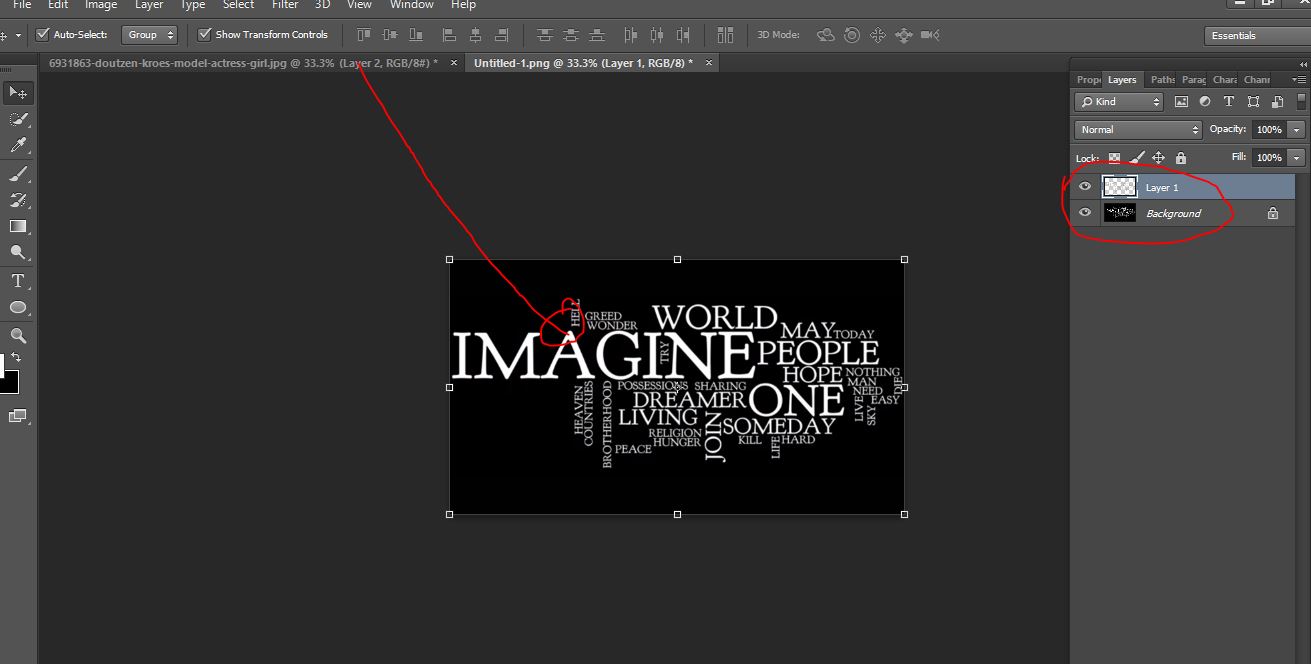
image editing services
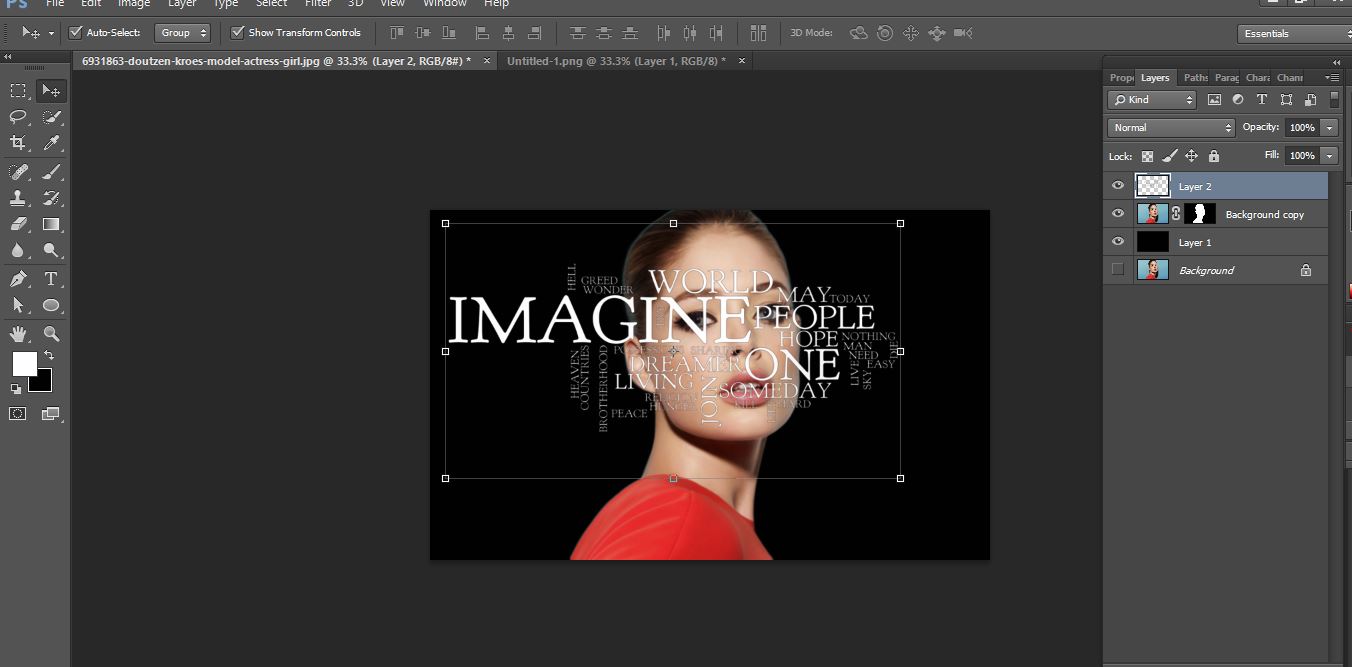
image editing services
Now you cope the text layer and open the layer style and click drop shadow and make it
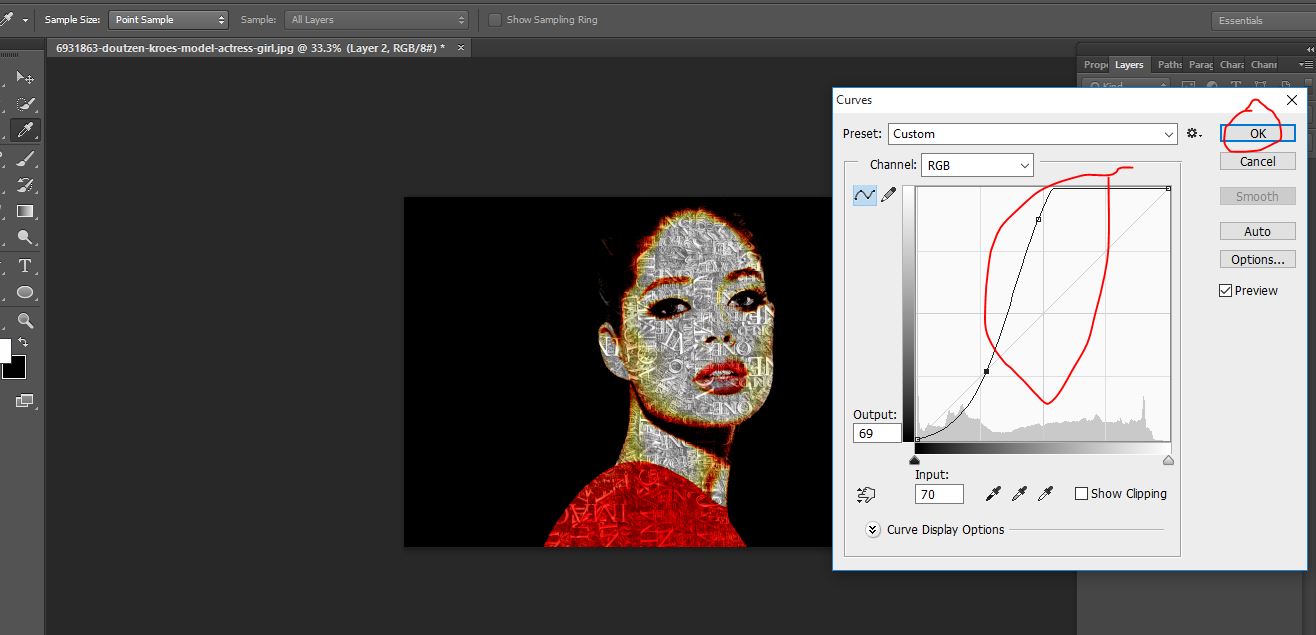
image editing services
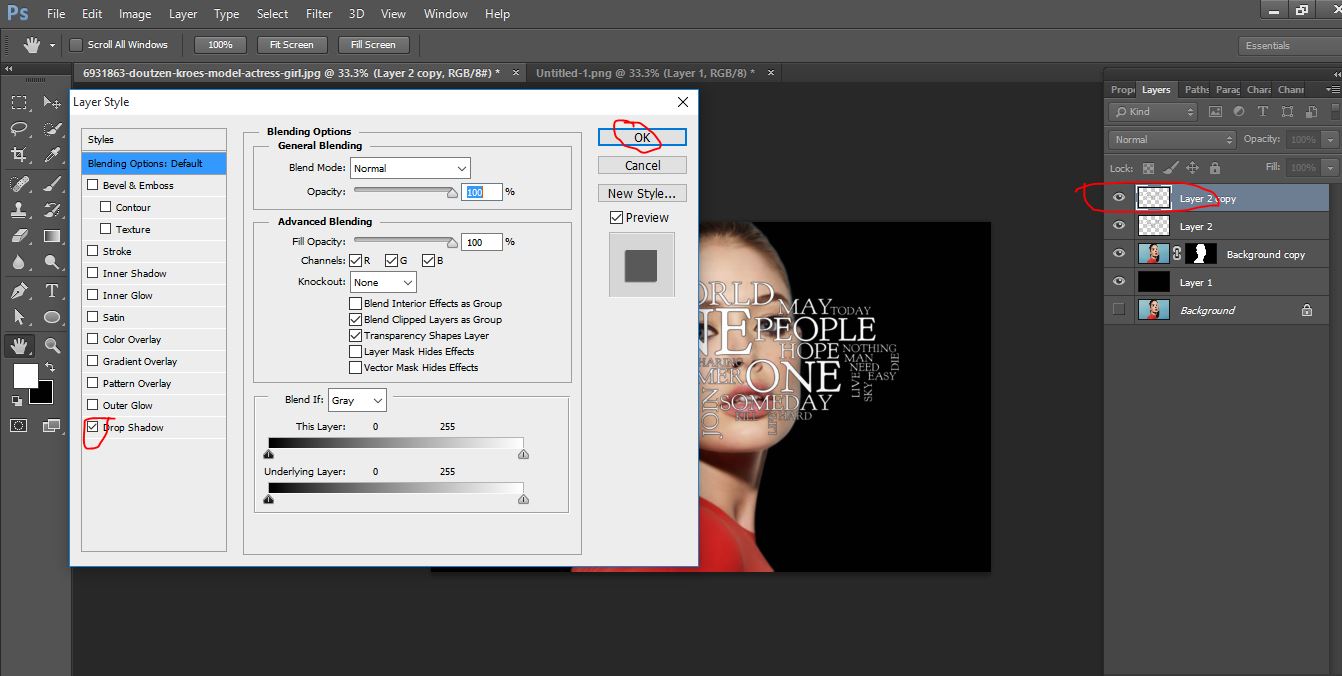
image editing services
Now use transform tool and make it and cope the text tool and make it and convert to smart object and go to filter> distort>displace and open d Photoshop then press ctrl+shift+altr+E now the layer tope off the bottom and change the blunt mode liner bourn
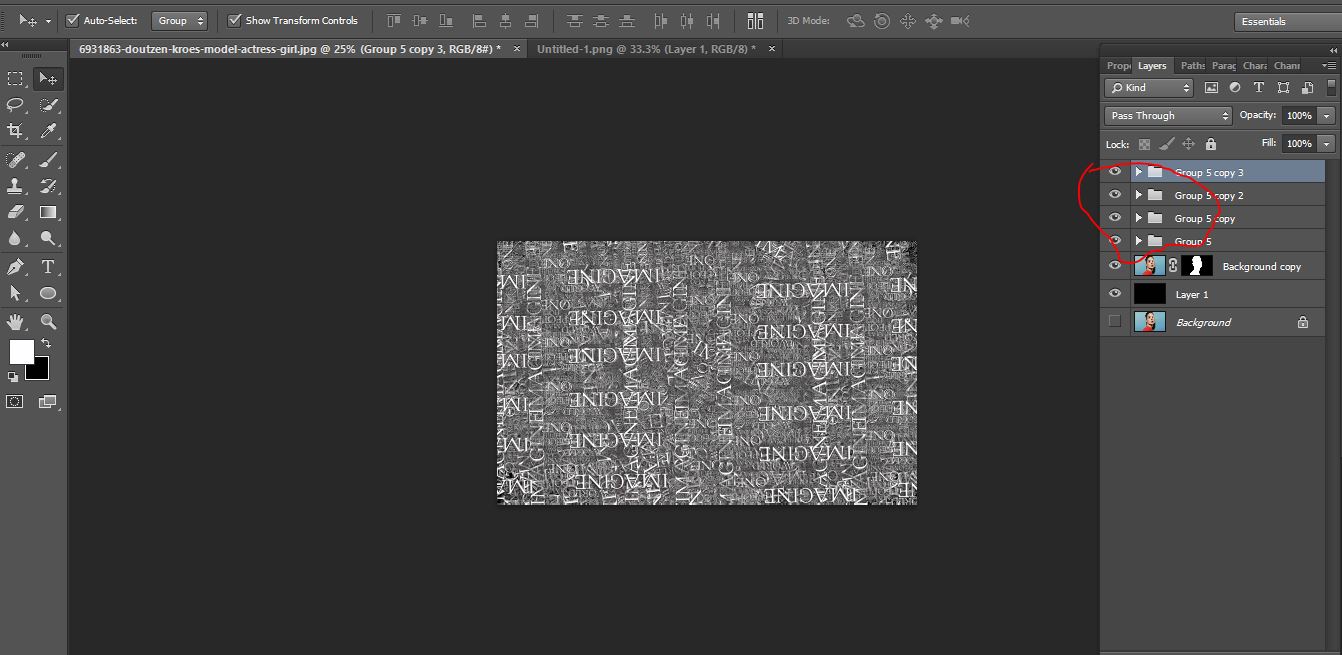
image editing services
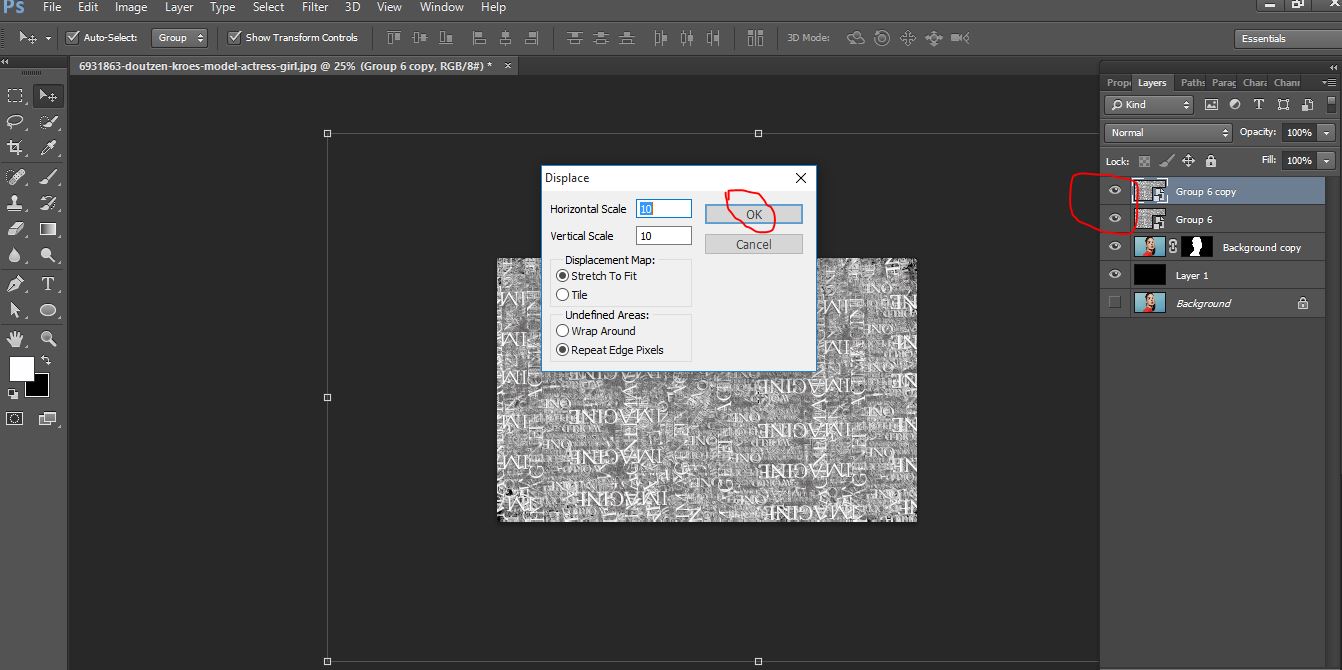
image editing services
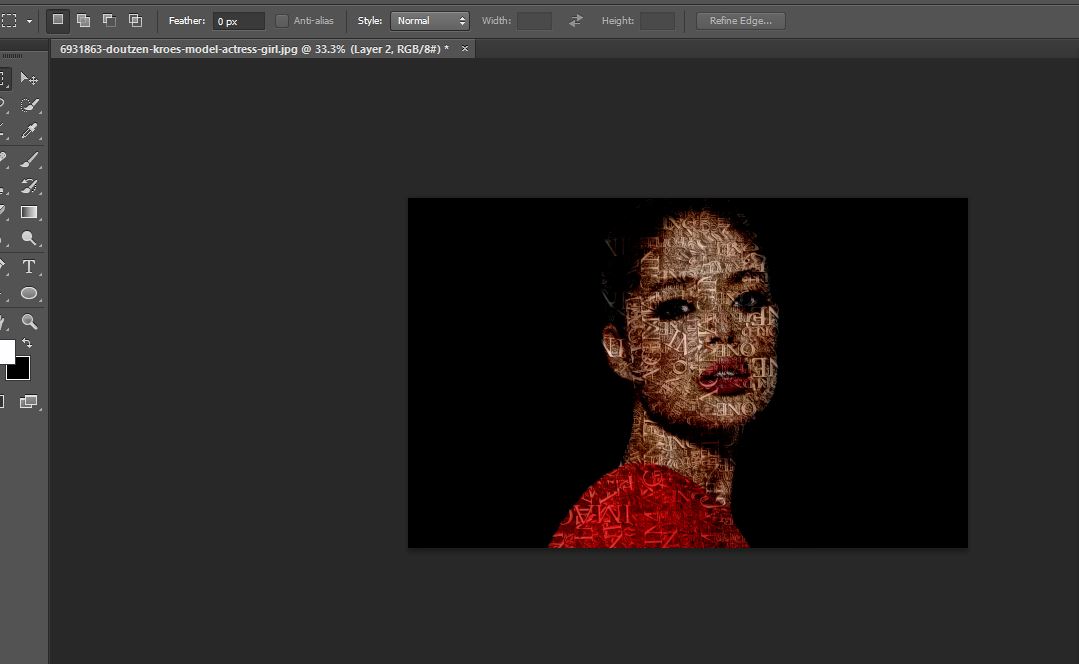
image editing services
Now you make just adjustment curve color and make with it
image editing services
And difference between after and before
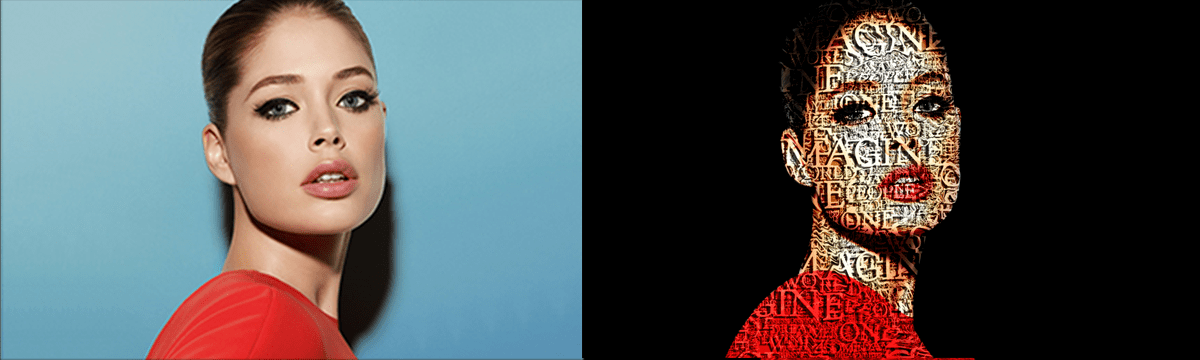
image editing services
Contents
How to Create a Powerful Text Portrait from a girl image video tutorial
If You Have Any Question About This Please Comment.
Join our Facebook, Youtube, Google+, Twitter page to learn more video


Leave a Reply
Want to join the discussion?Feel free to contribute!