How to Quickly Create a Cool-looking, Torn Paper Portrait
I am going to show you how to create a cool-looking torn paper portrait effect and how to quickly place with another photo how to redo the effect. I download free torn paper from Google chrome.In this lesson, students “paint” with torn paper using a limited number of values found in a grayscale image. Using torn paper instead of direct painting requires them to visually divide the gray areas into separate shapes and define each shape individually.
Let’s start and open photo in Photoshop. In this photo I download from Google chrome.
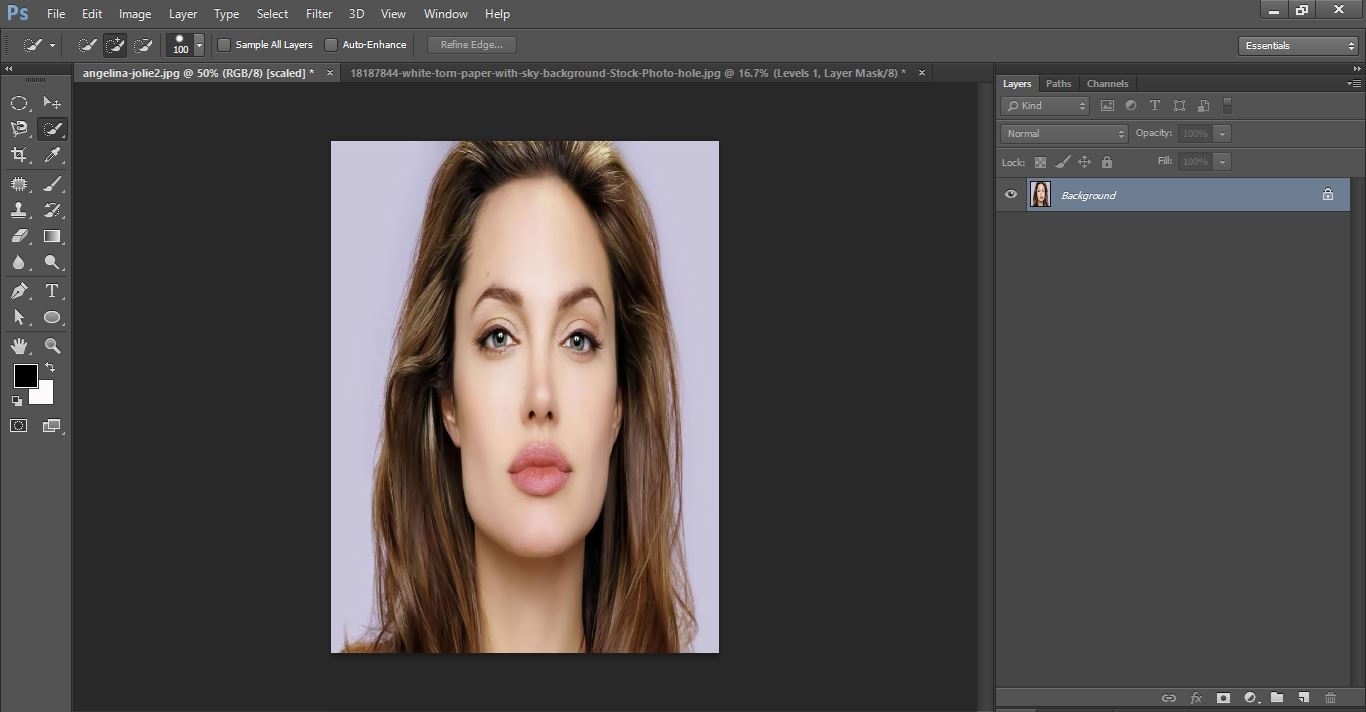
remove background from image
Now you select the photo with quick selection tool

remove background from image
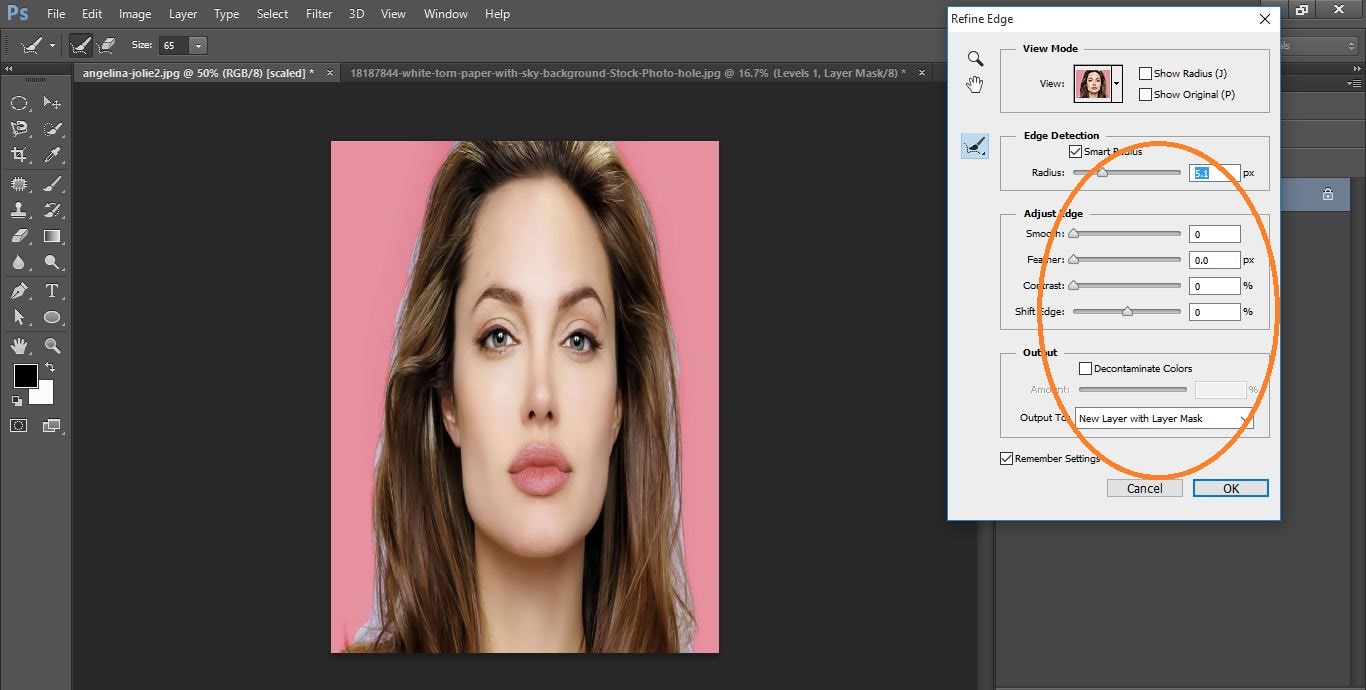
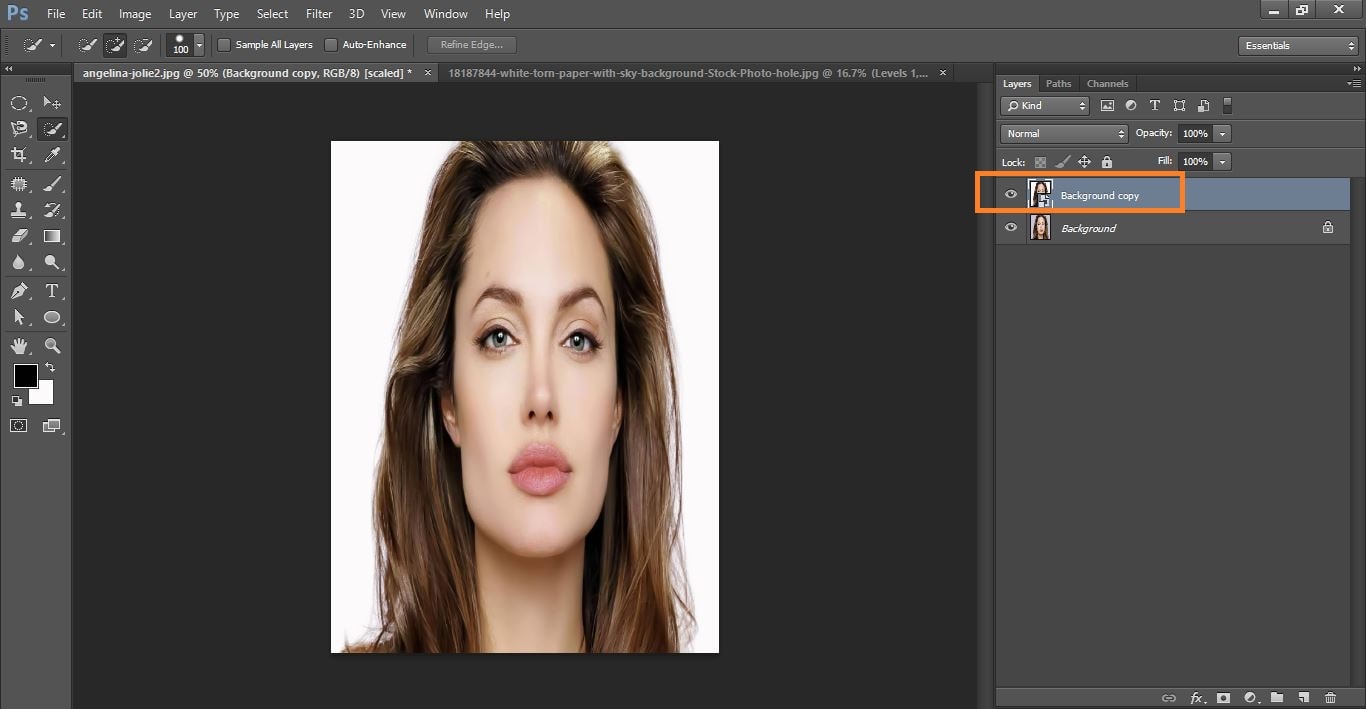
Now going to refine edge do with it and select new layer with layer mask
remove background from image
Now create new layerpress with ctrl and entry layer with white color background and press ctrl+delete
remove background from image
Now layer 1 and background cope convert to smart object

remove background from image
Now active your move tool and drag your photo and going to torn paper photo and release it the female photo.

remove background from image
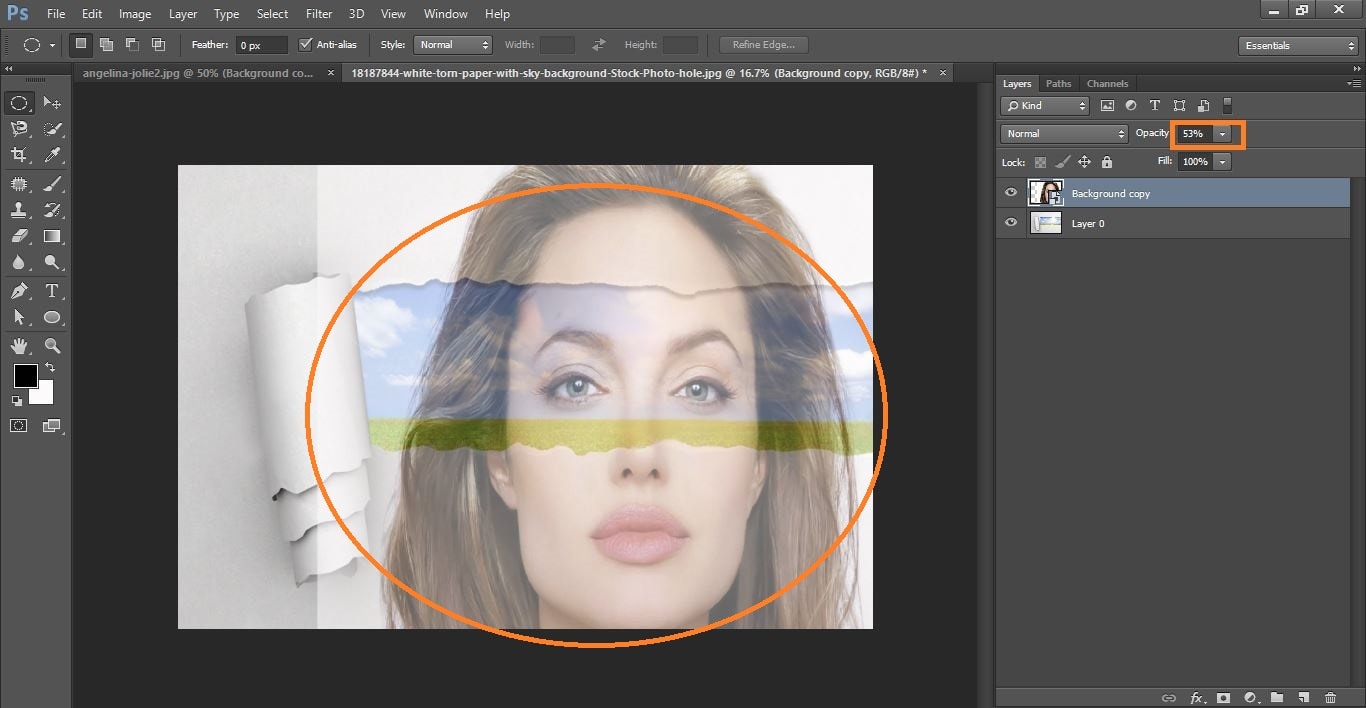
Now reposition your female photo 1st we will do decreaseopacity 50% so we can see torn payer photo throw.
remove background from image
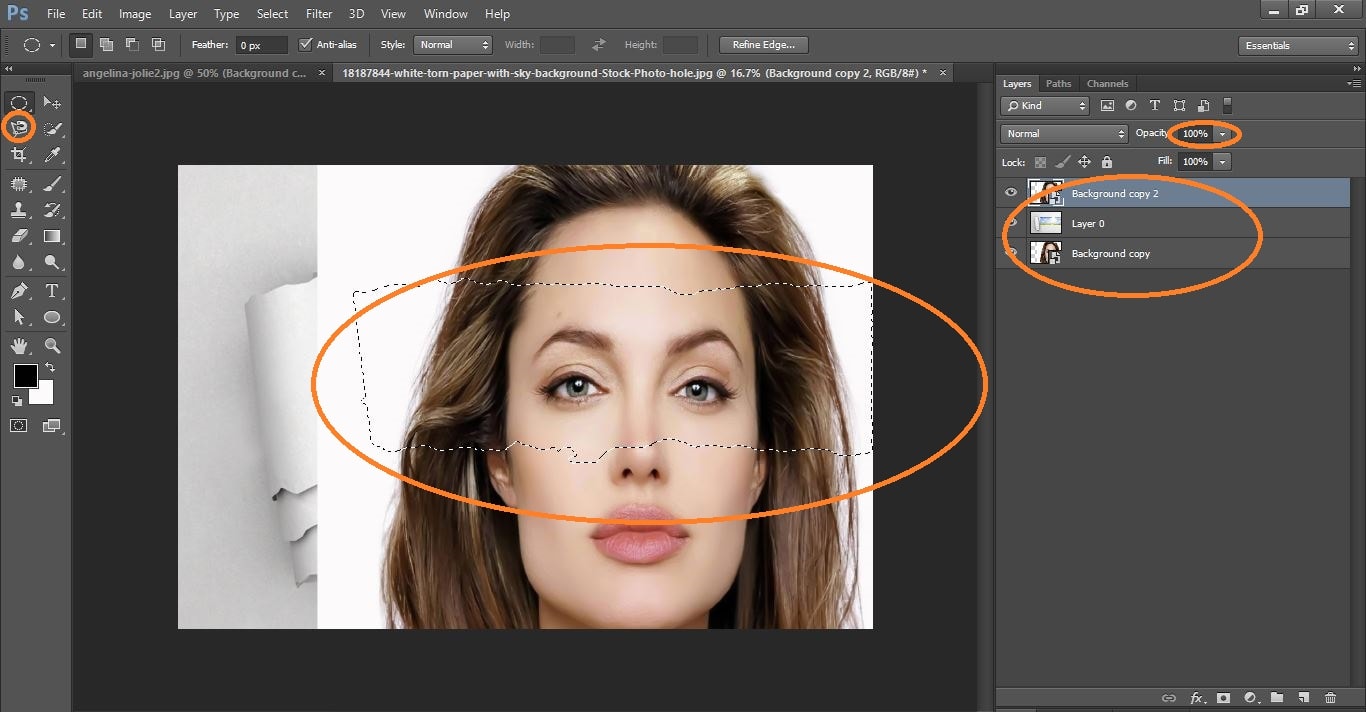
Now the female photo position it press ctrl+t then back to opacity increase 100%. Now make a cope it press ctrl+j and go to the middle layer and drag it below turn paper now go to the paper layer and select the hole.
remove background from image
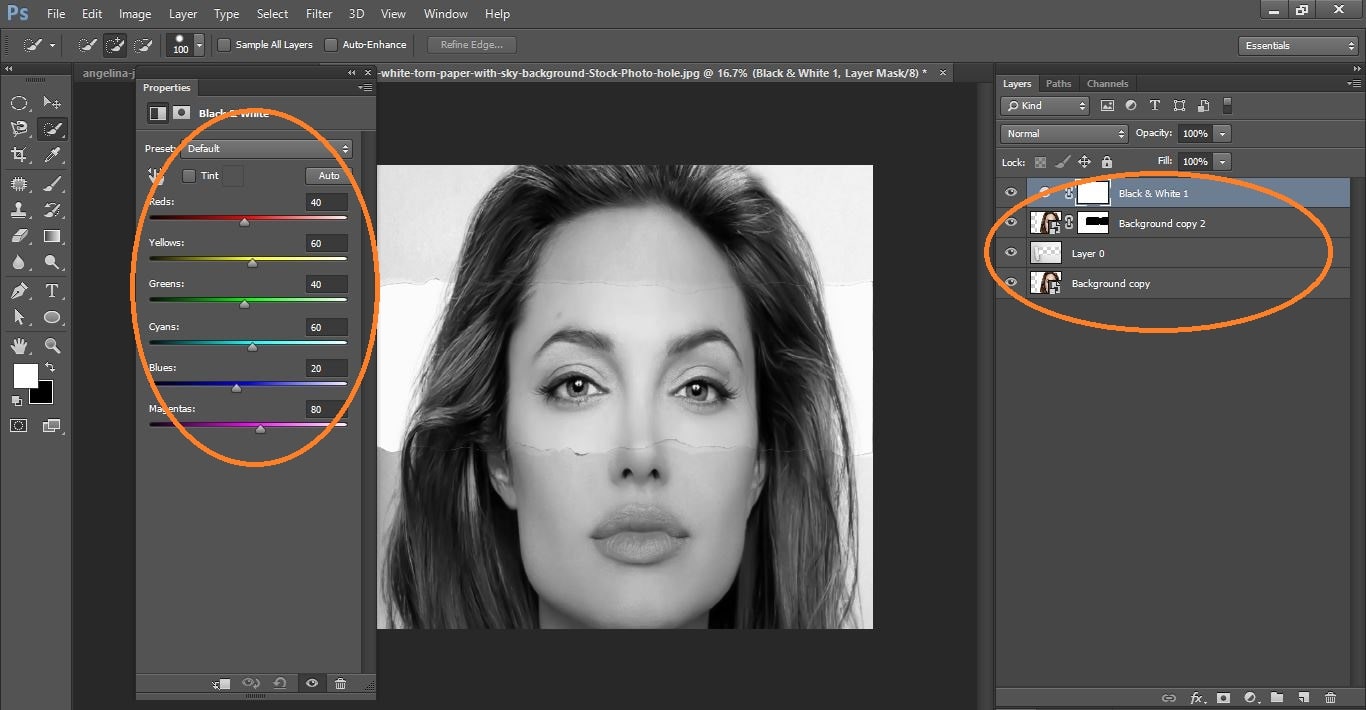
Now active your top layer and mask it now active your layer and change blend mode to multiply now click adjustment layer icon and click black and white
remove background from image
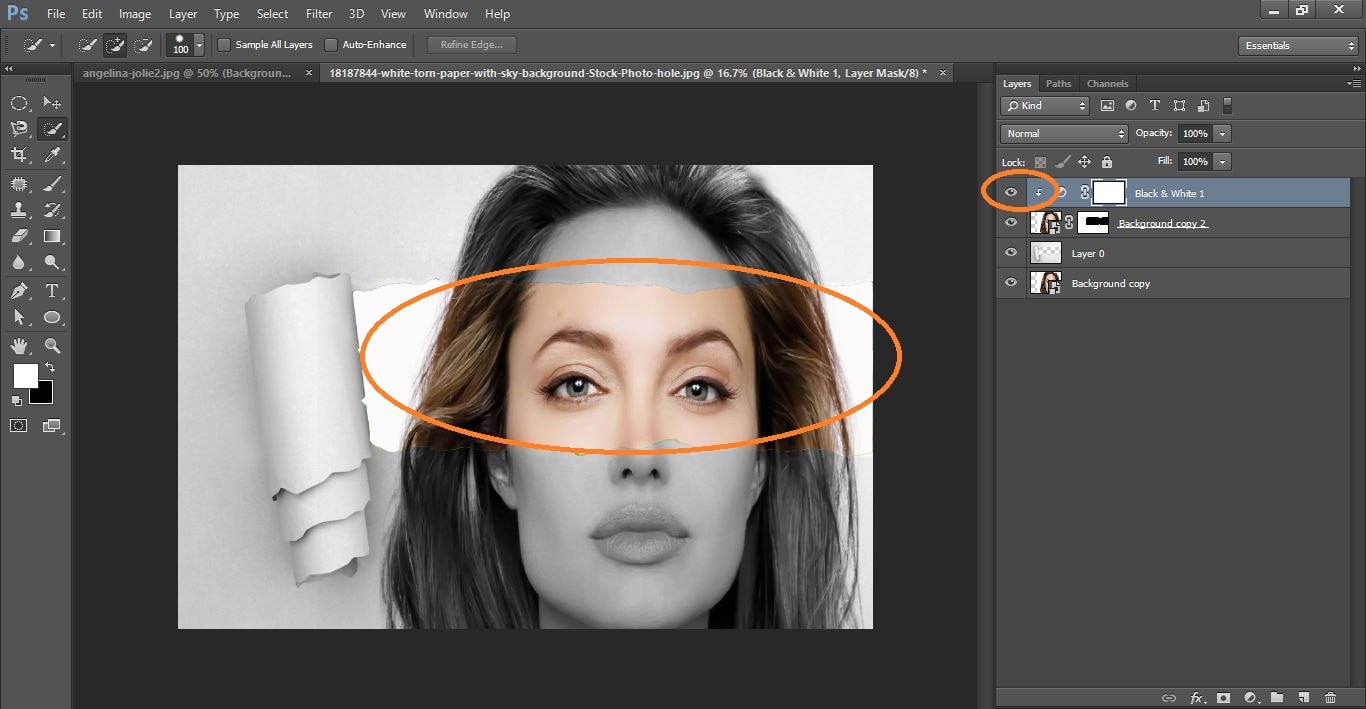
Now select your top layer and click ctrl+alt+G
remove background from image
Now click adjustment icon and click level now do with them and again press ctrl+alt+G
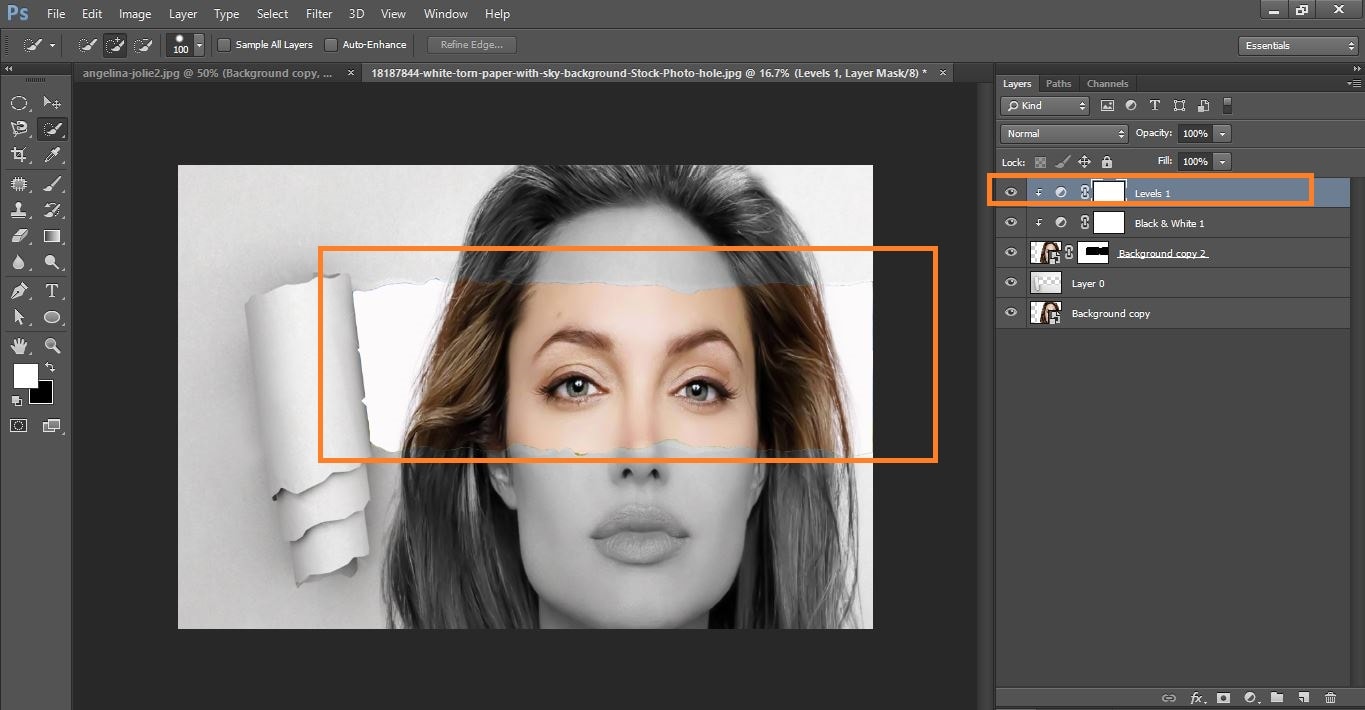
remove background from image
Now dabble click layer0 then select the drop shadow and make it and click ok
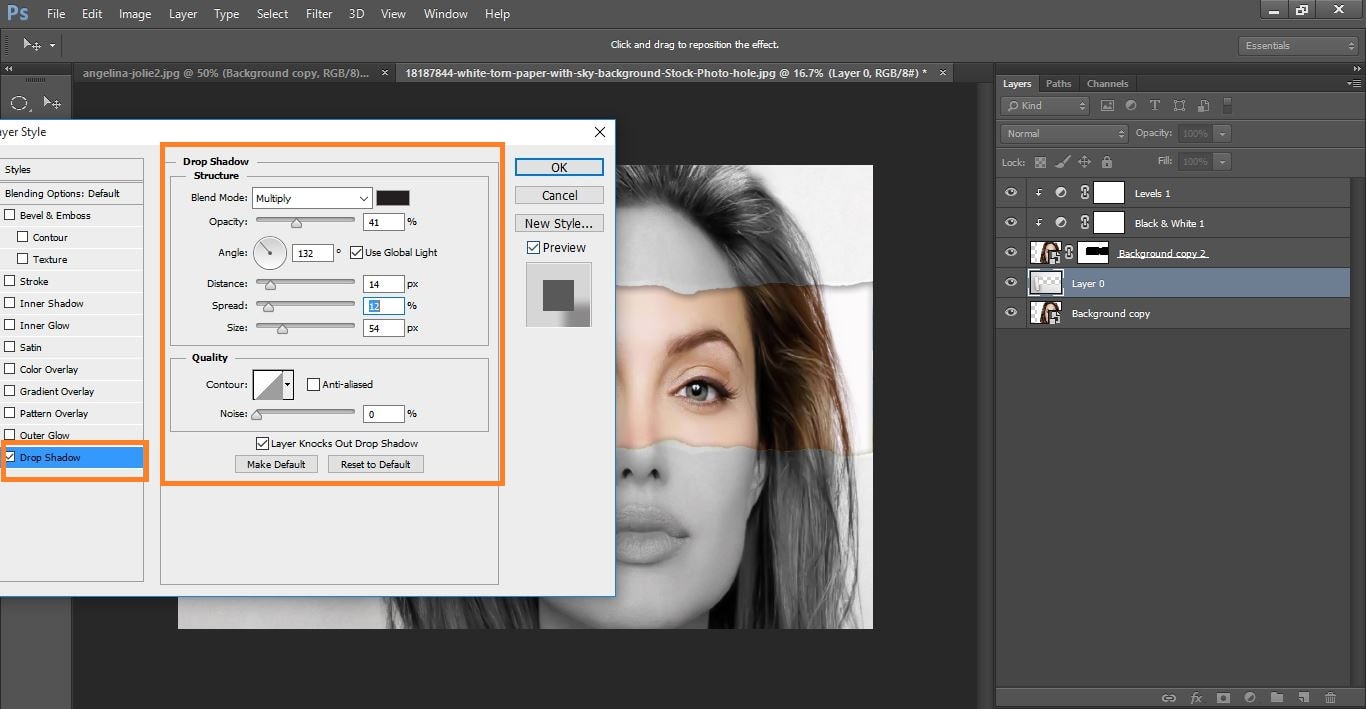
remove background from image
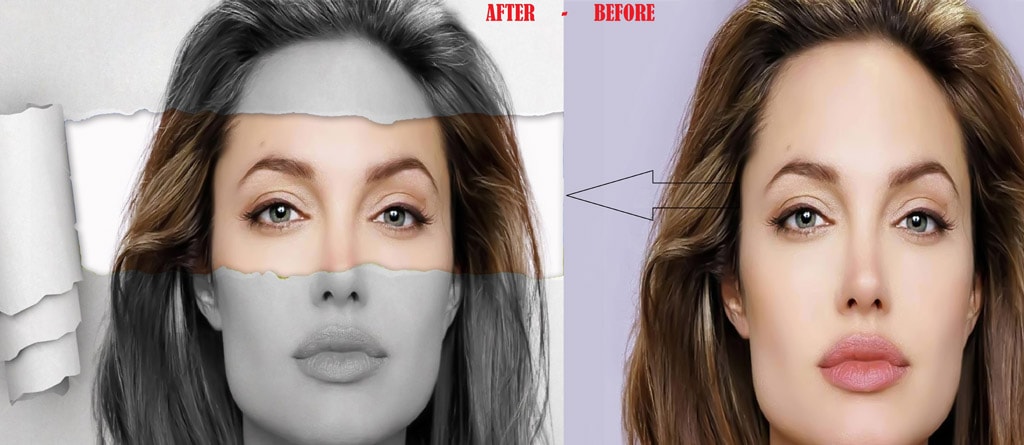
Now difference between after and before
How to Quickly Create a Cool-looking, Torn Paper Portrait video tutorial
Please Like Us, Comment And Share This
If You Have Any Question About This Please Comment.
Join our Facebook, Youtube, Google+, Twitter page to learn more video.


Leave a Reply
Want to join the discussion?Feel free to contribute!