How to add beautiful Himalaya Everest to moody photos in Photoshop
In this Photoshop icon manipulation tutorial, find out how you’ll use the multiply mode to alter the Himalaya Mount Everest. I will show you a tips and tricks to make it blend natural even more!
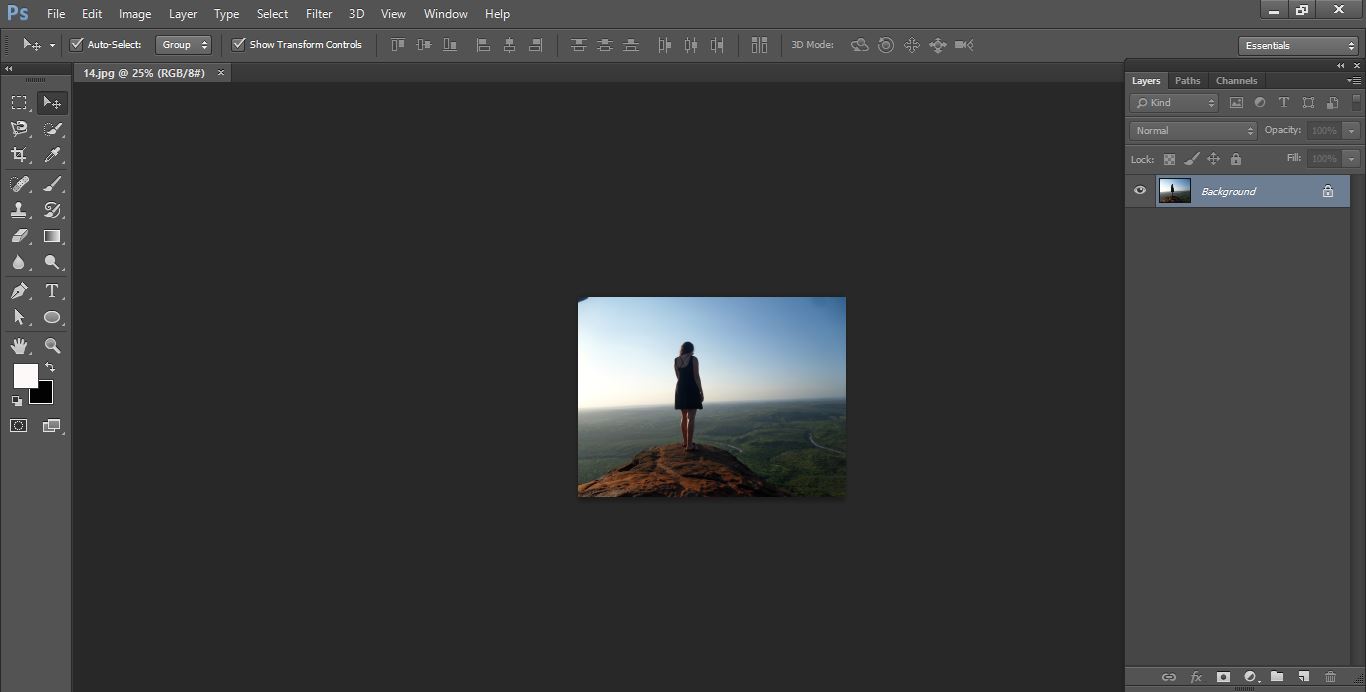
Let’s start open Photoshop with your photo.
clipping path service provider
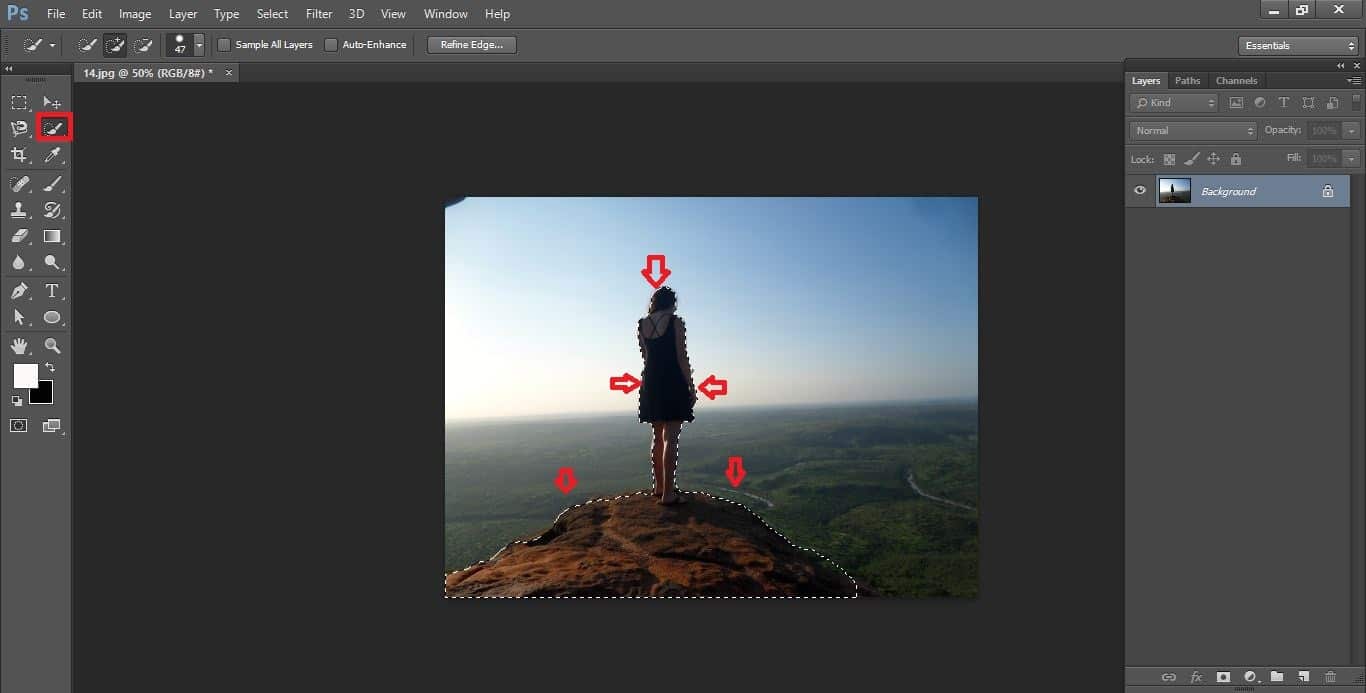
Select a photo with quick selection tool
clipping path service provider
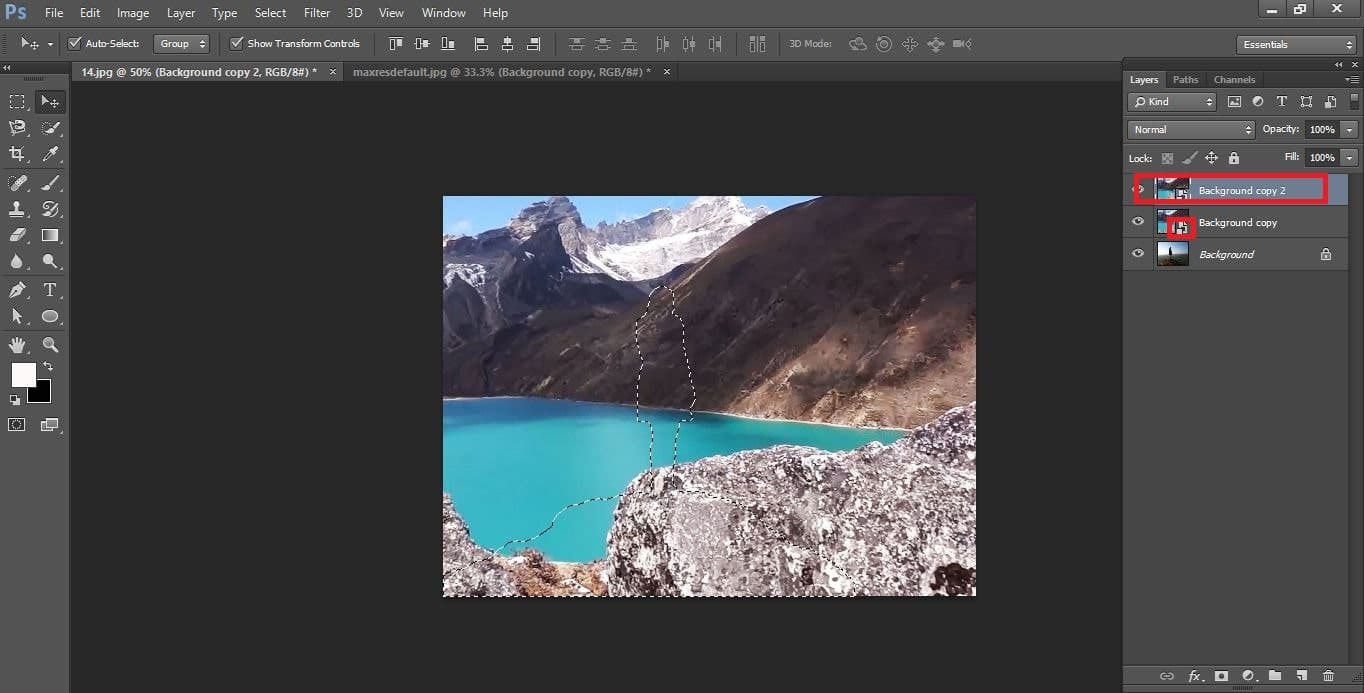
Now open a Himalaya Everest photo in Photoshop and cope background photo.

clipping path service provider
Now take move tool and drag the Everest photon to working document

clipping path service provider
Now Everest photo convert to smart object and now duplicate the Everest photo.
clipping path service provider
Now active background layer and mask it then apply blur to refection to make it realistic go to filter and select Gaussian blur adjust radius to your preference and again go filter select now motion blur.
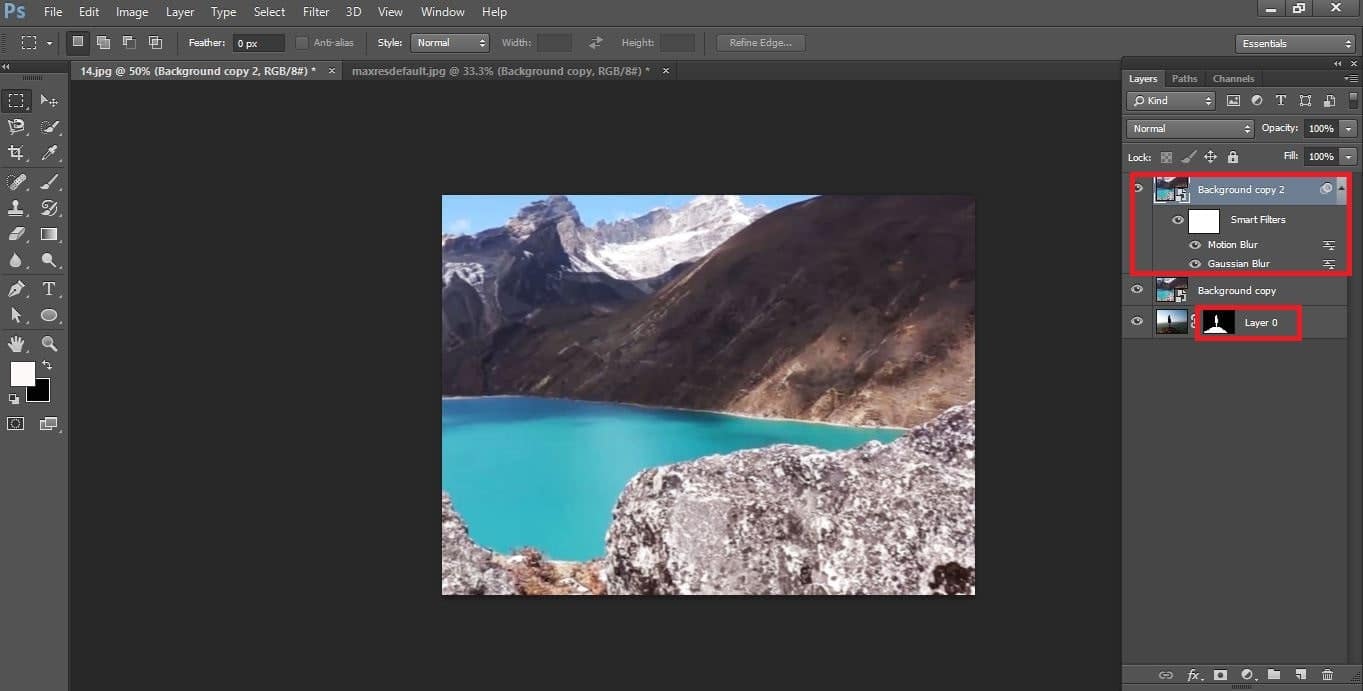
clipping path service provider
Now group both layer hide the group and select the background layer press ctrl then delete the layer mask

clipping path service provider
Now active group and create layer masking press alt
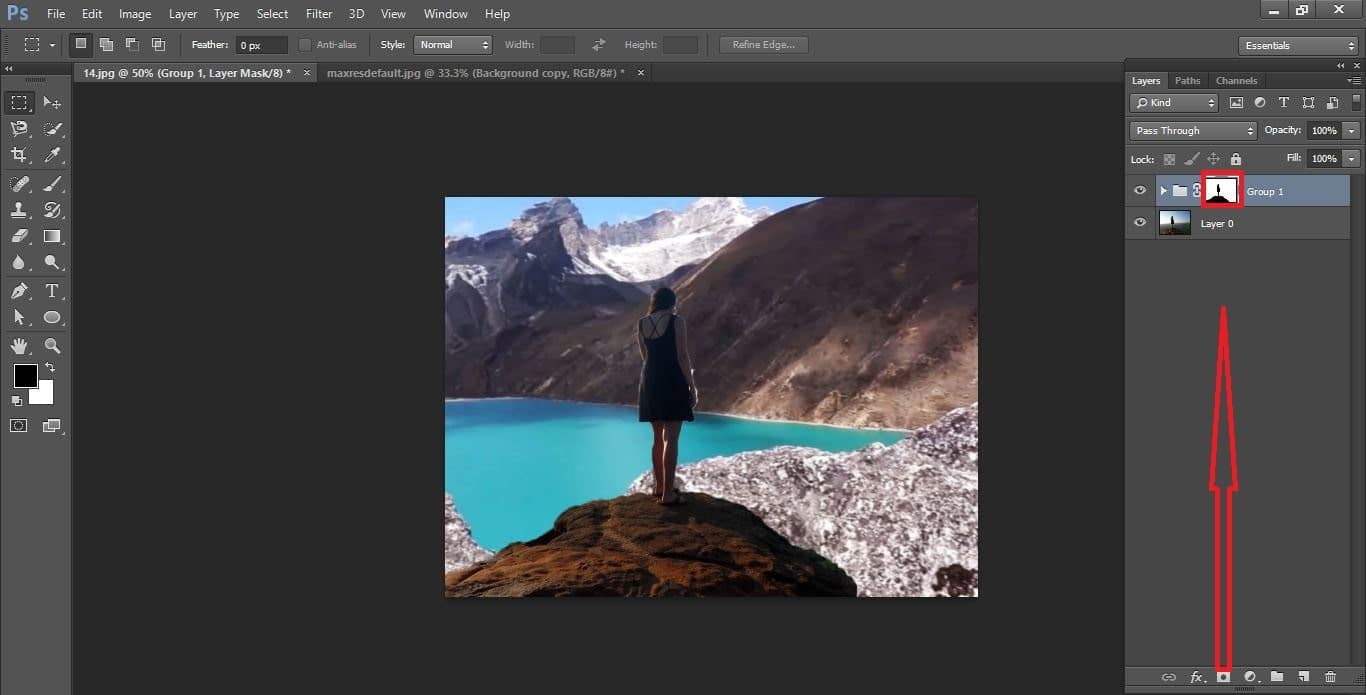
clipping path service provider
We need to whites and blacks in the mask go to the adjustment, select curves adjustment tone curves as follows
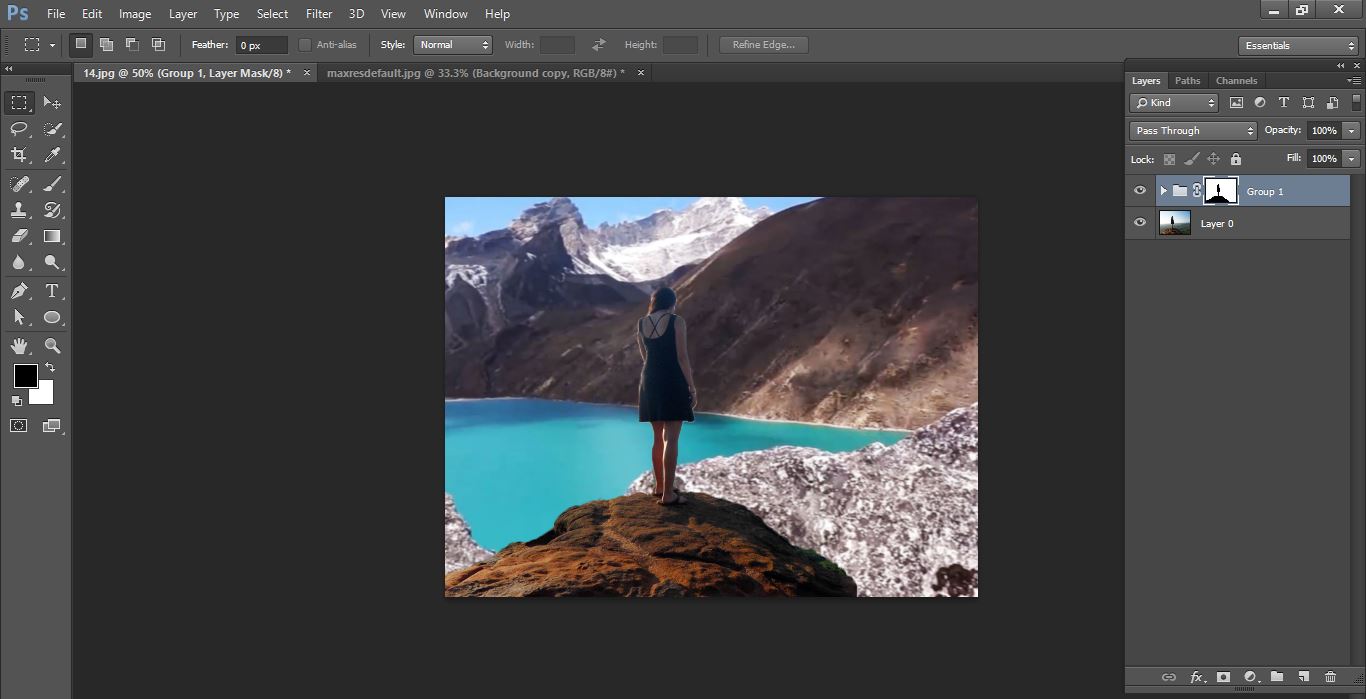
clipping path service provider
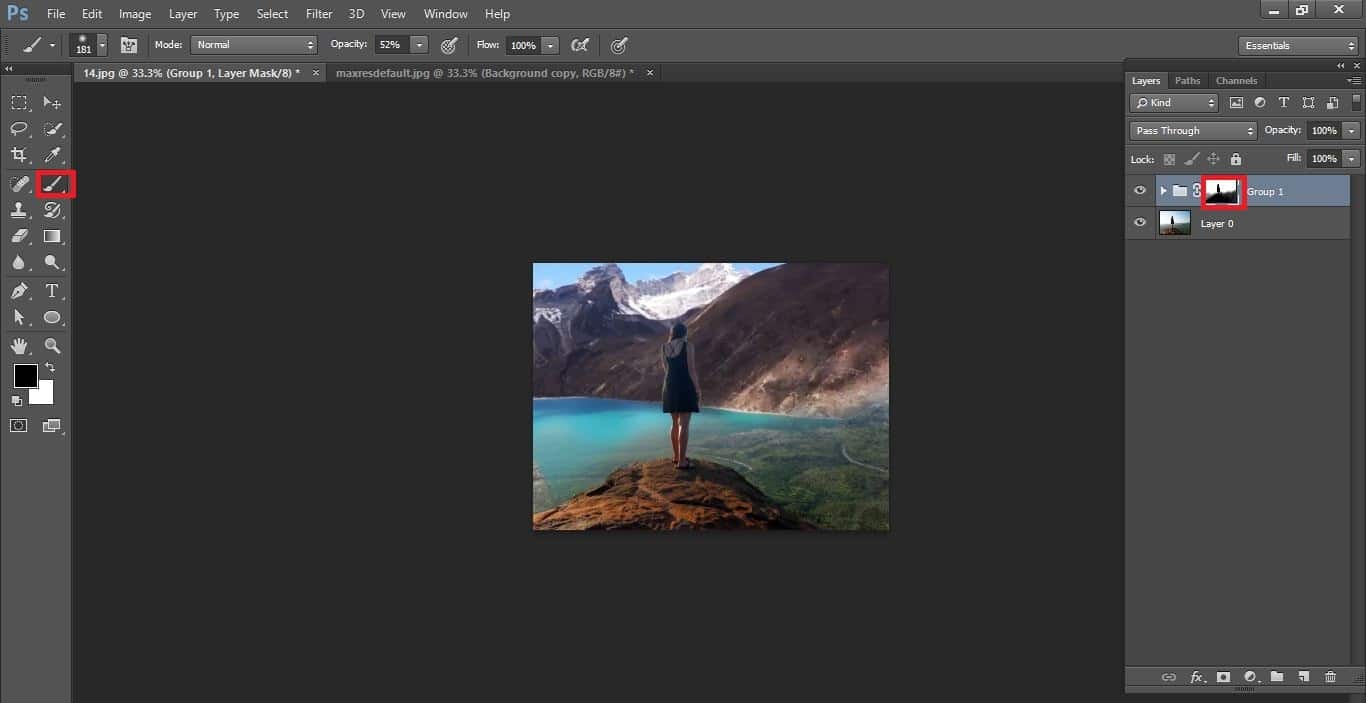
Take black brush tool opacity 50% and mask out areas of your photo that you want to minimize affect then do with it.
clipping path service provider
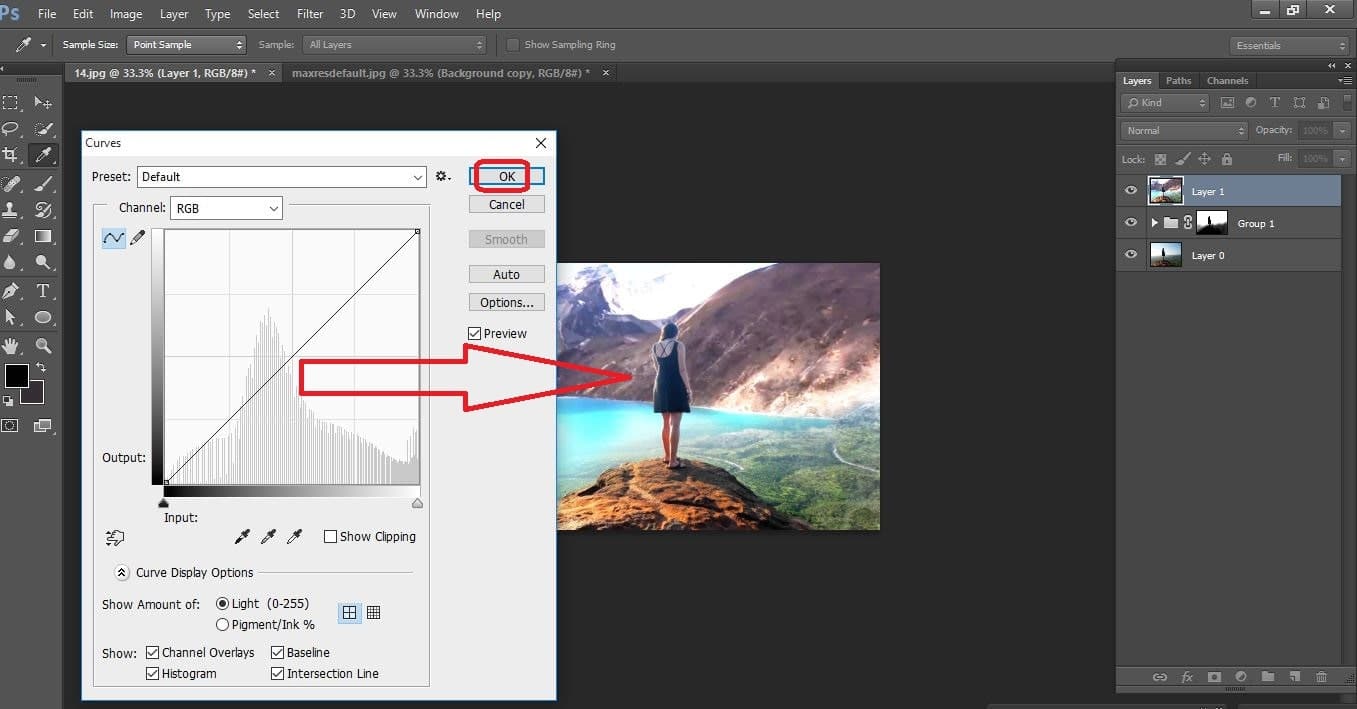
Now press shift+ctrl+alt+E now adjust overall tonal range with curves adjustment
clipping path service provider
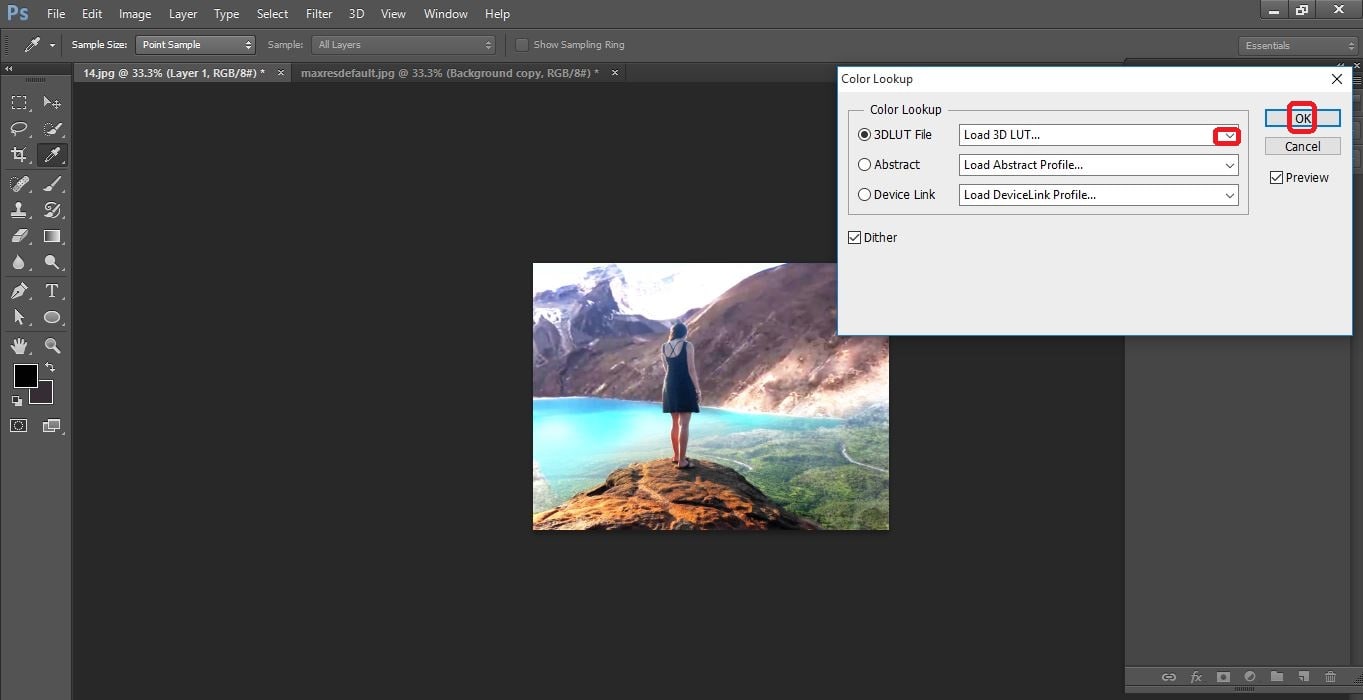
Now apply color lookup 3d lut to color tone your photo
clipping path service provider
Now finally increase contrast amount to your preference

clipping path service provider
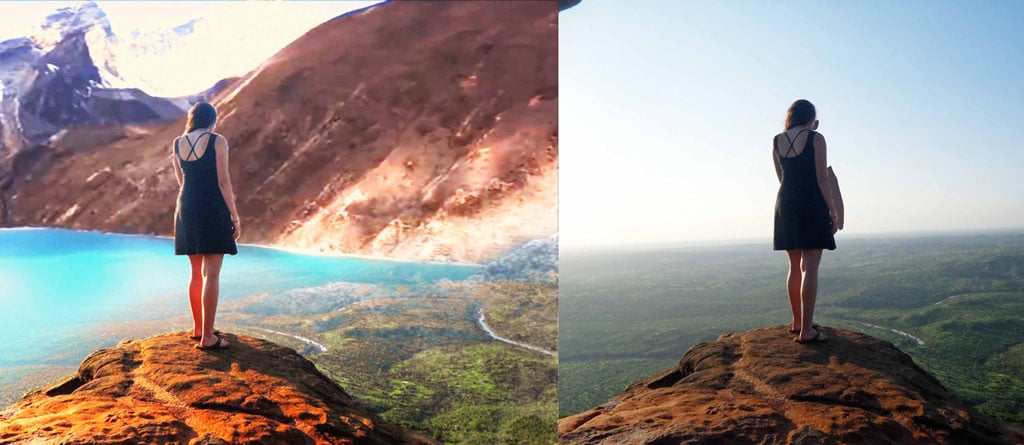
That it now difference between before and after
clipping path service provider
Now is the time to look at the image and determine what it needs to finish it. You might need to tweak the Himalaya Everest and lightness using a Curves adjustment on the photo layer now that the Himalaya Everest is actually in place in the image.
In some cases you’ll see a halo result round the tree branches and leaves or on the perimeters of buildings wherever the 2 pictures area unit integrated. You can remove these using the brush tool by painting over these areas with a low Exposure brush and with the Range setup.
Contents
How to add beautiful Himalaya Everest to moody photos in Photoshop video Tutorials
If You Have Any Question About This Please Comment.
Join our Facebook, Youtube, Google+, Twitter page to learn more video.


Leave a Reply
Want to join the discussion?Feel free to contribute!