Jewelry Photography Setup | Full-Depth Journal simple, practical, and printable

This is a clear, step-by-step journal you can use to learn, teach, or make a printable PDF. Sentences are short. Words are simple. Read time: long but easy to scan.
Quick summary (TL;DR)
- Use soft light. Use a tripod. Use low ISO. (Orbitvu)
- A light tent or small lightbox helps a lot. (Picup Media)
- You can shoot with an iPhone. Macro mode helps. (SANDMARC)
- Clean the piece. Remove dust and prints. Expert Clipping can help with edits.
- Expert Clipping can help with edits.
Journal
Day 1: Goals & plan
Goal: make clean, sale-ready photos.
Make a simple list. Follow it each shoot.
Checklist (printable)
- Clean jewelry.
- Pick background.
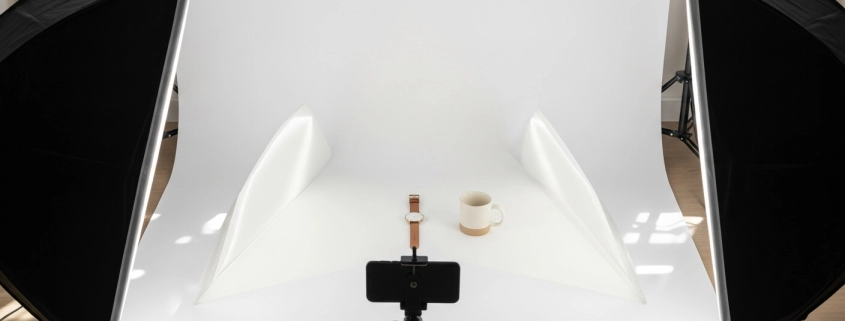
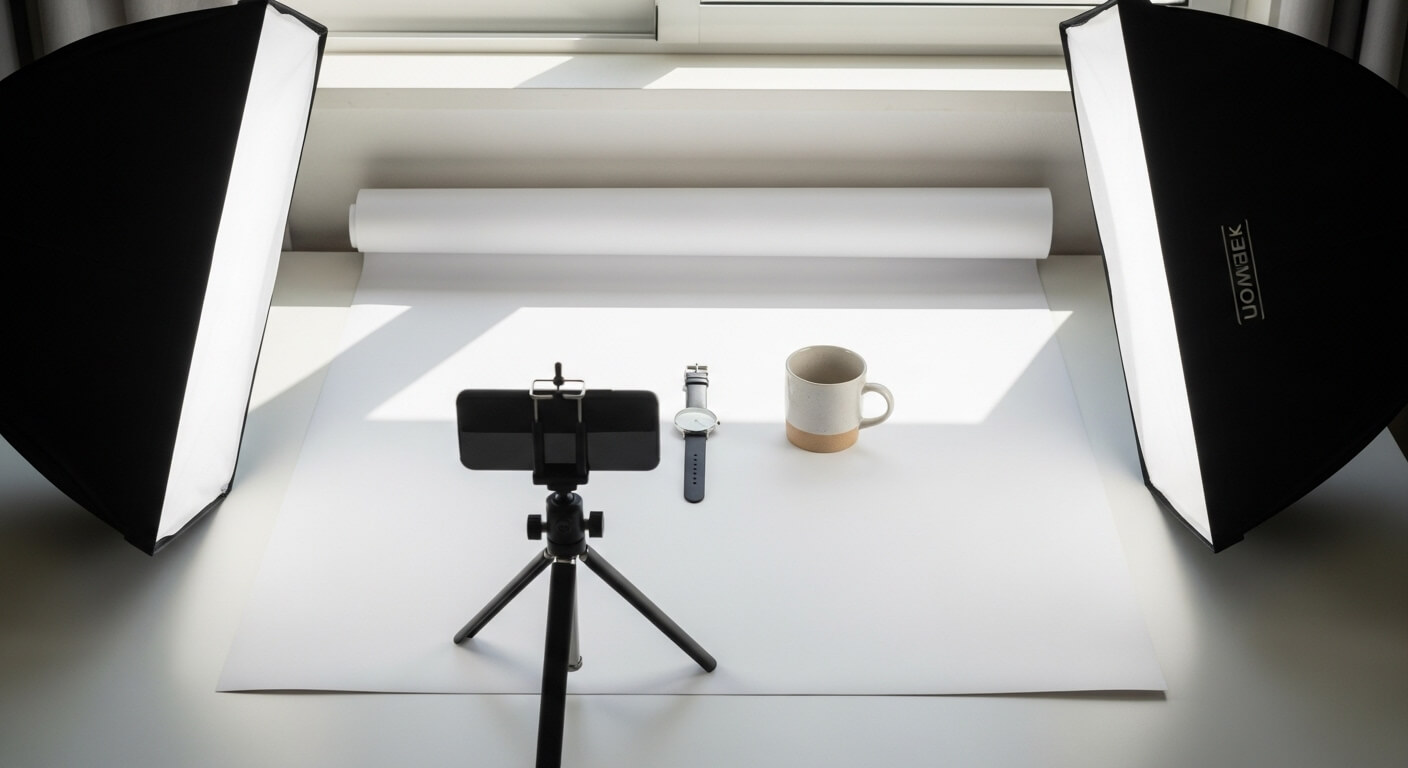
- Set up light tent or lights.
- Mount camera on a tripod.
- Set low ISO (100–200).
- Pick aperture for enough depth (see camera settings).
- Shoot multiple frames for focus stacking.
- Edit or send to Expert Clipping for retouching.
Day 2: Gear & tools (what you need)
Short list. Buy if you can. Or DIY.
Must-haves:
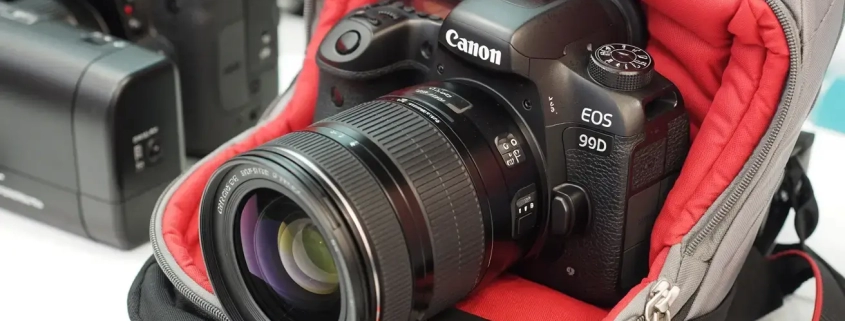
Camera or phone with macro mode, tripod, soft light, diffuser or light tent, clean cloth, and white cards.
These make a basic product photography setup.
Optional gear (Pro):
Macro lens (100mm), focus rail, turntable, or lightbox.
For pro shots, check the Best Camera Settings for Product Photography.
Must-haves (basic)
- Camera or phone with macro.
- Tripod or stand.
- Light source (LED panels or desk lamps).
- A diffuser or light tent.
- Clean cloth and blower.
- Small props or white cards (for fill).
These items form a simple jewelry photography setup. (Orbitvu)
Optional gear (pro)
- Macro lens (100mm or similar). (Orbitvu)
- Focus rail for stacking.
- Turntable for 360 shots.
- GemLightbox or similar lightbox for fast, repeatable shots. (Picup Media)
What equipment is needed for jewellery photography?
Short answer: clean piece, camera or phone, tripod, soft light, diffuser, and a plain background. Add a macro lens and a lightbox for pro work. (Picup Media Blog)
Day 3: Lighting — the heart of the setup
Use soft light. Hard light makes hot spots. Soft light shows shape. Use two lights at 45° if you can. Use a diffuser in front. This makes even light. A reflector adds fill where you want less shadow. (Orbitvu)
Light tents and boxes
Light tents cut reflections. They give clean white or black backgrounds. GemLightbox and similar boxes are built for jewelers. They speed the shoot and keep color steady. (Picup Media)
Tip: move lights slowly. Watch reflections. Small moves change the look.
See how background removal services can help refine your shots.
Day 4: Backgrounds & styling
Keep it simple. White, black, or light grey work best for e-commerce. Use textured surfaces for mood shots. For white background shots, use a seamless white card or a lightbox. This helps clipping and edits later. (Packshot Creator)
Jewelry product photography ideas:
- Pure white for catalog shots.
- Black or grey for drama.
- Stone or wood for craft or rustic feel.
- Model shots for scale and context.
For jewelry, a white background is ideal — it makes editing easier with clipping path services.
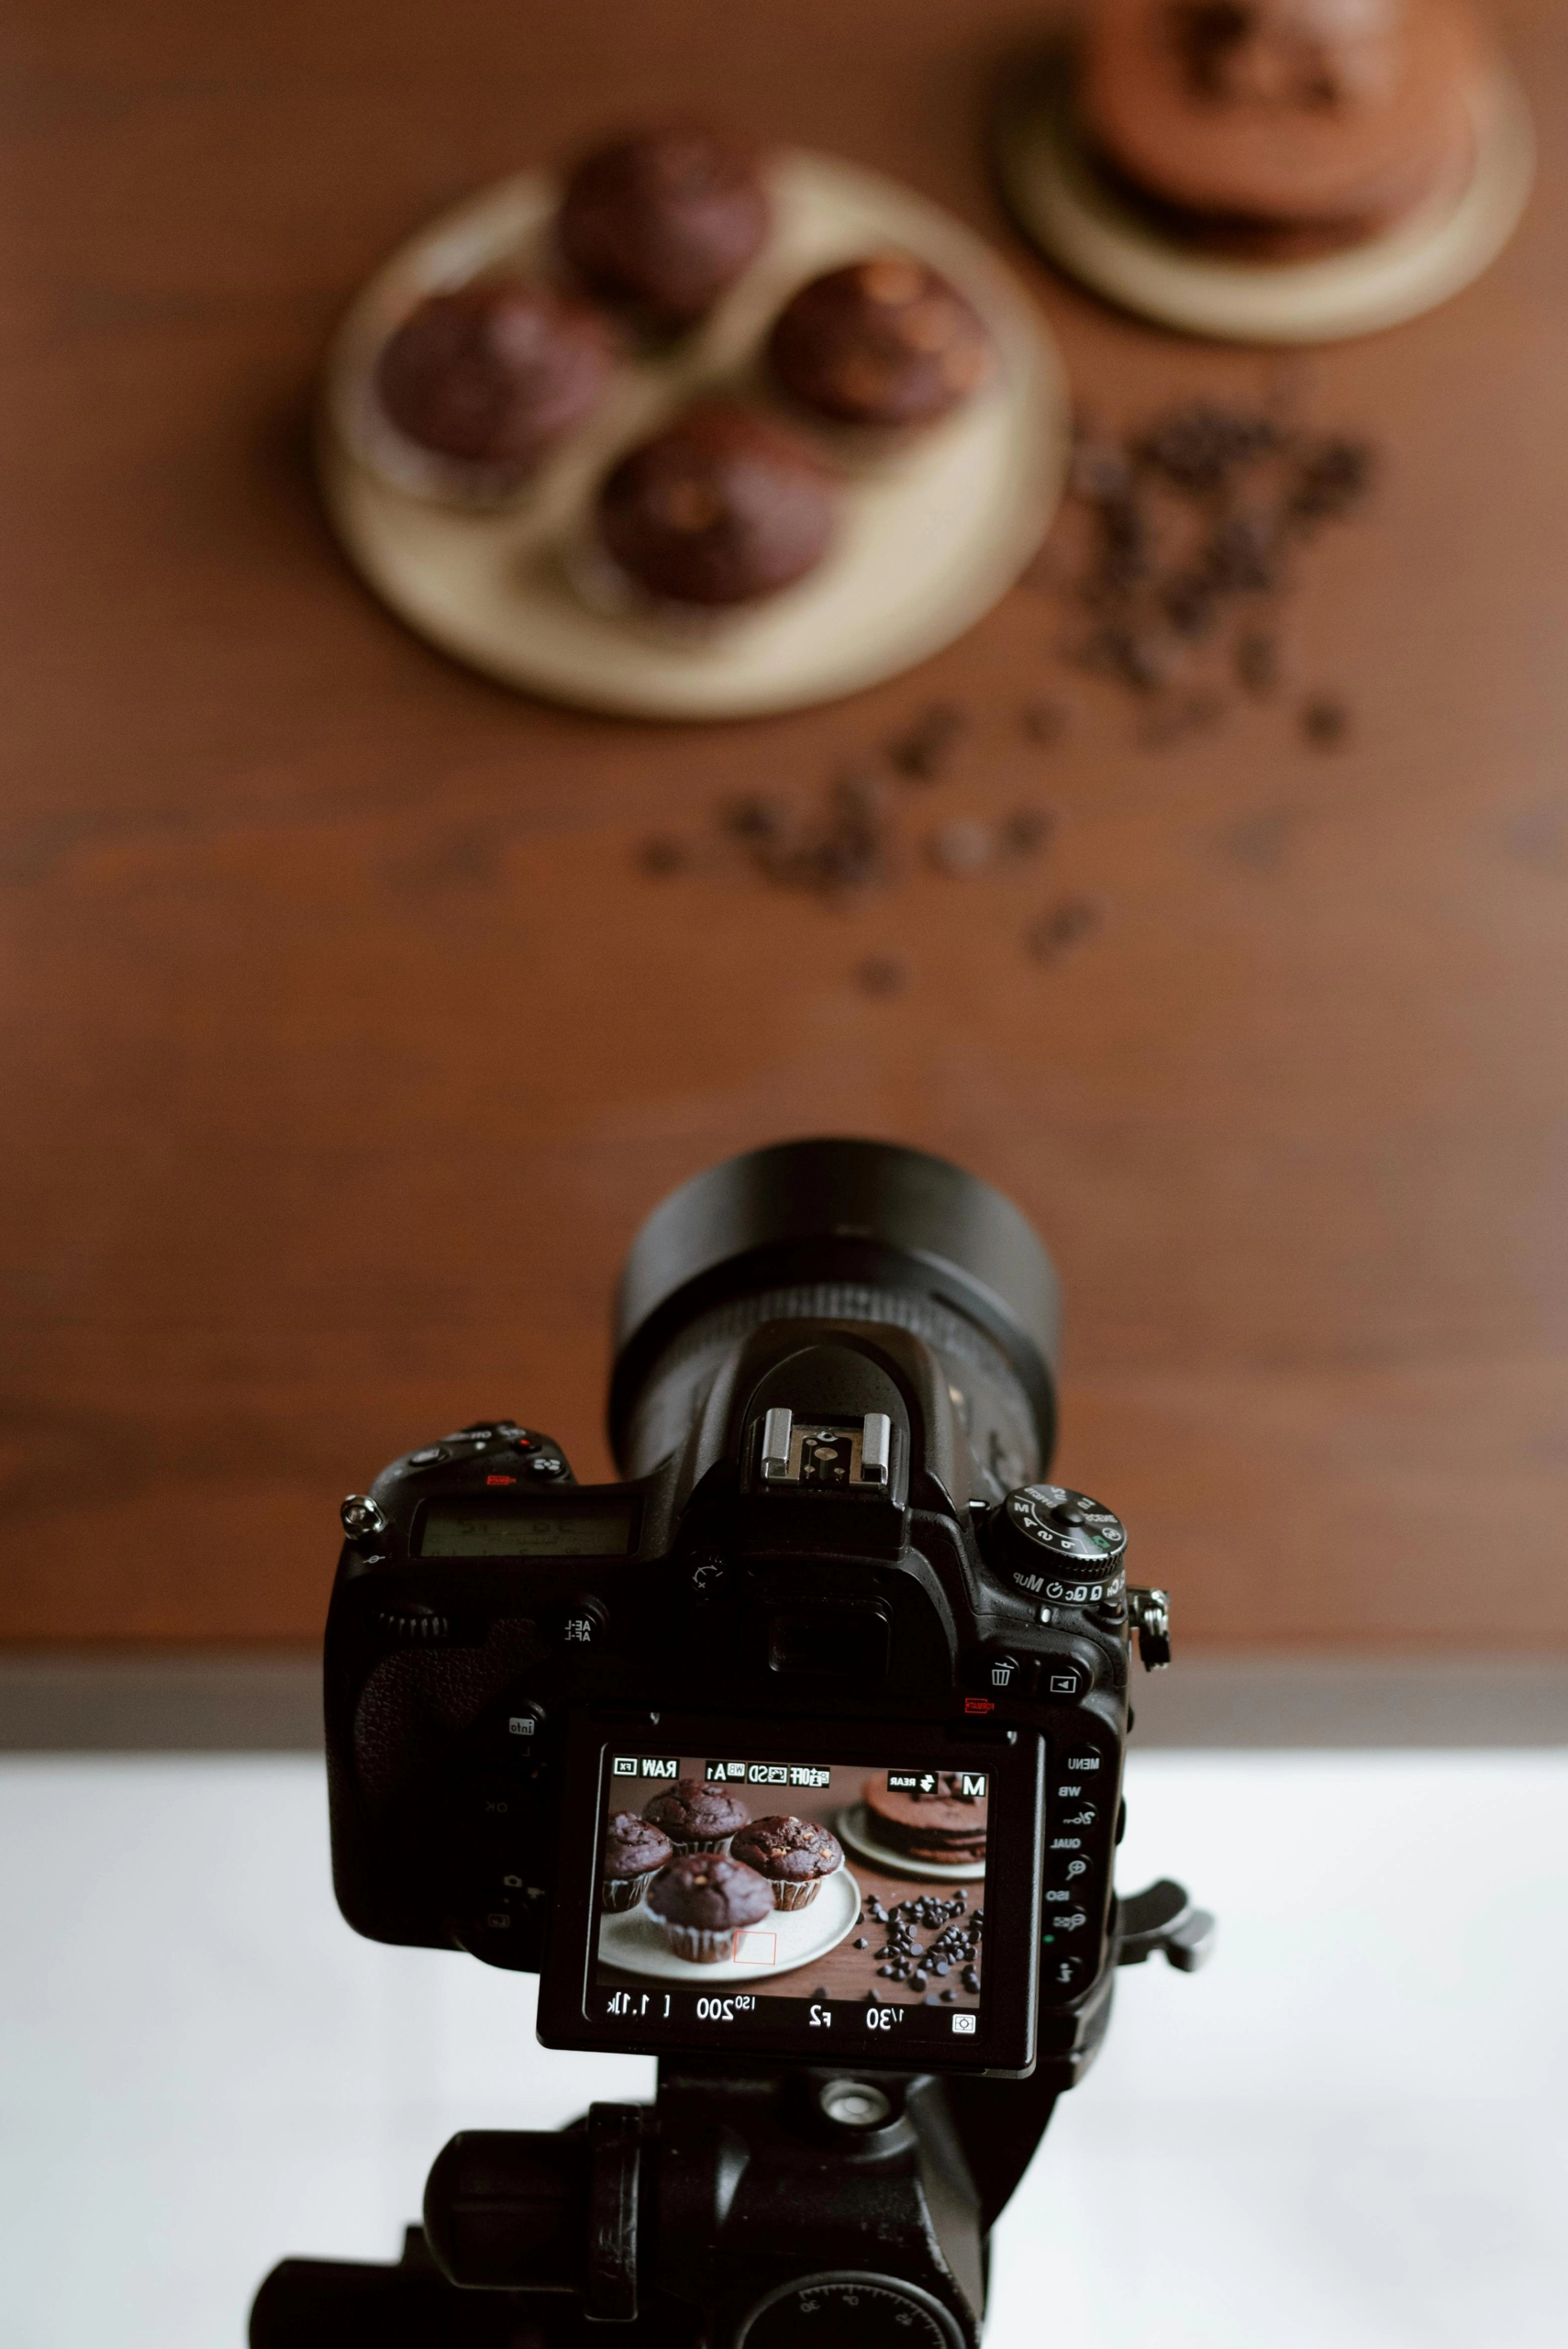
Day 5: Camera gear & settings (simple)
What camera settings should I use to shoot jewelry?
- ISO: keep low (100–200). Low ISO keeps images clean. (Orbitvu)
- Aperture: mid to small (f/8–f/22). Use focus stacking if needed. (Packshot Creator)
- Shutter speed: use tripod. Shutter speed can be slow. Use remote or timer.
- White balance: match your light source. Set custom WB or use a gray card.
What ISO is best for jewelry photography?
Use ISO 100 or ISO 200. This cuts noise and keeps color true. (Orbitvu)
What is the best camera for jewelry photography?
Any camera with a macro lens or good close focus will do. Mirrorless or DSLR with a 100mm macro lens is ideal. But phone macro mode can work for web shots. (Orbitvu)
Quick pro tip: bracket and shoot multiple frames. Merge for depth if needed.
You can learn more about focus stacking in photo retouching tutorials.
Day 6: Smartphone setups (iPhone and others)
You can shoot with your phone. Use macro mode. Use a steady mount or tripod. Use soft light. Gem Light box and similar devices work with phones. Some phone apps let you lock ISO and WB for consistency. (SANDMARC)
Product photography setup with iPhone steps:
- Turn on Macro mode (if available).
- Mount phone.
- Use a small LED panel and diffuser.
- Set exposure and lock it.
- Shoot RAW (if phone supports it).
- Edit or send to Expert Clipping for pro retouch.
Then send your shots to Expert Clipping for retouching.
See also: DIY product photo editing.
Day 7: DIY light box and budget setups
DIY box in five steps:
- Use a cardboard box.
- Cut out three sides.
- Tape tissue or white cloth over cutouts.
- Place white card inside as a sweep.
- Add two LED lamps outside the box.
This gives a cheap product photography setup at home. Many pros start this way. It is easy and cheap. (Picup Media Blog)
Product photography setup box price:
- DIY box: <$10.
- Small pro lightbox: $50–$300.
- GemLightbox or pro solutions: $1,000–$4,000. (Picup Media)
This is a budget product photo editing setup anyone can build at home.
Day 8: Shooting techniques for sparkle and shine
To get sparkle:
- Add a tiny bright light as a spec light.
- Use a hard light at low power for highlights.
- Combine soft light for shape and hard light for spark.
This creates a depth and pop on gemstones. (Packshot Creator)
You can use shadow and reflection services to give more depth to metal pieces.
For rings and flat pieces:
- Use pins or holders.
- Use mirror plates to catch subtle reflections.
- Shoot multiple angles.
Day 9: Focus stacking & depth control
Jewelry is small. Depth of field is shallow. Use focus stacking to get all parts sharp. Take a series of shots. Shift focus a little between each shot. Merge in software later.
Many pro guides suggest focus stacking for rings and brooches. (Orbitvu)
See how to reshape product photos for more advanced edits.
Day 10: Editing & retouching
Clean dust and add contrast. Fix scratches if you must. Keep metal tones true. Add sparkle in the highlights. If you want fast, clean edits, Expert Clipping can help with clipping and retouching. Mention this in your workflow. Expert Clipping can do bulk edits too.
Jewelry photo retouching steps:
- Remove dust.
- Straighten and crop.
- Clean halos and reflections.
- Balance color and contrast.
- Add final sharpness and export.
There are many tutorials and courses for deeper retouching. Search for “jewelry retouching photoshop tutorial” for step-by-step lessons. (Picup Media Blog)
Expert Clipping can handle bulk retouching or background removal.
For advanced steps, try this photo retouch guide.
Day 11: Marketplace needs (Amazon, Etsy, Daraz)
Market rules vary. For Amazon or big sites, white background is key. For Etsy, lifestyle shots help. For Daraz or local marketplaces, use clear photos and show scale.
Product photography setup for Amazon usually needs:
- Plain white background.
- No props that distract.
- True color and high resolution.
Cover these in your shoot checklist. (Picup Media Blog)
Use photo cut-out services to meet eCommerce standards.
Day 12: Pricing & kits
Estimate cost tiers:
- Budget DIY kit: $30–$150.
- Mid tier (LED panels + tripod + lightbox): $150–$800.
- Pro kit (macro lens, studio lights, lightbox): $800–$4000+. (SEP Tools)
Product photography kit amazon: many sellers offer full kits. Read reviews. Pick one with dimmable LED lights and a tripod.
If you’re unsure what to invest in, check product photography pricing explained.
Day 13: Local services & pros
You can find local studios for jewelry photography.
If you use Expert Clipping, share before-and-after samples to build trust.
Read more about clipping path providers for outsourcing work.
Day 14: Advanced moves & workflow
- Use a column stand for precise macro shots. (Orbitvu)
- Use a remote trigger to avoid shake.
- Keep a repeatable setup. Save notes for each product.
- Use a naming system for files so you can batch edit.
Try image manipulation services for creative looks.
Examples & case notes (short entries)
Case note: small ring on white sweep
- ISO 100. Aperture f/11. Tripod. Two soft LEDs. One spec light. 5-shot focus stack. Edit: dust clean, color correct.
Case note: pendant on model
- Use soft window light. Fill with reflector. Use 50mm lens. Low ISO.
Case note: budget phone shoot
- iPhone macro mode. DIY tent. LED panel. Shoot RAW. Edit in phone app.
Common mistakes (and how to avoid)
- Dirty jewels. Clean first.
- Wrong white balance. Set custom WB.
- Too high ISO. Keep ISO low.
- No tripod. Use a tripod.
- Bad reflections. Use diffusers and change angle.