How to Make TIFF Clipping Paths Work in Illustrator
Ever tried importing a TIFF with a clipping path service into Illustrator only to see it fail? Don’t worry—it’s a common issue. The key is knowing whether your TIFF has an embedded path from Photoshop or if you need to create one in Illustrator. Over the years, I’ve faced both cases, and the solutions are simpler than they seem. Let’s walk through the methods, fixes, and pro tips that work best.
Contents
- 1 What Are Clipping Paths in Illustrator?
- 2 Method 1: Creating a Clipping Path from Scratch
- 3 Method 2: Using an Existing TIFF Clipping Path
- 4 Troubleshooting Common Illustrator Clipping Path Issues
- 5 Why Does My Image Disappear in Illustrator?
- 6 Photoshop Clipping Path to Illustrator Workflow
- 7 Making a Compound Path Work as a Clipping Path
- 8 Checklist: Ensuring Your TIFF Clipping Path Works
- 9 Comparing TIFF Clipping Path vs Image Masking
- 10 What I Like
- 11 What Could Be Better
- 12 My Personal Experience with Illustrator Clipping Paths
- 13 Comparing with Other Services
- 14 Recommendation
- 15 FAQs for TIFF Clipping Path in Illustrator
- 16 Top 10 Clipping Path Companies
- 17 Conclusion
What Are Clipping Paths in Illustrator?
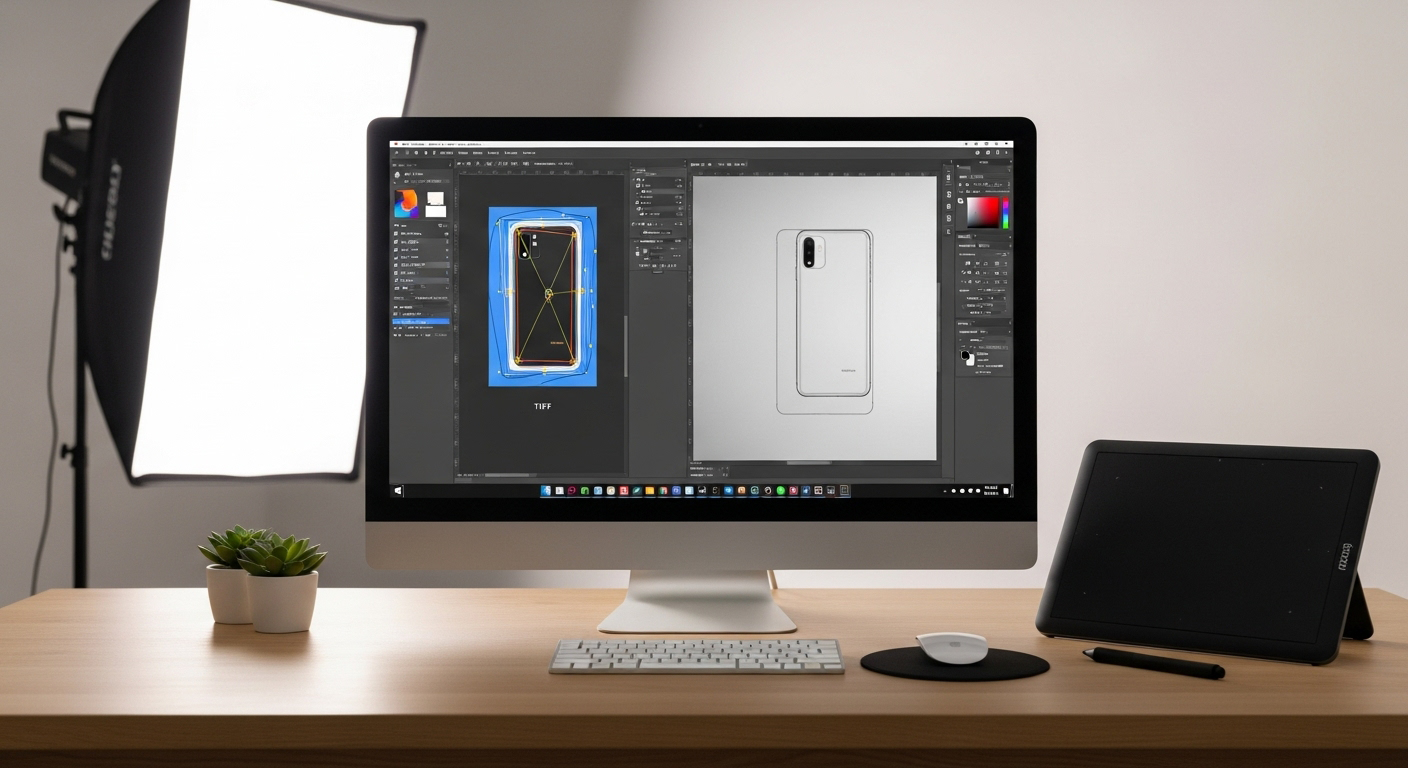
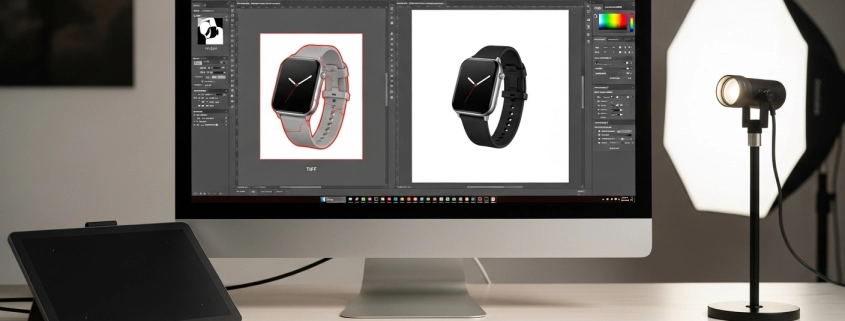
A clipping path is a vector shape that masks parts of an image so only the desired area is visible. Think of it like cutting a photo with scissors but in digital form. In Illustrator, clipping paths are often used for product photos, logos, and designs where clean edges matter. If your TIFF already has a path from Photoshop, Illustrator can read it, but sometimes manual setup is needed.
Method 1: Creating a Clipping Path from Scratch
If your TIFF doesn’t have a built-in path, you can create one inside Illustrator. Place your TIFF, draw a vector path with the Pen Tool, then select both the image and path. Use Object > Clipping Mask > Make or Cmd/Ctrl+7. This method works well for eCommerce when you need precision or a photo clipping path service.
Method 2: Using an Existing TIFF Clipping Path
When a TIFF is saved with a clipping path in Photoshop, Illustrator can use it. Place the TIFF, then go to Object > Clipping Path > Options. From the dropdown, choose the embedded path. You can adjust margins with “Inset Frame” or even invert the path. This approach saves time since the heavy lifting is already done in Photoshop. The key: ensure your Photoshop path is saved before exporting the TIFF.
Troubleshooting Common Illustrator Clipping Path Issues
If your clipping mask isn’t working, the most likely issue is the layer order—your mask must sit above the image. Another mistake is using grouped objects as a mask; Illustrator only accepts a single path, so make it a compound path first (Object > Compound Path > Make). If your TIFF still doesn’t mask correctly, check whether it was exported with a path or alpha channel.
Why Does My Image Disappear in Illustrator?
Sometimes the image vanishes when applying a clipping path. This happens when the mask overlaps nothing or is misaligned. Another cause is that the path wasn’t closed—open paths won’t clip. The fix is to redraw the shape, ensure it fully covers the image area, and then reapply the mask. A simple test: fill your path with a color before masking to see if it covers the right area.
Photoshop Clipping Path to Illustrator Workflow
If you’ve created a clipping path in Photoshop, export your file as a TIFF with the path saved. When you place it in Illustrator, go to the clipping path dialog and choose your saved path. This is especially useful for fashion and product shots where backgrounds need removing. For U.S. sellers on Amazon or Shopify, this method ensures consistency across platforms.
Making a Compound Path Work as a Clipping Path
Sometimes you’ll need to mask with multiple shapes. Illustrator won’t accept multiple objects as a mask unless you make them into a Compound Path. Select all the shapes, go to Object > Compound Path > Make, then apply the clipping mask. This is handy for complex outlines like jewelry or furniture where a single shape won’t capture the detail.
Checklist: Ensuring Your TIFF Clipping Path Works
- Place the TIFF correctly.
- Confirm the path exists (Photoshop) or create one (Illustrator).
- Keep the mask layer above the image.
- Use single objects or compound paths.
- Test by inverting or adjusting margins if results look off.
Summary: Following this checklist prevents most Illustrator clipping path issues.
Comparing TIFF Clipping Path vs Image Masking
Clipping paths work best for sharp edges like products. Masking is better for soft edges like hair. In eCommerce, both methods matter. A professional clipping path company often combines them.
What I Like
- TIFF clipping paths save huge time when prepped in Photoshop.
- Illustrator makes paths reusable without losing image quality.
- I’ve had great success with product catalogs where consistency matters.
What Could Be Better
- Illustrator doesn’t always recognize Photoshop paths smoothly.
- Complex objects often require compound paths, which take time.
- TIFF with transparency sometimes works better than clipping paths.
My Personal Experience with Illustrator Clipping Paths
I’ve used clipping paths for years in catalogs, often for U.S. clients. Clean edges, fast workflow, and time saved are the big wins. I also combine them with ghost mannequin services and retouching for fashion shots.
- Clean product edges every time.
- Faster workflow when using pre-saved paths.
- Saved countless hours when editing high-volume catalogs.
- Works best when combined with Photoshop masking for tricky objects.
Comparing with Other Services
I’ve worked with ghost mannequin service, masking, and color change services. Each has strengths, but for sharp product edges, TIFF clipping paths stand out.
TIFF Clipping Path vs Image Masking: Quick Comparison
| Feature | TIFF Clipping Path | Image Masking |
| Best For | Sharp edges, products | Soft edges, hair/fur |
| Format | Vector paths | Pixel-based |
| Speed | Faster for clean cuts | Slower for detail |
| Integration | Illustrator + Photoshop | Mostly Photoshop |
Recommendation
If you work with eCommerce images, catalogs, or U.S. retail platforms, TIFF clipping paths in Illustrator are a must-know. Use them for consistent results on Amazon or Shopify. But if your work involves soft details like fabric or hair, combine them with masking. My advice: learn both so you can switch methods depending on the project.
FAQs for TIFF Clipping Path in Illustrator
Why isn’t my clipping mask working in Illustrator?
Because the mask isn’t on top or isn’t a single object. Fix by reordering and making a compound path.
How do I use a clipping path in Illustrator?
Place the TIFF, select the path and image, then go to Object > Clipping Mask > Make.
Why does my image disappear when I make a clipping mask?
The path isn’t closed or doesn’t cover the image. Redraw it and reapply the mask.
How do you convert a clipping path to a path in Illustrator?
Select the embedded path from the TIFF and expand it into editable vector shapes.
Can TIFF images with clipping paths be used across apps?
Yes, but only Adobe apps support them fully. For others, save with alpha channels.

Top 10 Clipping Path Companies
| Rank | Company | Services | Pricing (from) | Notable Strength |
| 1 | Expert Clipping | Clipping path, masking, retouching | $0.25 | Fast delivery + pixel-perfect results |
| 2 | Path (Clipping Path India) | Background removal, retouching | $0.39 | “Pixel Perfect Guarantee” |
| 3 | Zenith Clipping | Clipping, retouching, color correction | $0.25 | Affordable, high quality |
| 4 | Pixelz | AI + manual clipping | $0.29 | 1-hour turnaround |
| 5 | Pixc | Background removal, automation | $0.39 | Easy platform |
| 6 | Clipping Path Studio | Ghost mannequin, retouching | $0.29 | High-volume capacity |
| 7 | Dear Clipping | Vector conversion, shadow effects | $0.25 | 24/7 availability |
| 8 | Clipping Path Specialists | Background removal, masking | $0.35 | Reliable editing team |
| 9 | Clipping Path House | Ecom image editing, retouching | $0.30 | Strong customer service |
| 10 | Path Edits | Clipping, retouching | $0.33 | Balanced pricing + quality |
Conclusion
Working with TIFF clipping paths in Illustrator doesn’t have to be tricky once you understand the workflow. The key is knowing whether your TIFF has a saved path from Photoshop or if you need to draw one directly in Illustrator. From placing the file to creating or applying paths, each step builds toward clean, professional results.
I’ve seen these methods save hours when editing catalogs for U.S. eCommerce clients, especially on platforms like Amazon and Shopify where consistent product images are non-negotiable. If you combine clipping paths with masking techniques, you’ll have the flexibility to handle both sharp edges and soft details with confidence.
So next time your image disappears or your mask fails, remember: check your layers, confirm your path, and apply the right method. With practice, Illustrator and TIFF clipping paths can become one of the most reliable tools in your photo editing workflow. #Illustratorclippingpathissue


Leave a Reply
Want to join the discussion?Feel free to contribute!