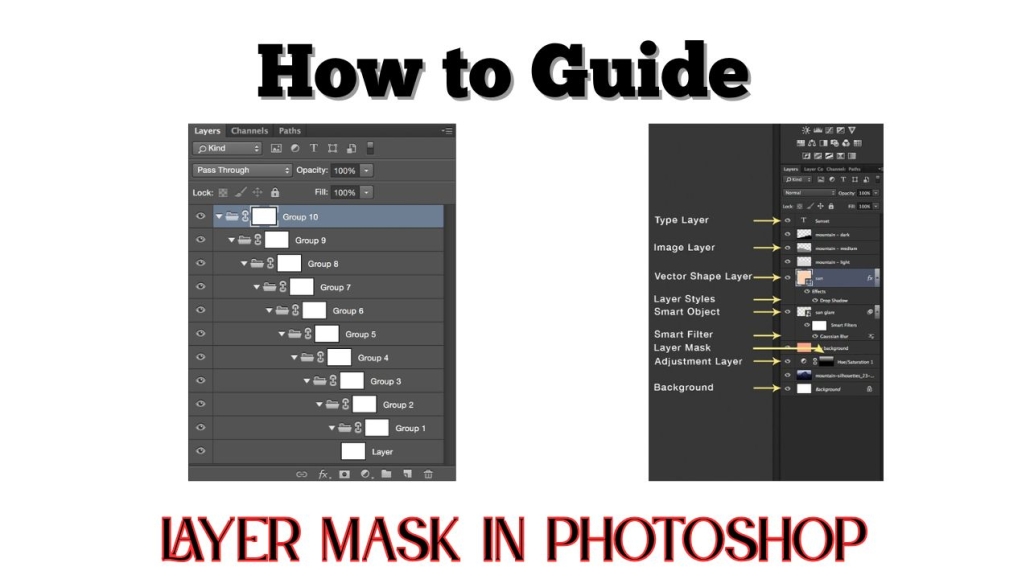
How to Create a Layer Mask in Photoshop
Let’s be real Photoshop can feel like a whole other universe when you’re just starting out. I remember opening it for the first time, staring at all the tools, and thinking, “Where do I even begin?” But if there’s one tool that changed the way I edit—like, for real—it’s the layer mask.
If you’ve ever made an edit and wished you could undo just part of it, layer masks are your new best friend. They give you total control, without any of the pressure of making permanent changes.
Contents
- 1 What Is a Layer Mask?
- 2 Why Not Just Use the Eraser?
- 3 Setting Up: Before You Dive In
- 4 Step-by-Step: How to Create a Layer Mask
- 5 Real Talk: Masking Changed My Workflow
- 6 Tips to Make Masking Even Easier
- 7 Common Mistakes (I’ve Made Them All)
- 8 Try These Cool Masking Tricks
- 9 Final Thoughts: You Got This
- 10 FAQs
What Is a Layer Mask?
Quick Answer: A layer mask lets you hide or reveal parts of a layer without deleting anything. Think of it like turning off a light instead of smashing the bulb.
Let me put it this way: imagine you’re coloring with a marker on a white sheet of paper. But instead of erasing your mistakes, you’re just covering them with invisible ink that you can remove later. That’s a layer mask in action.
Why Not Just Use the Eraser?
Short Answer: Because layer masks are non-destructive. You can undo changes anytime—no regrets, no mess.
I used to reach for the eraser tool all the time until I accidentally deleted part of a friend’s face in a group photo. Not a good look. That’s when I learned the magic of masking. It’s like Photoshop’s version of a safety net.
Setting Up: Before You Dive In
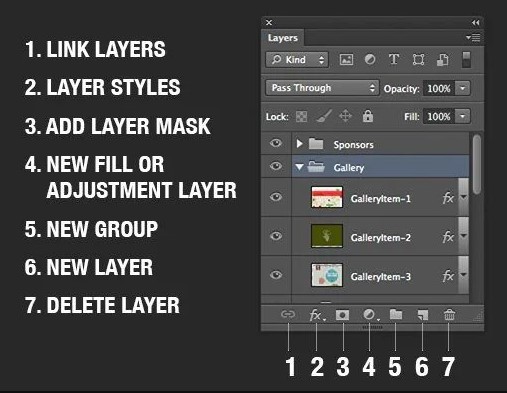
Quick Tip: Open your Layers panel (Window > Layers). It’s your Photoshop dashboard.
Before you jump in, make sure your workspace is tidy. I usually close all unnecessary panels and just keep Layers, Tools, and Properties open. It helps me stay focused—like clearing your desk before starting a project.
Step-by-Step: How to Create a Layer Mask
This part’s easy, promise. Once you try it, you’ll wonder how you ever edited without it.
Step 1: Open Your Image
Shortcut Tip: Drag and drop your photo into Photoshop. That’s it.
You don’t need to overthink this. Any image will do. I usually start with something simple—like a product photo or a landscape.
Step 2: Unlock the Layer
Shortcut Tip: Click the lock icon next to “Background” in the Layers panel.
Photoshop locks background layers by default. Just click it once to unlock, and boom—you’re ready to go.
Step 3: Add a Layer Mask
Shortcut Tip: Click the icon that looks like a square with a hole (bottom of the Layers panel).
Click it, and you’ll see a white box pop up next to your image layer. That’s your mask. It’s like Photoshop just handed you a magic wand.
Step 4: Select the Brush Tool
Shortcut Tip: Hit “B” on your keyboard.
Brush tool selected? Cool. Now we paint. But not like Bob Ross—we’re painting in black, white, or gray.
Step 5: Paint to Hide or Reveal
Black hides. White shows. Gray blends. Simple, right?
Here’s a metaphor: black is like blackout curtains, white is like an open window, and gray is like a sheer drape. That’s how the mask works.
I usually paint with black to hide parts I don’t want, then switch to white to bring them back if I change my mind. You can toggle between black and white with the “X” key.
Real Talk: Masking Changed My Workflow
When I started retouching portraits, layer masks gave me the power to smooth skin without blurring details, change backgrounds cleanly, and even blend two photos together like a pro. Once, I used a mask to remove a huge glare on a product photo, and the client thought I re-shot the whole thing. Nope—just a mask and some brushing magic.
Tips to Make Masking Even Easier
1. Use a Soft Brush
Quick Win: Set hardness to 0% for smooth, natural edges.
Harsh lines? Nope. You want your edits to blend, not shout. A soft brush does the trick every time.
2. Zoom In and Take Your Time
Shortcut: Cmd + (Mac) or Ctrl + (Win) to zoom.
I always zoom in when I’m working around tricky edges like hair or jewelry. It’s worth the extra few minutes.
3. Try Selections First
Pro Tip: Use the Quick Selection Tool, then click “Add Mask.”
Let Photoshop do the hard part. I use selections all the time—especially for complex shapes or background replacements.
Common Mistakes (I’ve Made Them All)
Mistake 1: Painting on the Image, Not the Mask
Fix It Fast: Click the white thumbnail (not the image!) before brushing.
I did this for months before realizing why nothing was happening. You live and learn.
Mistake 2: Forgetting the Black-White Logic
Reminder Rule: Black conceals, white reveals.
If your brush isn’t doing what you expect, check your colors. I keep this rule stuck to my monitor—just in case.
Try These Cool Masking Tricks
1. Gradient Masks
Want to fade one image into another? Use the Gradient Tool (G) on your mask. I love doing this for sky replacements or moody transitions between scenes.
2. Double Exposure with Masks
This one’s for the creatives. Use two images, add a mask to the top one, and blend parts of it to reveal the one underneath. Add a bit of color grading and—boom—you’ve got a double exposure straight out of a movie.
Final Thoughts: You Got This
Look, Photoshop can be overwhelming. But layer masks? They’re one of those tools that just make sense once you start using them. They’re flexible, forgiving, and freakin’ fantastic.
So don’t worry about being perfect. Play with it. Paint. Erase. Undo. Redo. That’s the beauty of masks—you’re always just a brushstroke away from fixing something.
And hey, if I could go from “What the heck is this white box?” to using layer masks daily in my freelance work, you absolutely can too.
FAQs
1. What’s the fastest way to add a layer mask?
Click the mask icon at the bottom of the Layers panel. Or press Alt (Option on Mac) + click for a black mask.
2. Can I delete a mask without affecting the layer?
Yes! Right-click the mask and choose “Delete Layer Mask.” Your original image stays untouched.
3. Can I use layer masks with adjustment layers?
Totally. Adjustment layers come with masks by default—so you can control where your edits apply.
4. Why is nothing happening when I paint?
Double-check you’re painting on the mask, not the image. And make sure you’re using black or white as your brush color.
5. Can I copy a mask from one layer to another?
Yes! Hold Alt (Option) and drag the mask to another layer. It copies everything—super useful for batch edits.


Leave a Reply
Want to join the discussion?Feel free to contribute!