How to Create Ghost Mannequin Effect: Step-by-Step Guide for Stunning Product Images
When you browse top fashion websites, have you ever noticed those stylish floating garments like they’re worn by invisible people? That’s the ghost mannequin effect in action. In this detailed guide, we’ll unpack what it is, how to do it (even at home!), and why brands from e-commerce stores to fashion designers love it. We’ll also sprinkle in customer reviews, comparison tables, and real-world tips to keep it practical and fun.
So, ready to lift the curtain on this ‘invisible magic’? Let’s go!
What is Ghost Mannequin Photography?

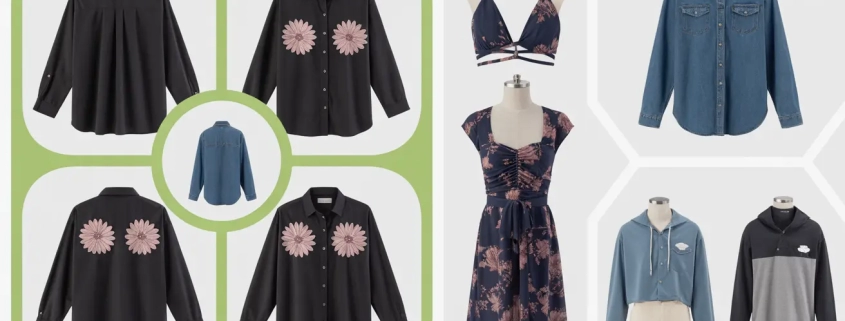
Ghost mannequin photography also called invisible mannequin is a clever product photography technique. It makes clothes look as if they’re floating without showing the mannequin or model. This style is perfect for e-commerce because it highlights the garment’s shape, fit, and details.
Think of it like showing your product on an invisible hanger but with a natural, 3D effect.
🛒 Why Is Ghost Mannequin Important for E-commerce?
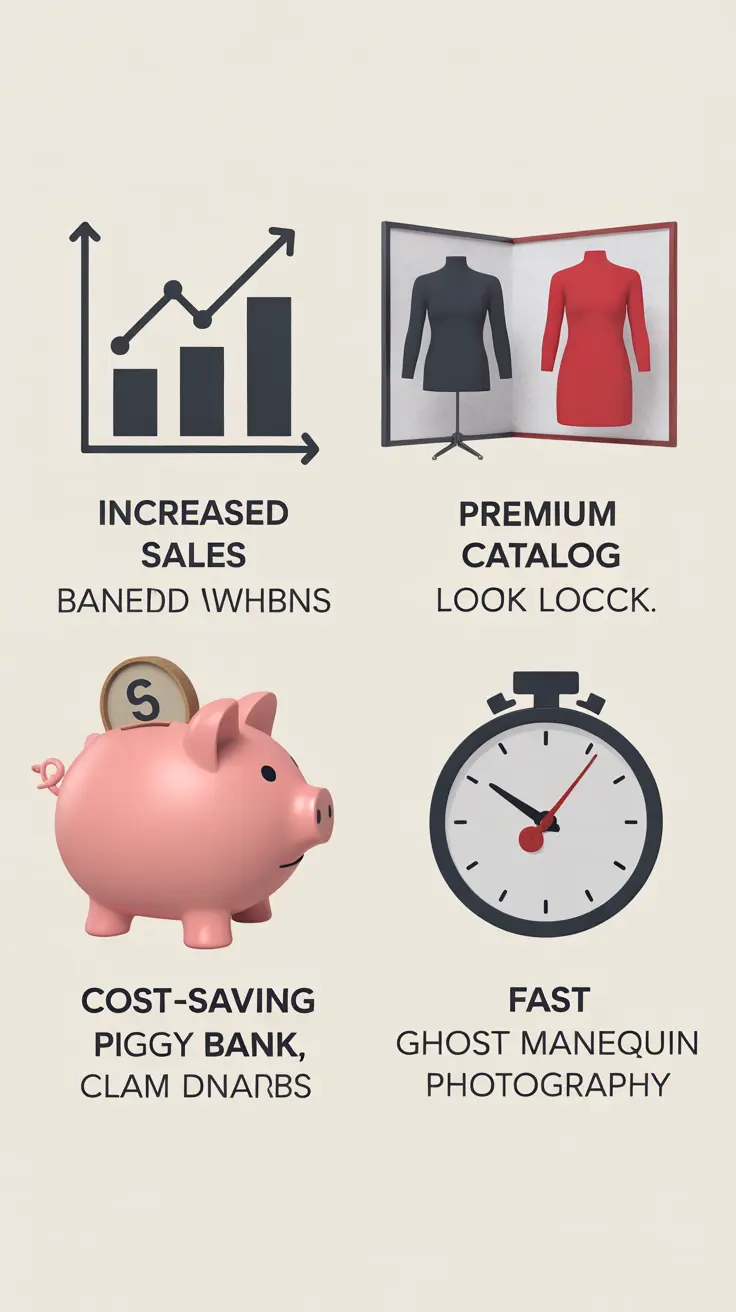
✅ Boosts sales – Shoppers see the natural shape, making them more confident to buy.
✅ Looks professional – Gives a high-end, catalog-ready feel.
✅ Cost-effective – No need to hire models for every product.
✅ Faster turnaround – Especially when you use a ghost mannequin service provider like Expert Clipping.
“After switching to ghost mannequin images, our cart abandonment dropped by 15%!” – Tara, boutique owner
📸 Equipment & Setup Checklist
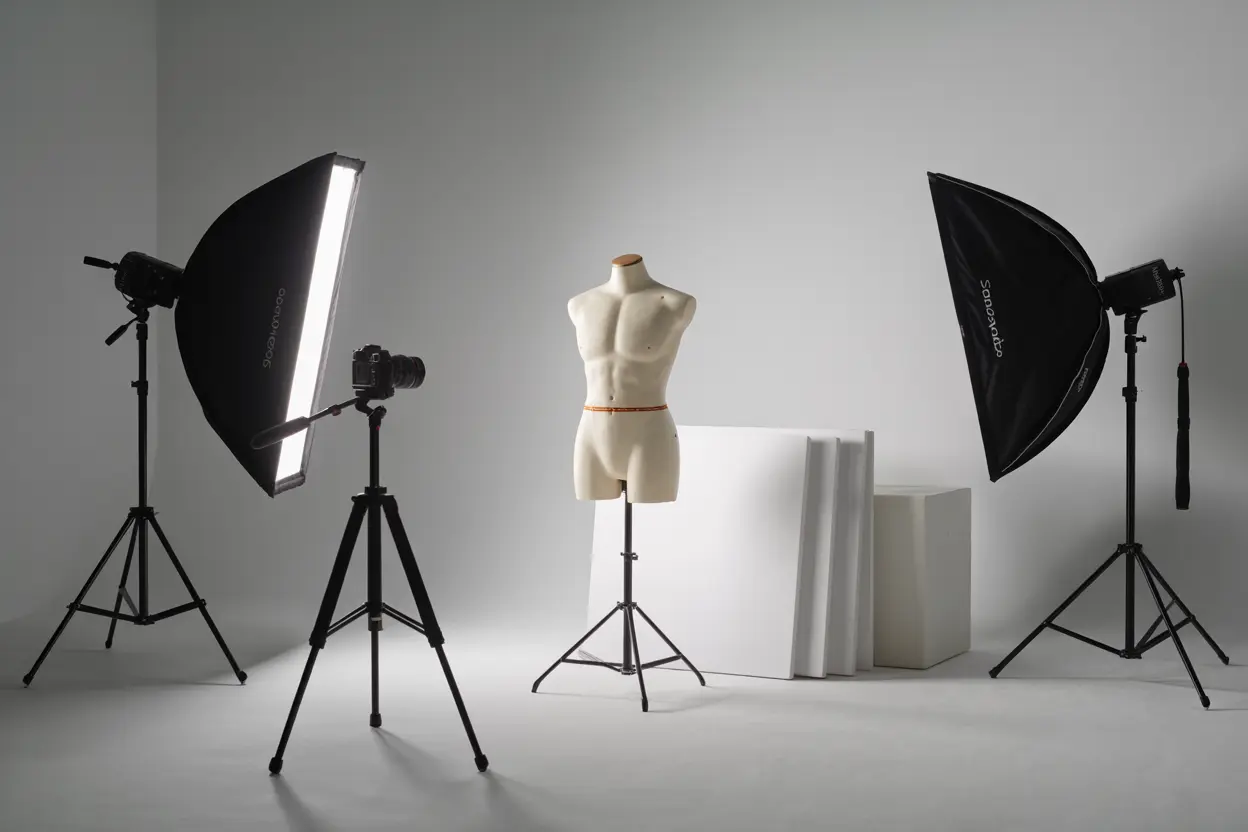
Here’s what you need to get started:
| Must Have | Nice to Have |
| White mannequin (detachable arms/neck) | Reflectors |
| DSLR or mirrorless camera | Softboxes for softer shadows |
| Tripod | Foam boards for neckline & sleeve inserts |
| White or grey backdrop | Light meter for precision |
| Photoshop or editing app | Premium lenses |
👉 Tip: Even a smartphone can work if lighting and angles are right!
✂️ How to Create Ghost Mannequin Effect Step by Step
Step 1: Dress your mannequin neatly (pin excess fabric at the back).
Step 2: Photograph the front and back.
Step 3: Take insert shots of inner labels, necklines, or sleeves.
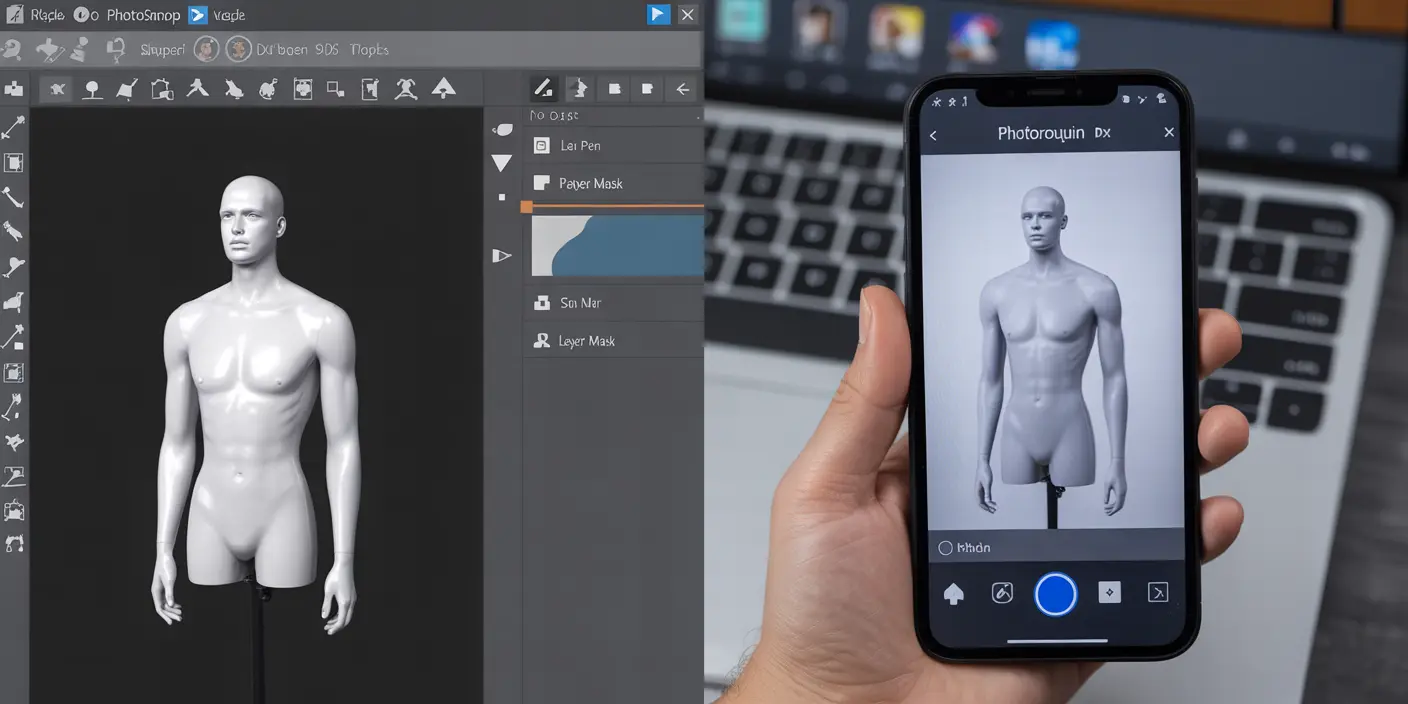
Step 4: Open images in Photoshop (or apps like Photoroom).
Step 5: Mask out the mannequin parts.
Step 6: Merge insert shots to fill empty spaces.
Step 7: Add natural shadows for realism.
Step 8: Save in web-ready format.
“We learned the steps from Expert Clipping’s blog, then let their team handle the editing for flawless results!” – Leo, Shopify seller
Want to enhance your workflow even further? Consider pairing this with photo retouching services to ensure top-tier visual output.
📷 Camera Settings & Shooting Tips
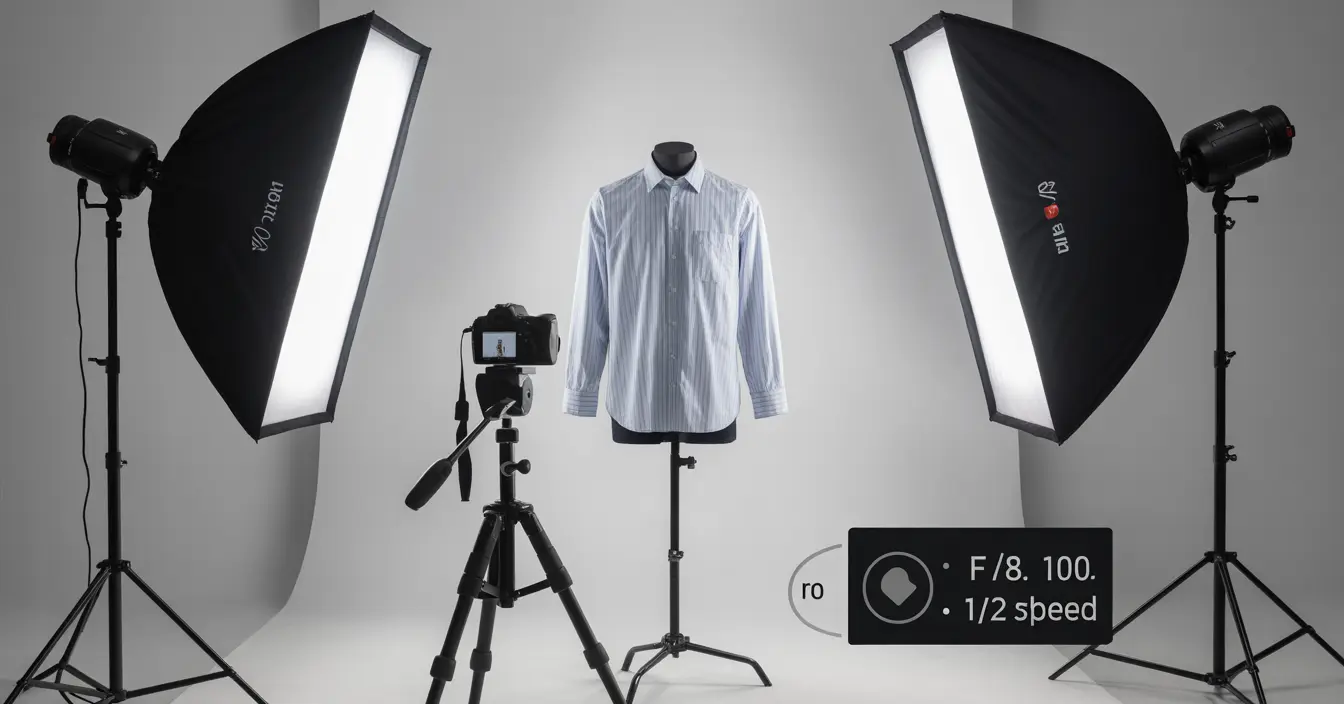
| Setting | Recommended |
| ISO | 100–400 |
| Aperture | f/8–f/11 for sharpness |
| Shutter Speed | 1/125 or faster |
| White Balance | Custom/Daylight |
✅ Use a tripod for consistency.
✅ Keep lighting soft to avoid harsh shadows.
🖌 Editing: Photoshop & App Alternatives
Which Photoshop tools work best?
- Pen Tool: Precise cutouts.
- Layer Masks: Non-destructive edits.
- Clone Stamp: Fix wrinkles.
Apps for beginners:
- Photoroom
- Canva Pro
- Remove.bg (for quick background removal)
*“Photoroom makes ghost mannequin editing easy—even for someone like me!” – Ava, Etsy seller
📊 Comparison: Ghost Mannequin vs Flat Lay
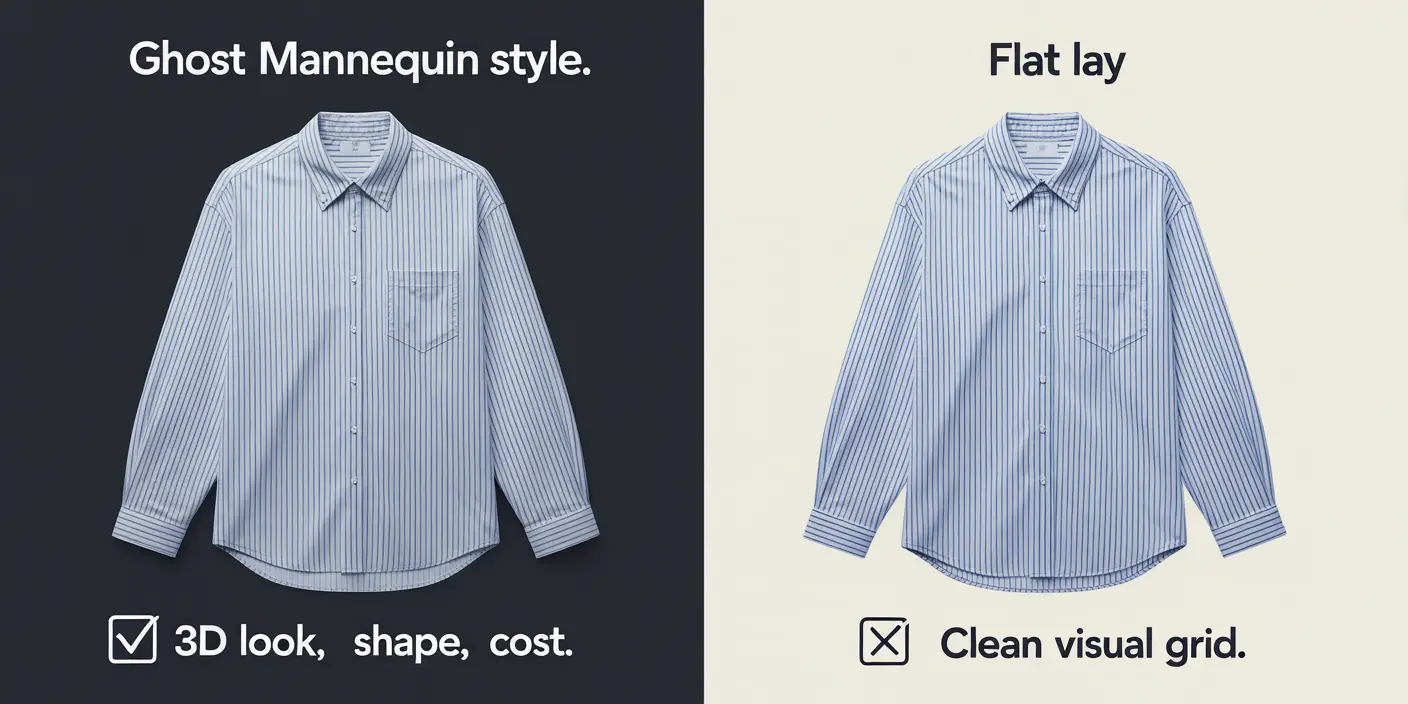
| Ghost Mannequin | Flat Lay | |
| Shows garment shape | ✅ | ❌ |
| Looks 3D | ✅ | ❌ |
| Cost | Medium | Low |
| Best for | Tops, dresses, jackets | Scarves, jeans, kidswear |
Need help deciding? Try both and Request Your First 3 Images Free from Expert Clipping.
⏰ When & Who Should Use Ghost Mannequin?
✅ Best for:
- Fashion brands & designers
- Online retailers & dropshippers
- Product photographers
✅ When:
- New collection launches
- E-commerce sales pages
- Catalog shoots
“Small brands benefit too it’s cheaper than live models!”
📍 Where to Learn & Buy Affordable Mannequins
Learn online:
- YouTube tutorials
- Expert Clipping’s blog guides
- Udemy courses
Buy mannequins:
| Store | Price Range |
| Amazon | $60–$150 |
| Mannequin Mall | $100–$250 |
| Local photo supply stores | Varies |
Tip: Start with a torso mannequin; upgrade later.
🏆 Expert Clipping Ghost Mannequin Service
Why choose Expert Clipping?
✅ 24/7 service
✅ Affordable pricing (from $0.39/image)
✅ Hybrid manual + AI editing
✅ 3-step QC
✅ Bulk discounts → Subscribe & Save on Bulk Editing
✅ Get Instant Cost Estimate with our calculator
“They saved us hours weekly and boosted our image quality overnight!”
If you’re also looking for professional ghost mannequin service with exceptional turnaround and pricing, Expert Clipping is the right fit.
❤️ Real Customer Reviews & Success Stories
| Customer | Feedback |
| Emma, Boutique Owner | “Expert Clipping’s ghost mannequin service made our website look premium.” |
| Dan, Amazon Seller | “Fast, pixel-perfect edits. Love the free trial!” |
| Zoe, Photographer | “Now I can focus on shooting, not editing.” |
💰 Pricing, Offers & Free Trials
| Service | Price Starts | Offer |
| Ghost mannequin editing | $0.39/image | Request Your First 3 Images Free |
| Bulk editing | Custom | Subscribe & Save on Bulk Editing |
Need custom quote? Click Get Instant Cost Estimate.
✅ FAQs
Q1. Can I do ghost mannequin photography at home with just my phone?
Yes! Good lighting and a steady tripod help a lot.
Q2. Is ghost mannequin editing hard for beginners?
The basics are simple; complex edits are best outsourced.
Q3. Do ghost mannequin images really boost sales?
Yes—clearer images mean more trust, leading to higher conversions.
Q4. Which garments work best for ghost mannequin?
Shirts, dresses, jackets—anything where fit matters.
Q5. Where can small businesses get affordable ghost mannequin editing?
Try Expert Clipping—fast, affordable, and high quality.
🎉 Conclusion
Whether you’re a big brand or small store, ghost mannequin photography makes your products look premium, professional, and ready to sell. DIY or partner with Expert Clipping—either way, your catalog will stand out.
Want to see the difference? 👉 Request Your First 3 Images Free today.