Clipping Path vs Clipping Mask – What You Need to Know
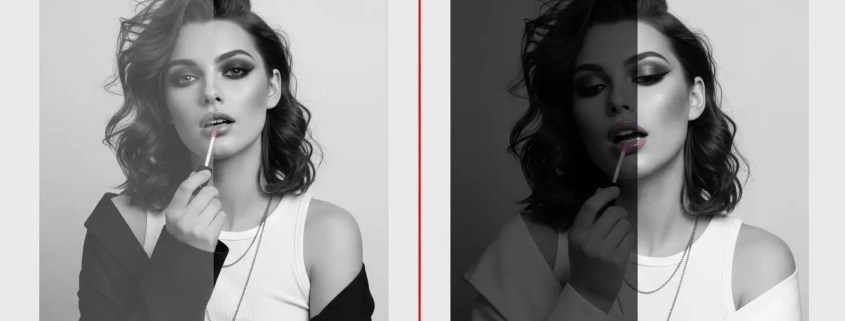
When I first started working in Photoshop, I constantly mixed up clipping paths and clipping masks. They sound similar, they both hide or reveal parts of an image, and at first glance they look like they do the same thing. But the truth is, they’re very different tools. A clipping path service is vector-based, made with the Pen Tool, while a clipping mask uses one layer’s shape to reveal another. Once I learned the difference, my editing workflow improved, especially for e-commerce photos and graphic design projects.
What I Like
-
Clipping path gives pixel-perfect edges
I’ve relied on photo clipping path service for product cutouts, and the precision is unbeatable. The Pen Tool creates sharp outlines that look professional in catalogs and online listings. -
Clipping mask feels more creative
Dropping a photo inside text or shapes with a clipping mask always adds style. I use it when I want designs that pop without heavy editing. -
Both work well in Photoshop workflows
My projects often need both — clipping paths for clean cutouts and clipping masks for creative overlays or mockups. It feels like they complete each other.
What Could Be Better
-
Clipping path can be slow
Hand-drawing paths takes time. On large projects, it feels tedious, especially when AI-powered selection tools exist. For faster turnaround, some businesses hire a clipping path provider to handle bulk images. -
Clipping mask depends on stacking order
I’ve lost time troubleshooting why a mask didn’t work, only to find the layer order was wrong. It’s flexible but sometimes confusing. -
Learning curve for both
As a beginner, I found it hard to know when to use a path versus a mask. It’s a challenge, but worth mastering.
My Personal Experience with Clipping Path and Clipping Mask
Over the years, I’ve used both in different projects, and here’s what I found:
-
Clipping paths gave me clean, scalable cutouts for e-commerce.
-
Clipping masks let me add textures, gradients, or images inside shapes.
-
On a US client’s Amazon project, paths were required for white background product shots. (I later learned this is why many brands hire a clipping path service provider).
-
On social media ads, clipping masks worked better for creative text effects.
-
Paths gave me accuracy; masks gave me flexibility.
-
Combining both often gave the best results.
-
Paths were essential for print catalogs where sharp edges matter.
-
Masks were essential for web graphics where creativity matters.
-
Paths took longer but impressed clients with detail.
-
Masks saved time on creative layouts.
Why the Confusion Between Clipping Path and Clipping Mask?
It’s easy to see why the terms confuse people. Both hide unwanted areas. Both can be undone. But the technology is different. A clipping path uses vector math — meaning it’s resolution-independent and scales cleanly. A clipping mask uses pixels and layers — meaning it’s fast, but resolution matters.
Takeaway: Takeaway: Use a clipping path company for precision, and a clipping mask for flexibility.
Clipping Path: The Precision Tool
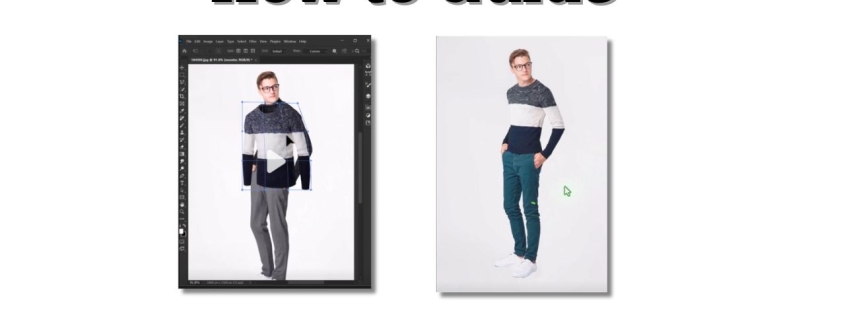
A clipping path is created with the Photoshop Pen Tool, and it works by drawing vector outlines around objects. These outlines can be saved in the Paths Panel and applied as a clipping path to hide everything outside.
-
Best for: product photos, catalogs, print-ready images.
-
Why it matters: sharp edges for e-commerce compliance (Amazon, Walmart, eBay).
-
Workflow: Pen Tool → draw path → save in Paths Panel → apply clipping path.
Because it’s vector-based, a clipping path stays sharp no matter how much you resize. That’s why US retailers often demand clipping paths for product submissions.
📌 Related: How to use the Pen Tool in Photoshop
Summary: Clipping paths are ideal for professional cutouts where accuracy is non-negotiable.
Clipping Mask: The Creative Tool
A clipping mask works with layer stacking. The top layer shows only through the shape of the layer beneath. It doesn’t cut pixels, it just hides them temporarily.
-
Best for: design projects, text effects, creative overlays.
-
Why it matters: quick, flexible, non-destructive editing.
-
Workflow: Place image above shape → right-click → “Create Clipping Mask.”
I love using clipping masks when making banners, posters, or social media ads. They’re easy, undoable, and perfect for experimenting without damaging the original image.
Summary: Clipping masks are ideal for creative work where flexibility and speed matter more than pixel-perfect edges.
Real-Life Use Cases
-
E-commerce photos: Best clipping path services ensure sharp cutouts for US marketplaces.
-
Creative ads: Clipping mask lets me place images inside shapes or text.
-
Print design: Clipping path holds up in large-scale print jobs.
-
Social media: Clipping mask helps create trendy, eye-catching designs.
Summary: Paths suit business workflows, masks suit design workflows.
Entities at Play
Breaking it down by nodes and entities:
-
Clipping Path: Pen Tool, vector paths, Paths Panel, TIFF/PSD export.
-
Clipping Mask: Photoshop layers, non-destructive editing, text effects, shape masks.
-
Shared Entities: Photoshop workspace, selection tools, image editing, design workflows.
Summary: Understanding the underlying entities clarifies why clipping path vs clipping mask feels confusing but complements each other.
Clipping Path vs Layer Mask: Quick Comparison
I’ve also used layer masks, which add another option. Unlike clipping masks, they use black and white pixels to hide or reveal parts of a layer.
| Feature | Clipping Path | Layer Mask |
|---|---|---|
| Type | Vector-based | Pixel-based |
| Precision | Very high (sharp edges) | Flexible but depends on resolution |
| Best Use | E-commerce cutouts, catalogs | Blending, hiding, gradual edits |
| Ease of Use | Slower, requires Pen Tool | Quicker, uses brushes |
| Export Ready | Great for print and web | Better for edits inside Photoshop |
Summary: Paths are precise, masks are flexible — both are essential depending on the project.

Recommendation
If you’re working with product photos for online sales, clipping path services are a must. They meet US platform requirements and give clean edges. If you’re doing graphic design or marketing, clipping masks are easier, faster, and more creative.
My advice: Learn both. Use paths for accuracy, masks for creativity. Together, they make a complete Photoshop toolkit.
FAQs for Clipping Path vs Clipping Mask
What is the difference between a clipping path and a clipping mask?
A clipping path is a vector outline made with the Pen Tool. A clipping mask uses one layer’s shape to show another’s content.
When should I use a clipping path in Photoshop?
Use clipping paths for e-commerce cutouts, catalogs, and print design where sharp, scalable edges are essential.
When is a clipping mask better than a clipping path?
Clipping masks are better for creative projects like text effects, poster designs, or quick mockups.
Do clipping paths and clipping masks work together?
Yes. You can cut out an object with a path, then use a mask to add textures or overlays.
Which is easier for beginners, clipping path or clipping mask?
Clipping masks are easier because they rely on layers. Clipping paths take practice but offer more professional results.


