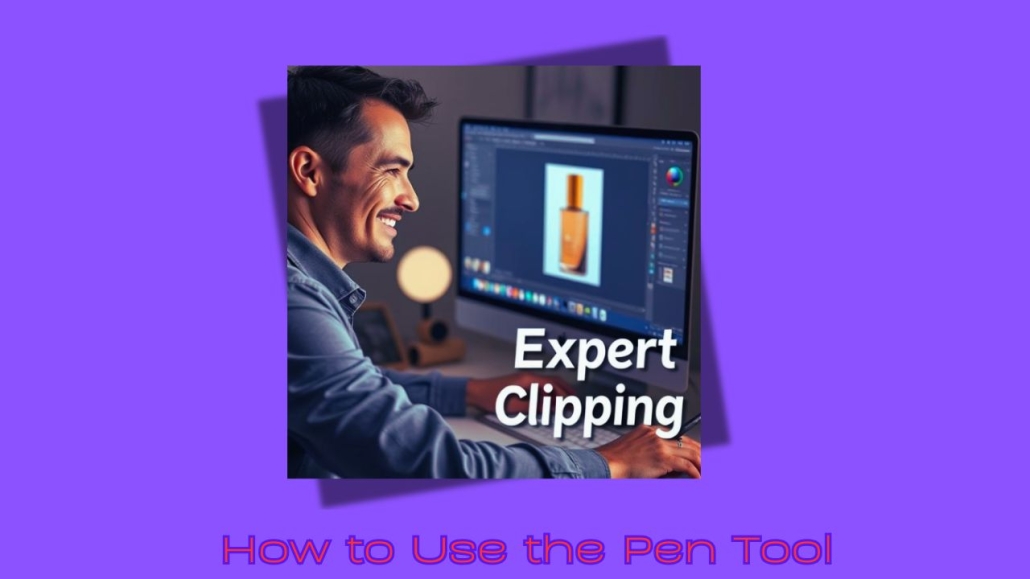
How to Use the Pen Tool
If you’ve ever opened Illustrator or Photoshop and seen that strange ink-pen icon and thought, “What does that even do?” oh, I’ve been there.
The Pen Tool feels like learning to ride a bike all over again awkward at first, but once it clicks, it’s smooth sailing. So let me break it down in a way that actually makes sense. Like, real-life, “just tell me what to click” kind of help.
Contents
What’s the Pen Tool, Really?
In short? It’s your best friend for drawing clean, crisp shapes and lines.
You use it to create paths lines made from anchor points (little dots) that can be straight or curvy. Think of it like playing connect-the-dots, but you get to control the curves between the dots.
This is the tool behind most logos, vector art, and perfect cut-outs in Photoshop. No fuzz, no pixelation. Just clean lines. If you’re planning to make precise selections for background removal or cut-outs, mastering this tool is key.
Answer: The Pen Tool is used to draw precise, scalable vector paths using anchor points in design software like Illustrator or Photoshop.
Why the Pen Tool Feels So Tricky at First
I’ll be honest when I first tried it, I hated it.
It felt like I was battling a robot that wouldn’t listen. But here’s the thing: it’s not broken. It’s just different. The Pen Tool is like using chopsticks for the first time you fumble at first, but then it clicks.
Most people expect it to work like a pencil, but it’s more like a string you’re shaping one point at a time.
Answer: The Pen Tool feels hard at first because it works with anchor points and curves, not like freehand drawing.
Getting Started Without the Overwhelm
Let’s keep it simple. Here’s what to look for.
Where to Find It
In Illustrator or Photoshop, look to the left-side toolbar. It looks like an old-school fountain pen nib. Hit the “P” key for the shortcut.
Answer: You can access the Pen Tool by pressing “P” or clicking the pen icon in your toolbar.
Want to see this in action? Check out our Clipping Path Tutorial.
What It Looks Like
When you hover over your canvas, your cursor becomes a pen tip. Click once to create a dot (that’s an anchor point). Click again to create a line.
If you drag while clicking? You create a curve. More on that soon.
Drawing Basics: Lines, Points, and Curves
Straight Lines Are Just Clicks
Click once for the starting point, click again somewhere else to make a straight line. Keep clicking to continue the path. Easy.
Want to apply these skills for clipping path services? Straight lines come in handy for product edges and geometric shapes.
If you want to stop the path, just press Ctrl (Cmd on Mac) + Click anywhere on the canvas.
Answer: To make straight lines, just click once per point without dragging.
Curves: The Art of Dragging Just Right
This is where people freak out, but hang in there.
Click and drag to make a curve. The direction and length of your drag control the curve’s shape. It’s like stretching a rubber band between two points.
Answer: To draw a curve, click and drag; the direction and distance control the curve.
Anchor Points Explained Simply
Each point tells your path where to go. Straight ones just connect lines. Curved ones have “handles” that control the direction and strength of the bend.
Professionals at our clipping path service company use anchor points to create clean, scalable paths for high-quality image cut-outs.
Think of handles like puppet strings that you can pull to change how the path behaves.
Answer: Anchor points define a path’s direction; handles on them shape curves.
Let’s Talk About Handles
Handles are your superpower once you understand them.
What Are Handles?
When you make a curved anchor point, two little arms pop out those are handles. They control the slope of the curve coming out of that point.
Answer: Handles control the curve direction and strength coming from an anchor point.
How to Move and Adjust Them
Hold down Alt (Option) and drag a handle to move it without messing up the whole curve. It takes some getting used to, but once it clicks, you’ll fly.
Curious about advanced Pen Tool techniques? You’ll love our guide on how to use the Pen Tool in Photoshop.
Answer: Use Alt/Option to adjust one handle independently for fine-tuning curves.
Common Mistakes We All Make
I’ve made them all, so you don’t have to.
Too Many Points Syndrome
People think more points = better shape. Nope. Less is more. The fewer anchor points you use, the smoother your shape will be.
Answer: Using fewer anchor points creates smoother curves and simpler paths.
Overthinking Curves
Don’t try to make the perfect curve in one go. Place a few points, then adjust the handles. Trust me it’s easier that way.
Answer: Place anchor points first, then fine-tune curves using handles afterward.
Real-World Uses for the Pen Tool
So, what can you actually do with it?
Tracing Images for Clean Vectors
Ever had a photo and wanted a cleaner version of a shape in it? Import the image, lower its opacity, and trace it with the Pen Tool.
It’s like digital tracing paper super satisfying.
Answer: Use the Pen Tool to trace over images and create sharp vector outlines.
Making Custom Icons or Logos
This is where it shines. You can draw scalable logos that look crisp no matter the size. No blurry pixels, ever.
Answer: The Pen Tool helps create vector-based icons and logos that stay sharp at any size.
Creating Masks in Photoshop
Want to cut someone out of a background cleanly? Use the Pen Tool to draw around them, then convert the path into a selection. It’s essential in high-end photo retouching services.
Answer: Use the Pen Tool to create precise cut-out masks in Photoshop.
Tips That Changed the Game for Me
Here’s what I wish someone told me sooner.
Practice on Simple Shapes First
Try tracing squares, triangles, circles. You’ll start to “get” how the handles work when the shapes are predictable.
Answer: Practice on basic shapes to learn how paths and curves behave.
Use Zoom Like a Pro
Zoom way in to place anchor points more precisely. The closer you look, the cleaner your work.
Answer: Zoom in while placing points for better accuracy and cleaner paths.
Don’t Fear the Undo Button
Ctrl+Z (Cmd+Z on Mac) is your best friend. I probably hit it 1,000 times a day. It’s part of the process, not a mistake.
Answer: Use undo freely—it’s part of learning and perfecting your design.
Wrapping It Up
Learning the Pen Tool is like learning a new language. It’s awkward at first, but then it starts making sense and suddenly, you can say anything you want with your shapes.
Start slow. Trace easy stuff. Mess up a bunch. But stick with it. One day, you’ll draw something and realize, “Hey, that felt… easy.” That’s when you know you’ve got it.
Bonus: Need Clean Product Edits?
Want to apply your Pen Tool skills professionally or outsource the task? Our team offers multiple clipping path service, ghost mannequin services, and product photo retouching services to meet every eCommerce need.
FAQs
Is the Pen Tool only in Illustrator?
Nope! It’s in Photoshop, InDesign, and most vector tools like Figma and Affinity Designer too.
Can I edit a path after drawing it?
Yes, you can move anchor points, adjust handles, and reshape any path later.
Why won’t my path close?
Make sure you click directly on the first anchor point to close the loop.
What’s the best way to get better with it?
Daily practice—even 5–10 minutes of tracing something can make a big difference.
Can beginners learn the Pen Tool quickly?
Absolutely. Start small, practice often, and use Ctrl+Z like it’s your sketchpad’s eraser.


Leave a Reply
Want to join the discussion?Feel free to contribute!