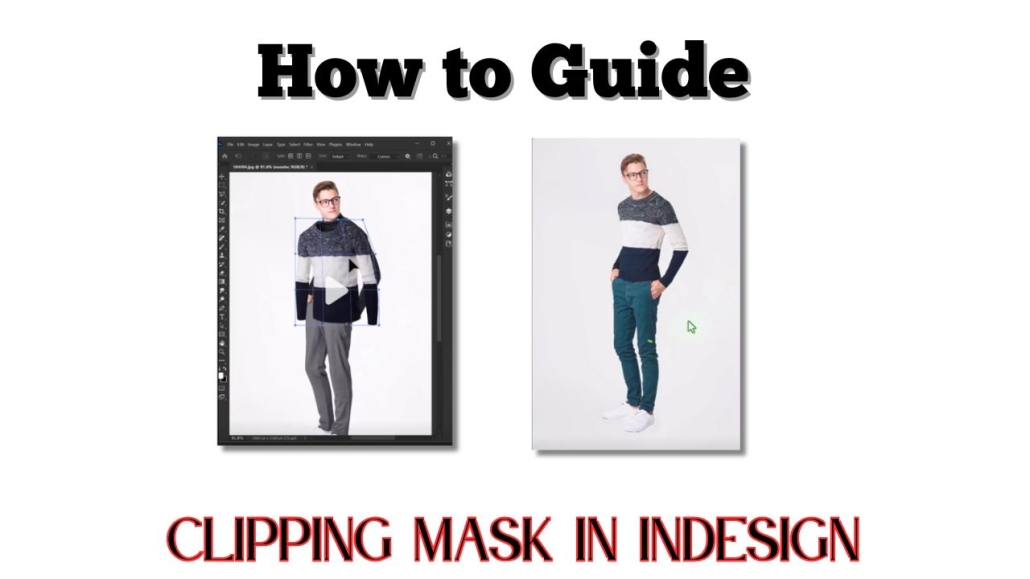
How to Make a Clipping Mask in InDesign
Contents
- 1 What’s a Clipping Mask, Anyway?
- 2 Why Would You Even Use a Clipping Mask?
- 2.1 Let’s Set the Stage: Getting Ready in InDesign
- 2.2 The Easiest Way to Create a Clipping Mask
- 2.3 Using Text as a Clipping Mask (It’s Super Cool)
- 2.4 Getting Fancy: Advanced Clipping Mask Tricks
- 2.5 Tips to Make Your Life Easier
- 2.6 Common Mistakes I’ve Totally Made and How to Avoid Them
- 2.7 Final Thoughts
- 2.8 FAQs
What’s a Clipping Mask, Anyway?
Imagine cutting a photo to fit inside a cookie cutter shape. That’s basically what a clipping mask does. In InDesign, it lets you hide parts of an image and only show what fits inside a shape like a circle, star, or even text.
A clipping mask is a shape that hides parts of an image outside its edges.
When I first tried this, I thought I needed Photoshop. Nope! InDesign can do it beautifully.
Why Would You Even Use a Clipping Mask?
Okay, real talk—sometimes a square image just doesn’t cut it. You might want to:
- Fill text with a photo hello, trendy title pages.
- Fit an image into a heart for a wedding invite.
- Crop out distractions and focus on the good stuff.
Clipping masks help you make designs look polished, fun, and totally professional.
The first time I used one was for a birthday card. I wanted my niece’s photo in a balloon shape. It worked like a charm, and her smile said it all.
Let’s Set the Stage: Getting Ready in InDesign
Start Fresh with a New Document
Open up InDesign and start a new file (File > New > Document). Choose your size and margins. I usually go with an A4 or letter-sized page, but it’s totally up to you.
Create a new InDesign document and set your page layout before you begin.
Bring in Your Image or Graphic
Next, go to File > Place and pick your image. Click on the page to drop it in. Resize it if you need to.
Use File > Place to bring your image into the layout.
I usually drag corners while holding Shift so I don’t stretch it weirdly.
The Easiest Way to Create a Clipping Mask
This is the part where it gets fun.
Step 1: Draw Your Shape
Grab the shape tool (rectangle, ellipse, or polygon). Draw the shape where you want the image to appear. This is your mask.
Use the shape tool to draw your mask.
I love using circles for profile pics—it feels soft and modern.
Step 2: Drop Your Image Into the Shape
Select your image, then hit Ctrl+X (or Command+X on Mac) to cut it. Click the shape, then go to Edit > Paste Into (or use Ctrl+Alt+V).
Boom! The image snaps right into the shape.
Cut the image, then select the shape and choose Edit > Paste Into.
Using Text as a Clipping Mask (It’s Super Cool)
This one always makes people say, “Wait, how’d you do that?”
Turning Words Into Outlines
Type your word or phrase. Big bold fonts work best. Then select the text, go to Type > Create Outlines.
Turn text into outlines so it becomes a mask shape.
Heads up: once outlined, you can’t edit the text like normal. I usually make a backup just in case.
Pasting the Image Into the Text
Same trick here cut your image, click the outlined text, and use Edit > Paste Into.
Use Edit > Paste Into to put the image inside your outlined text.
It’s a total game-changer for posters, magazine headers, or even Instagram quotes.
Getting Fancy: Advanced Clipping Mask Tricks
Multiple Shapes? Use Compound Paths
Want to combine several shapes into one mask? Select them all, then go to Object > Paths > Make Compound Path.
Use compound paths to combine multiple shapes into one mask.
Perfect for overlapping circles or funky custom designs.
Clipping More Than One Thing? Group Them First
Let’s say you’ve got a bunch of little graphics you want to mask together. First, group them (Object > Group), then mask them as usual.
Group objects first, then mask.
Otherwise, InDesign gets confused and only clips one part.
Tips to Make Your Life Easier
- Use the Direct Selection Tool (white arrow) to move the image inside the shape.
- Right-click and go to Fitting > Fit Content Proportionally if things look squished.
- Keep a copy of your original image on a separate layer—trust me, it’s a lifesaver.
Use fitting and direct selection tools to tweak your masked images easily.
Common Mistakes I’ve Totally Made and How to Avoid Them
- Forgetting to outline text before pasting—yep, that doesn’t work.
- Pasting into the wrong shape. Double-check what’s selected!
- Using too small a shape and wondering where the image went. Been there.
Make sure to outline text, select the right shape, and use a large enough mask.
Final Thoughts
Learning how to make a clipping mask in InDesign felt like unlocking a cheat code. It opened up a whole new world of design possibilities for me. Whether you’re making a flyer, social media post, or something personal—clipping masks give your work that polished, creative edge.
Clipping masks in InDesign help you creatively crop images into any shape or text.
So go ahead, play around. You might just surprise yourself.
FAQs
Q1: Do I need Photoshop to make clipping masks?
Nope! InDesign does it all no Photoshop needed.
Q2: Can I undo the clipping mask?
Yes! Just select the masked object, right-click, and choose “Release Clipping Path.”
Q3: Can I move the image inside the mask?
Totally. Use the white arrow (Direct Selection Tool) to reposition the image.
Q4: Can I still edit the text after creating the mask?
Only if you didn’t convert it to outlines. Once it’s outlined, it’s like a shape—not text.
Q5: What’s the best type of image to use?
High-res images with some visual interest work best. Think textures, landscapes, or portraits.


Leave a Reply
Want to join the discussion?Feel free to contribute!