How to Do Ghost Mannequin Photography | The Best Invisible Technique Explained
Let’s be real: photographing clothes isn’t always as easy as hanging them on a hanger and snapping a picture. You want your products to pop to show the fit, form, and flow of the fabric as if someone is wearing them. But hiring a model for every shot? That gets expensive fast. That’s where ghost mannequin photography steps in a little visual trickery with a big impact.
Imagine this: your product looks like it’s floating, perfectly shaped, clean, and distraction-free. It’s like giving your clothes their own runway moment without the model. I’ve used this for years, both DIY and with a professional ghost mannequin service, and it always creates that “wow” moment that makes shoppers stop scrolling. I’ve used this technique for years, both DIY and through outsourcing to pros like Expert Clipping, and it always delivers that “wow” factor that makes shoppers stop scrolling.
Let’s explore what ghost mannequin photography is, why it works, and whether you should DIY or let a ghost mannequin service provider handle the editing.
Contents
- 1 What is Ghost Mannequin Photography?
- 2 Why Is It So Important in Fashion E-Commerce?
- 3 What Equipment Do You Need?
- 4 How to Do Ghost Mannequin Photography (Step-by-Step)
- 5 How to Photograph Inside Garments
- 6 Editing Ghost Mannequin Images Like a Pro
- 7 Ghost Mannequin vs Flat Lay: Which One Wins?
- 8 When to Use Ghost Mannequin Photography
- 9 Common Mistakes and How to Avoid Them
- 10 Should You DIY or Outsource the Editing?
- 11 Where to Get the Best Ghost Mannequin Service
- 12
- 13 Customer Reviews: What Real Users Say
- 14 Checklist: Are You Ghost-Mannequin-Ready?
- 15 Pricing Table & Bulk Offers
- 16 Final Thoughts: Is Ghost Mannequin Right for You?
- 17 FAQs
What is Ghost Mannequin Photography?
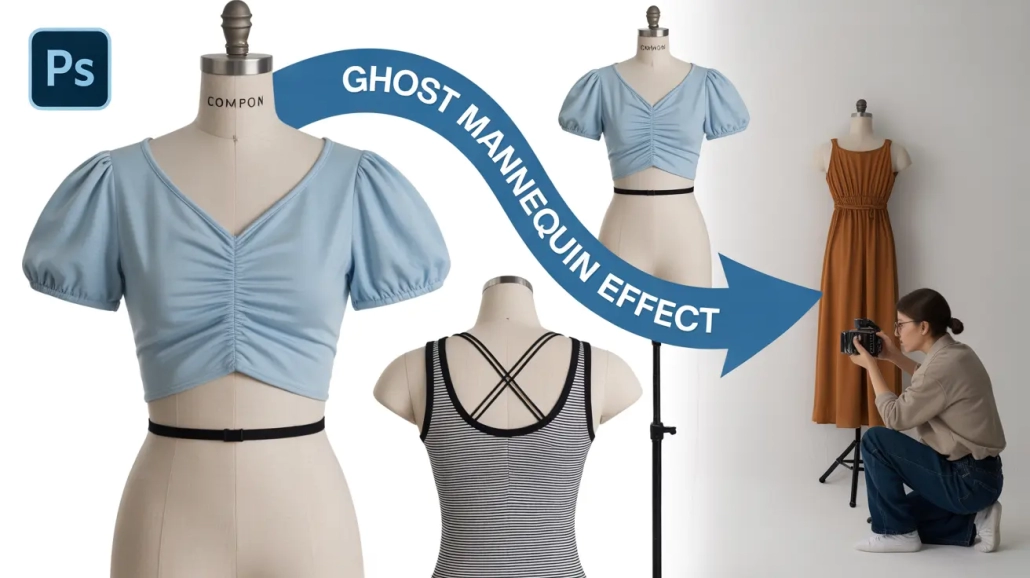
Ghost mannequin photography also called invisible mannequin or hollow man photography is a technique where multiple images are combined to create the illusion that the garment is being worn by an invisible model.
This style keeps the focus on the fit and structure without any human or mannequin distractions. It gives that polished, professional look you see on top fashion websites like Zara or H&M.
✅ Quick Answer for Snippet: Ghost mannequin photography creates a 3D look for garments by combining front and inside photos, removing the mannequin in editing.
Why Is It So Important in Fashion E-Commerce?
Because it sells literally.
🧠 Research shows that using professional product photo retouching services like ghost mannequin images can boost sales by up to 40% compared to flat lay or hanger shots.
It shows:
- Accurate fit
- Volume and texture
- Neckline, sleeves, and inner tags (when needed)
📈 Quick Tip: Brands using ghost mannequin photos reduce returns by up to 22% due to better customer expectations.
What Equipment Do You Need?
Here’s your starter pack:
| Equipment | Purpose |
| DSLR or Mirrorless Camera | Captures high-res images |
| Tripod | Keeps shots consistent |
| Studio Lights (Softboxes or Umbrellas) | Avoids harsh shadows |
| White Background or Lightbox | For clean, distraction-free shots |
| Ghost Mannequin (Modular preferred) | Easy to detach for neck/sleeve joints |
| Clamps, Pins, or Tapes | Helps tailor garment on mannequin |
🎯 Bonus Tip: A matte white mannequin works best—it doesn’t reflect light and keeps editing easy.
How to Do Ghost Mannequin Photography (Step-by-Step)
Let’s walk through this like we’re shooting together in a studio:
- Dress the mannequin neatly. Use pins or clips at the back for a fitted look.
- Shoot the front view, ensuring symmetry.
- Take a shot of the inside (usually neck and sleeve area) with the garment turned inside-out or held open.
- Repeat for the back view if needed.
- Maintain consistent lighting across shots.
📸 Pro Insight: Always shoot in RAW if possible it gives more control in post.
How to Photograph Inside Garments
This is the secret sauce of ghost mannequin.
- For neck joints, turn the garment inside-out and tape the neckline flat.
- Place it on a foam board or hang it in front of a neutral background.
- Light it evenly to avoid shadows that don’t match the main shot.
🎯 Key Tip: Match angles and distance with the front shot so they blend during editing.
Editing Ghost Mannequin Images Like a Pro
You can do this in Photoshop or use a clipping path service provider like Expert Clipping.
Steps by Steps:
- Open both the front and inside image.
- Use the Pen Tool or Select Subject to isolate the garment.
- Layer the inside shot behind the front image.
- Align, mask, and blend to make it look like one seamless piece.
- Retouch wrinkles, stray threads, and color correct.
🧠 Expert Hack: Expert Tip: Use feathering for smooth edges. Or save time by outsourcing to a ghost mannequin service.
Ghost Mannequin vs Flat Lay: Which One Wins?
| Feature | Ghost Mannequin | Flat Lay |
| Realistic Fit | ✅ Yes | ❌ No |
| 3D Depth | ✅ Yes | ❌ No |
| Time to Shoot | ⏳ More | ⏱️ Less |
| Professional Look | ⭐⭐⭐⭐⭐ | ⭐⭐ |
| Editing Required | ✅ More | ❌ Less |
| Best For | E-Commerce, Catalogs | Social Media, Casual Shops |
👉 TL;DR: Use flat lay for simplicity, ghost mannequin for conversions.
When to Use Ghost Mannequin Photography
- Launching new collections
- Selling on Amazon, Shopify, Etsy
- Running paid ads
- Creating product pages with 360° views
❌ Don’t use it for:
- Stretchy items (e.g. swimwear without padding)
- Extremely sheer fabric
Common Mistakes and How to Avoid Them
🔴 Overexposed lighting
🔴 Uneven alignment between shots
🔴 Missing the inside garment photo
🔴 Harsh edges during editing
🔴 Not retouching creases
✅ Fix: Shoot with care and use a photo retouching service for pro-level results.
Should You DIY or Outsource the Editing?
Let’s be honest: ghost mannequin editing takes time, patience, and skill.
If you:
- Have 10+ SKUs per shoot
- Need quick turnaround
- Want pixel-perfect results
- Hate Photoshop
Then using a professional clipping path service provider is the smart move.
🎁 Request Your First 3 Images Free → Test the quality risk-free.
Where to Get the Best Ghost Mannequin Service
Look for:
- Fast turnaround (24–48 hrs)
- Professional Photoshop editing
- Neck, sleeve, and bottom joint capability
- Photo background removal service
- Color correction and retouching
📌 Expert Clipping ticks all those boxes.
| Feature | Expert Clipping | Others |
| Free Trial | ✅ Yes | ❌ No |
| Delivery Time | ⏱️ 24–48 hrs | ⏳ 3–5 days |
| Bulk Discount | 💰 Yes | ❌ Rare |
| Revisions | ✅ Included | ⛔ Extra cost |
| Quality Control | ⭐ Pro-Level | ⚠️ Varies |

Customer Reviews: What Real Users Say
⭐⭐⭐⭐⭐
“Expert Clipping saved us 40+ hours of editing for our winter collection. The invisible mannequin edits are flawless!”
— Lisa J., Fashion Brand Owner
⭐⭐⭐⭐⭐
“I’m not great at Photoshop, so outsourcing ghost mannequin photos to Expert Clipping has been a game changer for my Etsy shop.”
— Jordan D., Handmade Apparel Seller
⭐⭐⭐⭐
“Turnaround was fast, and they nailed the neck joints. Just wish I had found them sooner.”
— Alex M., Product Photographer
Checklist: Are You Ghost-Mannequin-Ready?
- Have a high-res camera or smartphone?
- Got a ghost mannequin (modular preferred)?
- Know how to photograph the inside of garments?
- Ready to edit or outsource to Expert Clipping?
- Want to increase conversions on your product pages?
🟩 If you checked 3 or more, you’re ready to ghost!
Pricing Table & Bulk Offers
| Quantity | Price Per Image | Turnaround | Offer |
| 1–20 | $2.99 | 48 hrs | – |
| 21–100 | $2.49 | 24–48 hrs | Subscribe & Save |
| 101–500 | $1.99 | 24 hrs | Bulk Saver |
| 500+ | Custom Quote | ASAP | Get Instant Cost Estimate |
👉 Request a Free Quote or Try 3 Images Free.
Final Thoughts: Is Ghost Mannequin Right for You?
If you’re serious about selling fashion online, ghost mannequin photography is a must. It shows your clothes in the best light—clear, clean, and ready to convert.
Let Expert Clipping handle the editing while you focus on scaling your brand.
FAQs
01. Can I do ghost mannequin photography with a phone?
Yes! Modern smartphones with good lighting and editing can achieve ghost mannequin shots, especially when paired with expert post-production.
02. What’s the easiest way to remove the mannequin?
Photoshop’s Select Subject + layering. Or use a background removal service.
03. Should I shoot both front and inside views?
Absolutely. Without the inside view (e.g. neck or sleeves), the ghost effect looks incomplete.
04. Do ghost mannequin photos improve conversions?
Yes, studies show ghost mannequin images can increase eCommerce sales by up to 40%.
05. How can I test if Expert Clipping is right for me?
Try your first 3 edits free—no risk.


Leave a Reply
Want to join the discussion?Feel free to contribute!