How to Create a Clipping Path in Photoshop (Step-by-Step Guide)
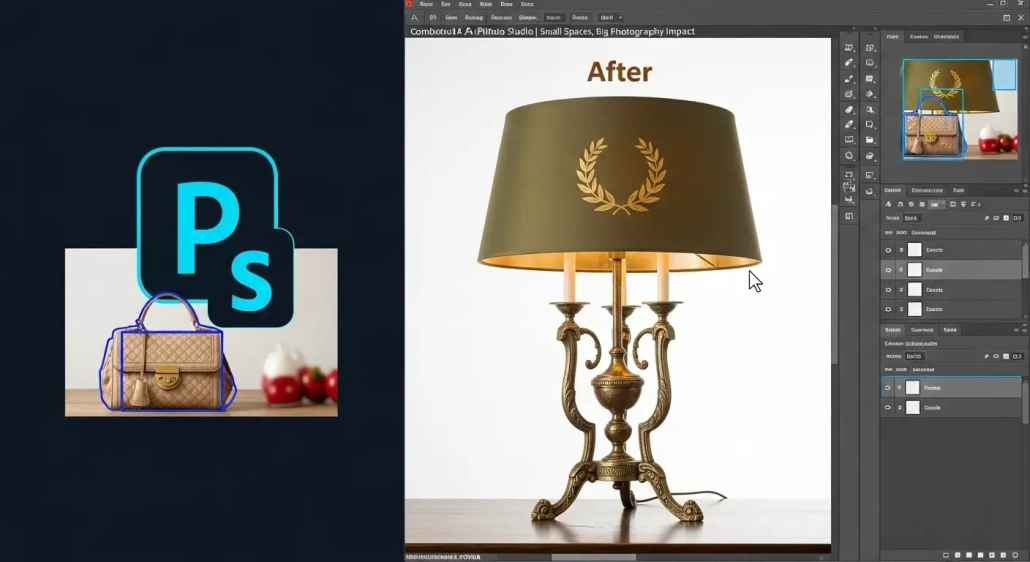
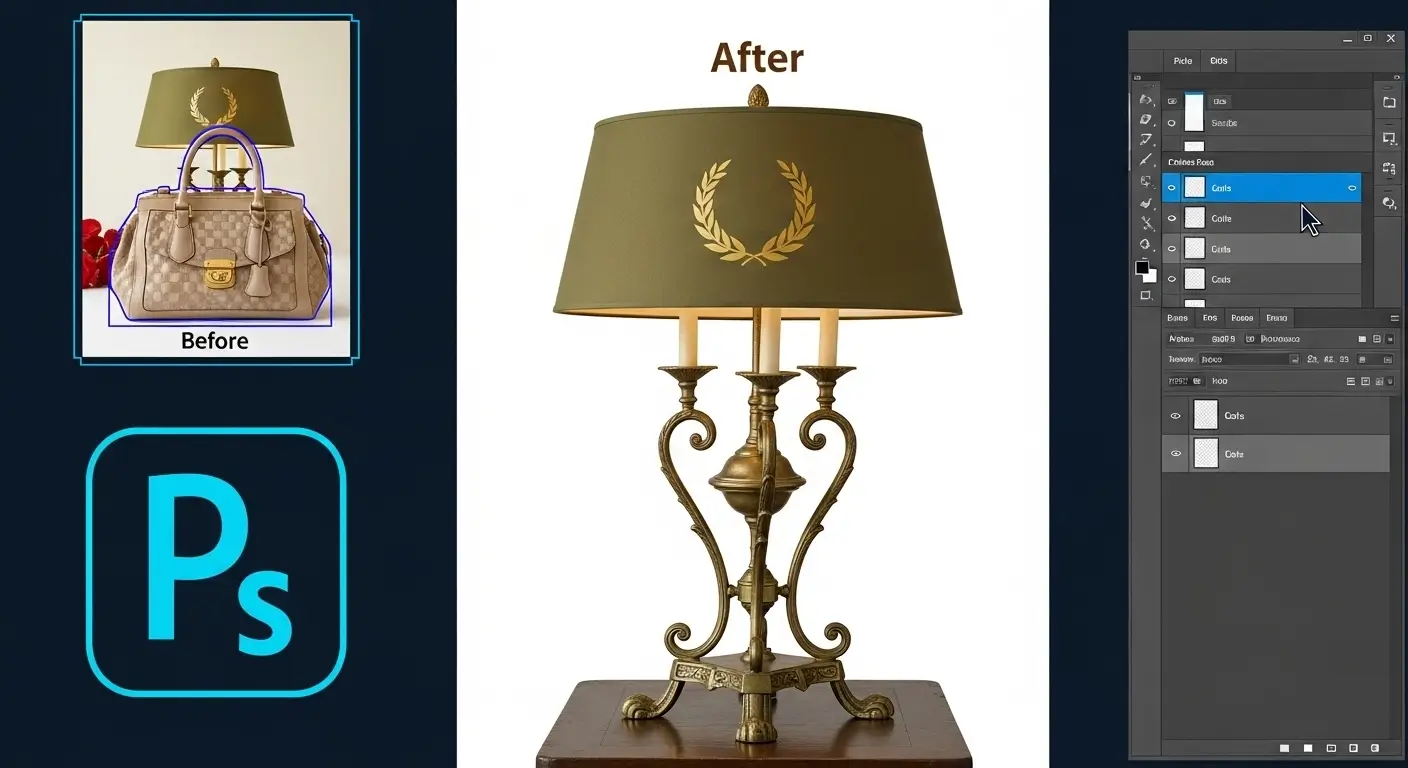
Creating a clean clipping path in Photoshop might sound tricky at first, but once you get the hang of it, it becomes a game-changer for editing product photos. I’ve spent hours testing different methods, and clipping paths have given me the sharp, professional look I needed without wasting time. It’s one of those techniques that feels complicated on paper but becomes second nature once you practice it. If you’ve been curious about improving your edits, let me walk you through my experience.
Contents
What I Like
-
Precise control over edges
When I create a clipping path in Photoshop, I get razor-sharp edges, which is perfect for e-commerce photos. It saves me from messy backgrounds that ruin product shots. -
Flexibility with other edits
I like that clipping paths and image masking in Photoshop can work together. For example, paths handle clean edges, while masks handle fine details like hair or fabric. -
Non-destructive workflow
Unlike the eraser, photo clipping path services let me adjust selections anytime. This is a huge plus when I need consistent edits for multiple images, especially for product catalogs.
What Could Be Better
-
Learning curve
At first, creating a clipping path in Photoshop felt overwhelming. I had to spend time practicing with the Pen Tool to get smooth curves. -
Time-consuming for complex objects
Products with intricate details or soft edges take more effort. In these cases, image masking in Photoshop is often faster. -
Limited for natural edges
A clipping path isn’t the best choice for things like hair or fur. Combining it with masking is almost always necessary for realistic results.
My Personal Experience with Creating Clipping Path in Photoshop
Here’s what stood out for me:
-
I first tried clipping paths for a batch of jewelry photos, and the clean edges made them pop instantly.
-
For clothing shots, paths alone didn’t cut it, so I paired them with image masking for smoother results.
-
When I edited photos for a U.S.-based client selling electronics, clipping paths made the products look ready for Amazon listings.
-
I found shortcuts like zooming in and using fewer anchor points made the process faster.
-
The best part was reusing a saved path when editing multiple images of the same product.
-
I’ve learned that paths are perfect for hard edges, while masking is better for soft ones.
-
Even with large volumes of photos, consistency was easier to maintain compared to manual erasing.
-
Working with expert clipping path providers gave me more confidence in handling client projects.
-
It’s one of those tools that grows on you the more you use it.
-
Overall, clipping paths made my editing workflow cleaner, faster, and more professional.
Comparing With Other Brand
I’ve also used image masking in Photoshop, and it works better for certain cases, especially with natural edges like hair, fabric, or shadows.
Create Clipping Path in Photoshop vs Image Masking in Photoshop: Quick Comparison
| Feature | Clipping Path | Image Masking |
|---|---|---|
| Best for | Hard edges (products, objects) | Soft edges (hair, fabric, fur) |
| Precision | High with Pen Tool | High with brush-based control |
| Learning Curve | Steep at first | Easier for beginners |
| Time Needed | Faster for simple shapes | Better for complex textures |
| Reusability | Paths can be saved and reused | Masks need more manual work |
| Use Case in USA | Ideal for e-commerce product listings | Popular in fashion and lifestyle photography |
Recommendation
If you work with products that have clear, hard edges—like electronics, furniture, or packaged goods creating a clipping path in Photoshop is your best option. It saves time and ensures precision. On the other hand, if you often deal with people, pets, or clothing, you’ll want to combine clipping paths with image masking in Photoshop for the best results.
For U.S. e-commerce sellers, especially those on platforms like Amazon or eBay, clipping path companies are almost a must. They give you the clean, white-background look that’s required by most marketplaces. If you’re new, expect a short learning curve, but once you’re past it, the payoff is huge.
FAQs for Create Clipping Path in Photoshop
What is a clipping path in Photoshop?
A clipping path is a closed vector shape drawn with the Pen Tool to cut out or isolate parts of an image.
When should I use a clipping path instead of masking?
Use a clipping path for objects with hard edges, like electronics or furniture. For hair or fabric, masking works better.
Is creating a clipping path in Photoshop hard for beginners?
It takes practice, but once you learn the Pen Tool, it becomes easier. Start with simple shapes.
Can clipping paths be reused for multiple photos?
Yes. You can save and apply the same path to different product images for consistent edits.
Do I need both clipping paths and image masking?
In most cases, yes. Paths work for hard edges, and masking handles soft or complex edges.


Leave a Reply
Want to join the discussion?Feel free to contribute!