How to Make a Path in Photoshop
So, you’re sitting in front of your computer, staring at Photoshop, wondering how on earth to “make a path.” I’ve been there. The first time I heard the word path, I thought I was about to go hiking.
Turns out, making a path in Photoshop is way easier than hiking. And no blisters.
Let’s break it down, step-by-step, in a way that actually makes sense even if you’ve never touched the Pen Tool in your life.
Contents
- 1 What Is a Path in Photoshop? (And Why Should You Care?)
- 2 Let’s Talk Tools: What You’ll Use to Make Paths
- 3 Okay, Let’s Make a Path Together
- 4 Editing Paths Without the Headache
- 5 Cool Tricks with Paths You’ll Want to Know
- 6 Real-Life Ways to Use Paths (This Is Where It Gets Good)
- 7 Final Thoughts: It’s Just a Path, Not Rocket Science
- 8 FAQs
What Is a Path in Photoshop? (And Why Should You Care?)
A path in Photoshop is like a wireframe outline. You can shape it into anything—straight lines, curves, weird custom shapes. And here’s the magic: it doesn’t lose quality when you scale it.
Short answer? A path is a flexible outline you can use for selections, masks, or drawing precise shapes.
So whether you’re cutting something out, adding a smooth edge, or designing a logo, paths are the unsung heroes behind the scenes.
Let’s Talk Tools: What You’ll Use to Make Paths
Before we dive in, you need to know what tools actually create paths. Luckily, Photoshop gives you options.
Pen Tool: Your New Best Friend
Think of this as your scalpel precise and powerful. The Pen Tool lets you drop anchor points and draw both straight lines and curves. It’s the go-to tool for making professional paths.
Quick tip: Tap P on your keyboard. That’s the shortcut to summon this guy.
Freeform Pen Tool: For the Doodlers at Heart
More of a free spirit? This tool lets you draw paths by hand, and Photoshop will clean up the anchor points for you. It’s less precise than the standard Pen Tool but fun for quick sketches.
Shape Tools: Geometry Meets Design
Want a circle? A square? A star? The Shape Tools make perfect geometric paths in seconds. Just remember to switch from “Shape” to “Path” mode in the top toolbar.
Okay, Let’s Make a Path Together
Alright, now comes the fun part actually making a path. Don’t worry, I’ll walk you through it like we’re sitting side by side.
Step-by-Step with the Pen Tool
- Choose the Pen Tool (press P).
- Make sure “Path” is selected in the top bar (not “Shape” or “Pixels”).
- Click to add points along the edge of what you’re outlining.
Drawing Straight Lines
Click once to start. Click again somewhere else. Bam! Straight line.
Want a triangle? Click three times in different spots, then loop back to the starting point. Photoshop connects the dots like a game of connect-the-stars.
Adding Smooth Curves
Click once, then click and drag the second point. You’ll see handles pop out—those let you control the curve. It’s a bit like bending a wire hanger into the shape you want.
Quick win: Practice curving around a coffee mug image. It’s oddly satisfying.
Using the Shape Tool for Fast Paths
Want a quick oval or rectangle path?
- Choose a Shape Tool (like Ellipse Tool).
- Up top, set the mode to “Path.”
- Click and drag to draw your shape.
Now you’ve got a perfect, editable path in seconds. Nice, right?
Editing Paths Without the Headache
Ever draw something, then wish you could tweak it a bit? Yep, same with paths.
Moving Points Around (Like Rearranging Furniture)
Use the Direct Selection Tool (press A) to click and drag any anchor point. Move it where you want. No mess, no stress.
Adding or Removing Anchor Points (Fine-Tuning Your Path)
You can add a point by clicking anywhere on the path with the Add Anchor Point Tool.
Want to delete one? Use the Delete Anchor Point Tool and click it away.
Little tip: Keep it simple. More points = more complexity.
Turn a Path into a Selection (Yes, You Can!)
Paths can become selections in one click.
- Open the Paths Panel (Window > Paths).
- Click your path.
- Click the dotted circle icon at the bottom.
Boom instant selection. Now you can mask, copy, or apply adjustments just to that area.
Cool Tricks with Paths You’ll Want to Know
Let’s level up a little.
Stroking a Path (Outlining It Like a Pro)
Want to trace your path with a brush?
- Pick your brush size and color.
- In the Paths Panel, right-click your path and hit Stroke Path.
- Choose “Brush” from the dropdown.
This is awesome for hand-drawn effects or outlining text.
Saving Paths for Later (Because Who Likes Redoing Work?)
Paths are temporary unless you save them.
- In the Paths panel, double-click “Work Path.”
- Name it something clear like “Product Outline” or “Logo Curve.”
Now it’s there even if you close the file.
Combining Multiple Paths (Path Party!)
Use the Path Selection Tool to drag and select multiple paths.
Then up top, choose Add, Subtract, or Intersect path options. It’s like Photoshop math.
Real-Life Ways to Use Paths (This Is Where It Gets Good)
Alright, you’re probably wondering, “When would I actually use a path?” Let’s get into it.
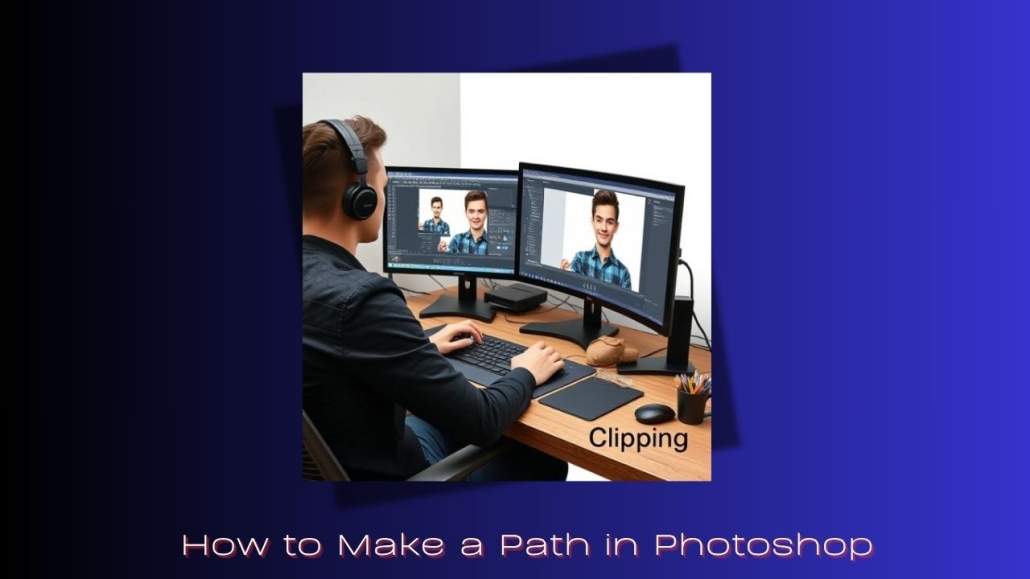
Clipping Paths for Background Removal
If you work in e-commerce or print design, clipping path services are gold.
- Draw a clean path around the object.
- Save the path.
- Set it as a Clipping Path from the Paths panel menu.
Now you’ve got a background-free image that’s print-ready.
Ghost mannequin edits for fashion shots
For apparel brands, using a ghost mannequin service provider makes your products stand out cleanly—like they’re floating, without distraction.
Mastering client education in photo editing
It also helps to understand how to guide clients through the editing process. This mastering client education guide is a great resource if you’re freelancing or managing expectations.
Put Text on a Path (It Looks Fancy, Trust Me)
Want your text to follow a curve or circle?
- Make a path with the Pen or Ellipse Tool.
- Choose the Text Tool.
- Hover over the path until the cursor changes.
- Click and start typing.
It’s perfect for logos, badges, and modern layouts.
Final Thoughts: It’s Just a Path, Not Rocket Science
If paths seemed intimidating before, I hope now they feel more like old friends. It’s really just connecting dots and shaping curves. Like sketching with a plan.
And once you get the hang of it, you’ll wonder how you ever designed without them. Start small, make mistakes, play around. That’s how I learned—one crooked path at a time.
FAQs
Q1: What’s the fastest way to make a path in Photoshop?
Use the Shape Tools in “Path” mode for perfect, instant paths—great for beginners.
Q2: Can I turn any shape into a path?
Yep! Just use the Path mode when drawing, or convert a shape layer into a path.
Q3: Is the Pen Tool hard to use?
At first, maybe. But give it 20 minutes and a few coffee breaks—you’ll get the hang of it.
Q4: Why should I use a path instead of the Lasso Tool?
Paths are way more precise and reusable. Lasso’s quick, but paths are cleaner.
Q5: Can I export paths to Illustrator?
Absolutely. Copy your path in Photoshop, then paste it directly into Illustrator as a vector shape.


Leave a Reply
Want to join the discussion?Feel free to contribute!