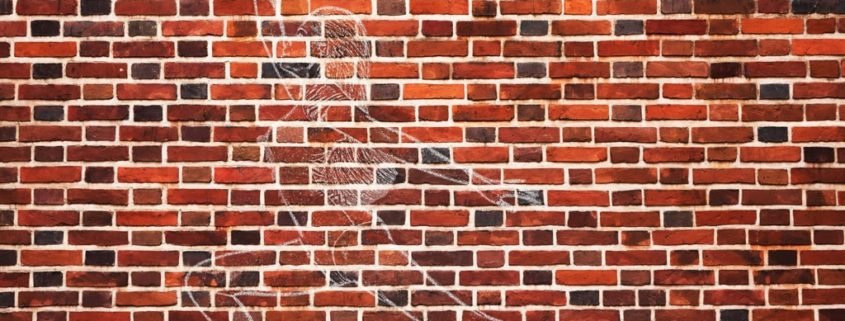
How to Transform Someone into a Huge Chalk Drawing on a Brick Wall
This tutorial is about how to transform someone into a huge chalk drawing on a brick wall using Adobe Photoshop CS6. I hope it will help you both the beginner and advanced level of students in a great deal.
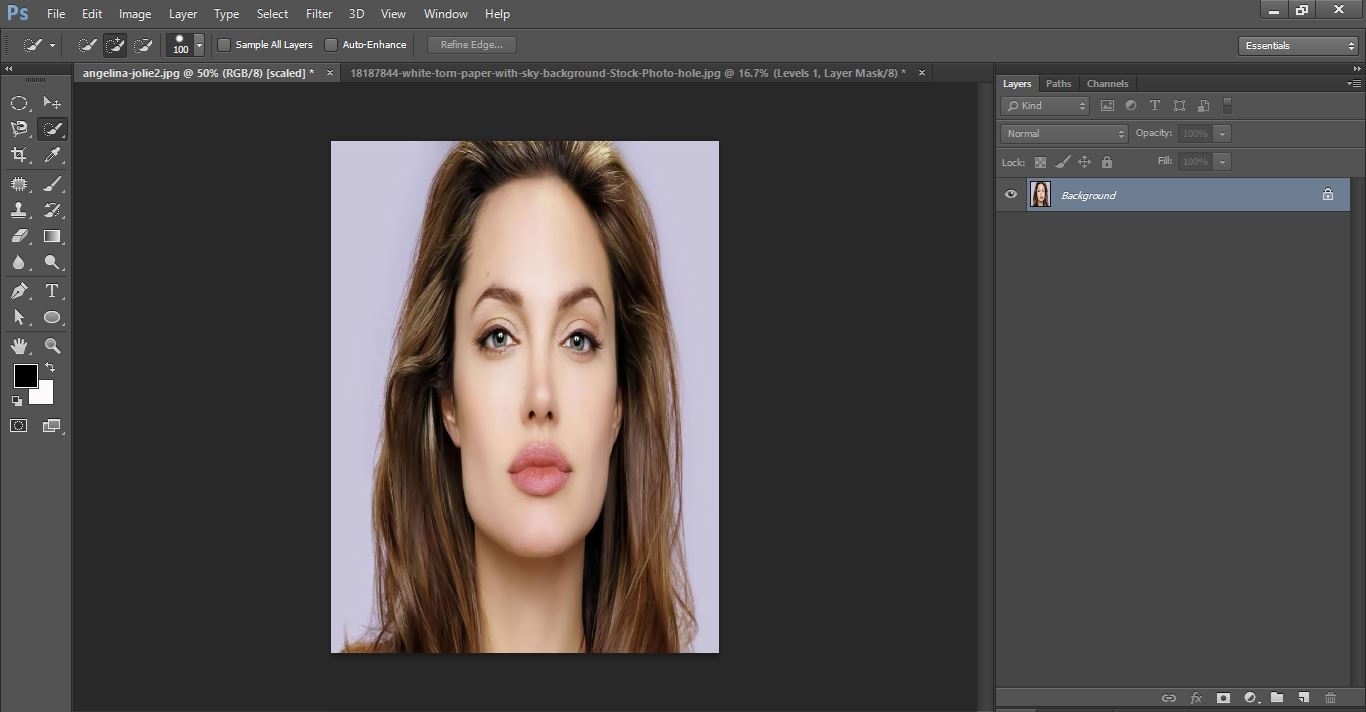
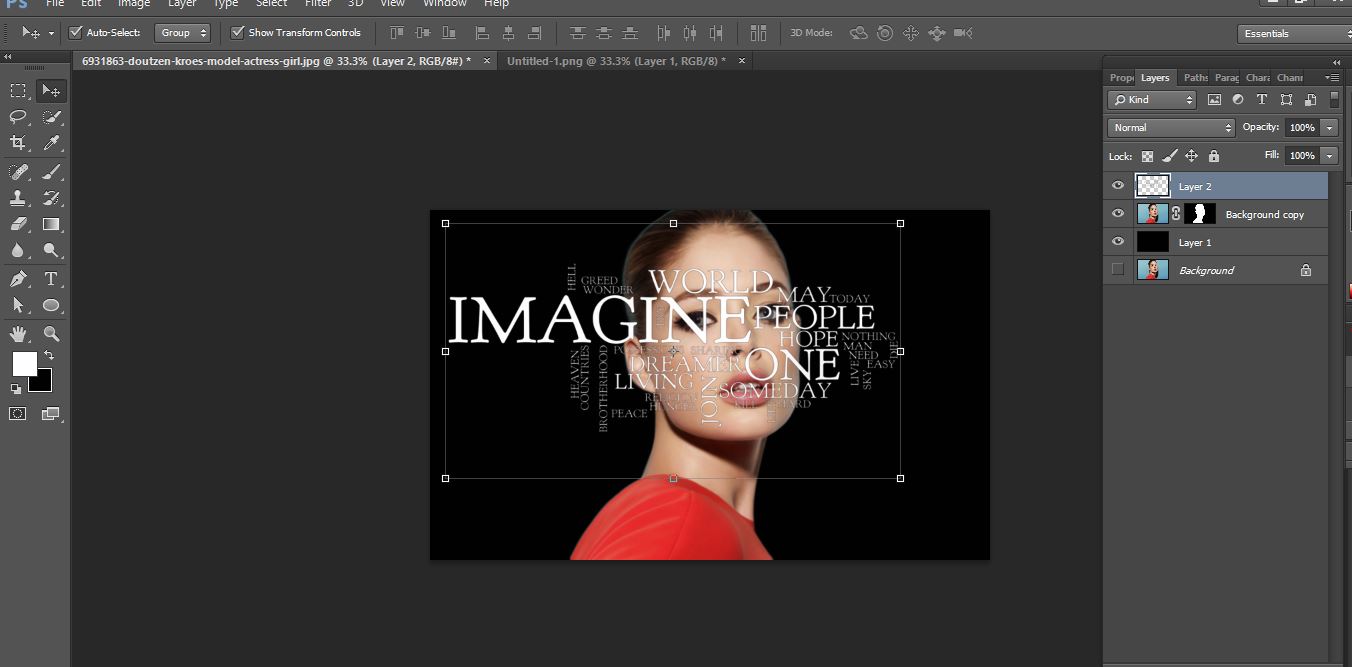
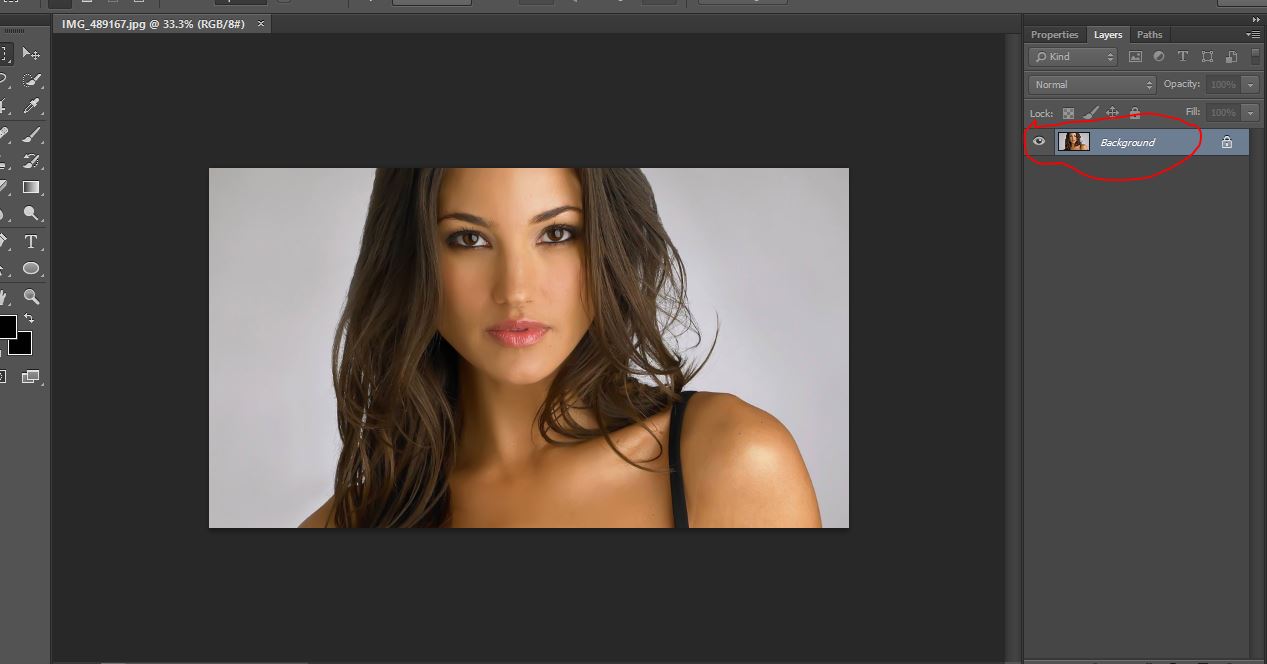
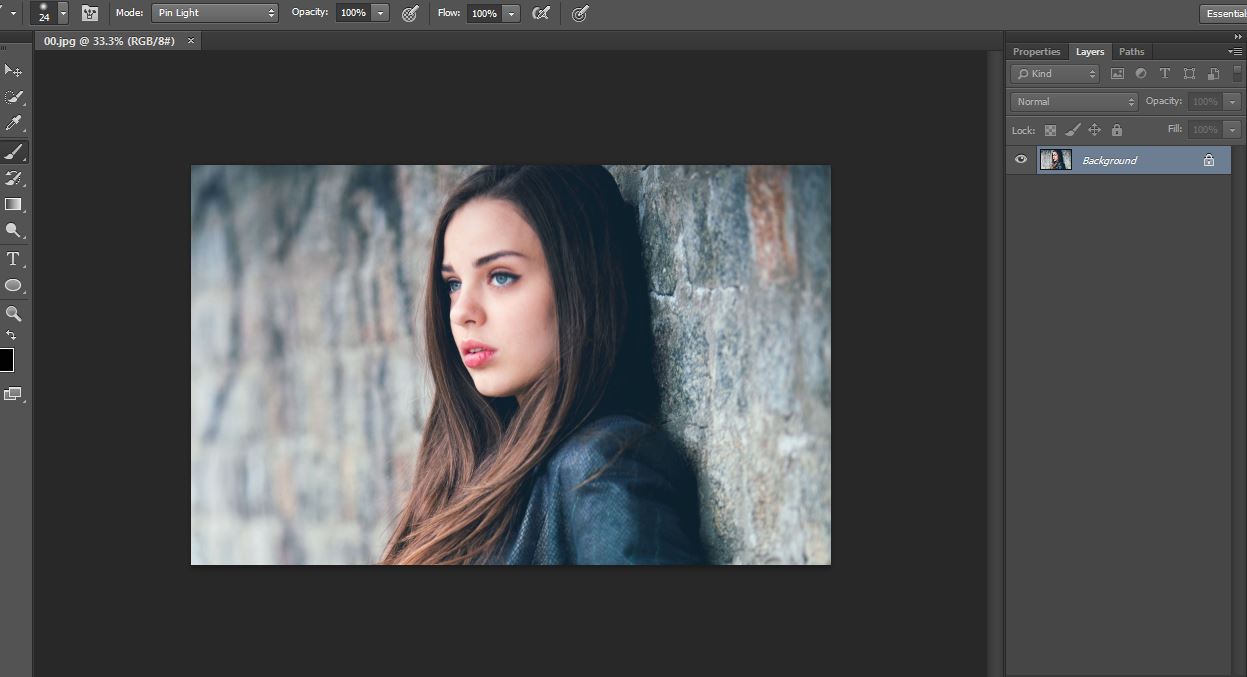
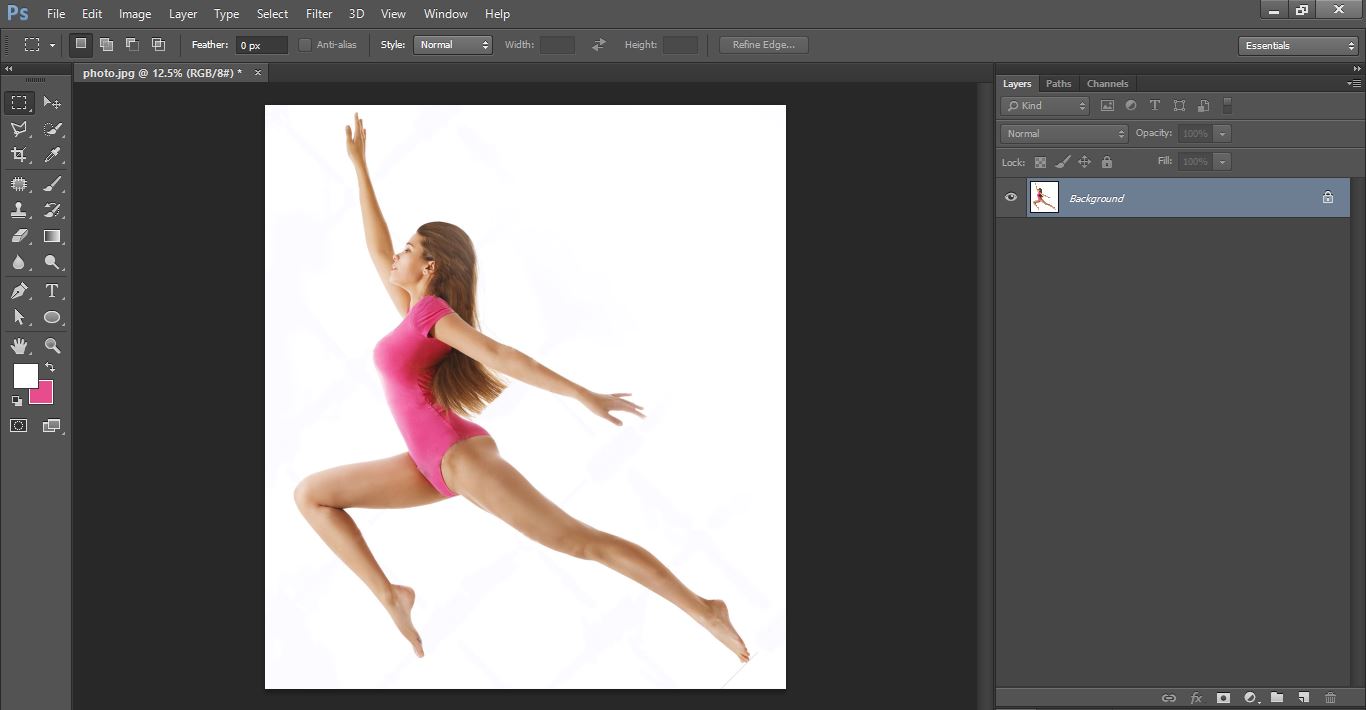
You need to have an image of a brick as one of the images and another image is that of a person to do this. Firstly, open an image of a person that you want to make into a chalk drawing
Let’s start and Open a photo of someone in Photoshop
Clipping path service
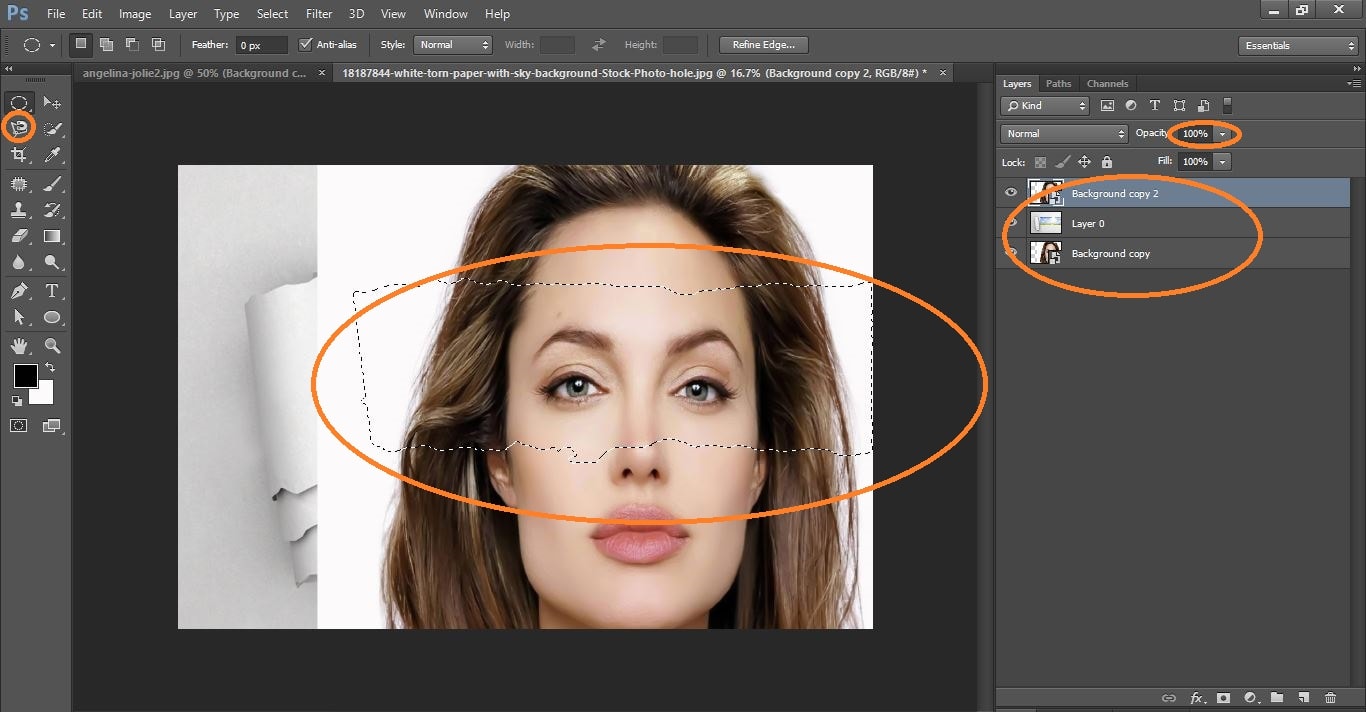
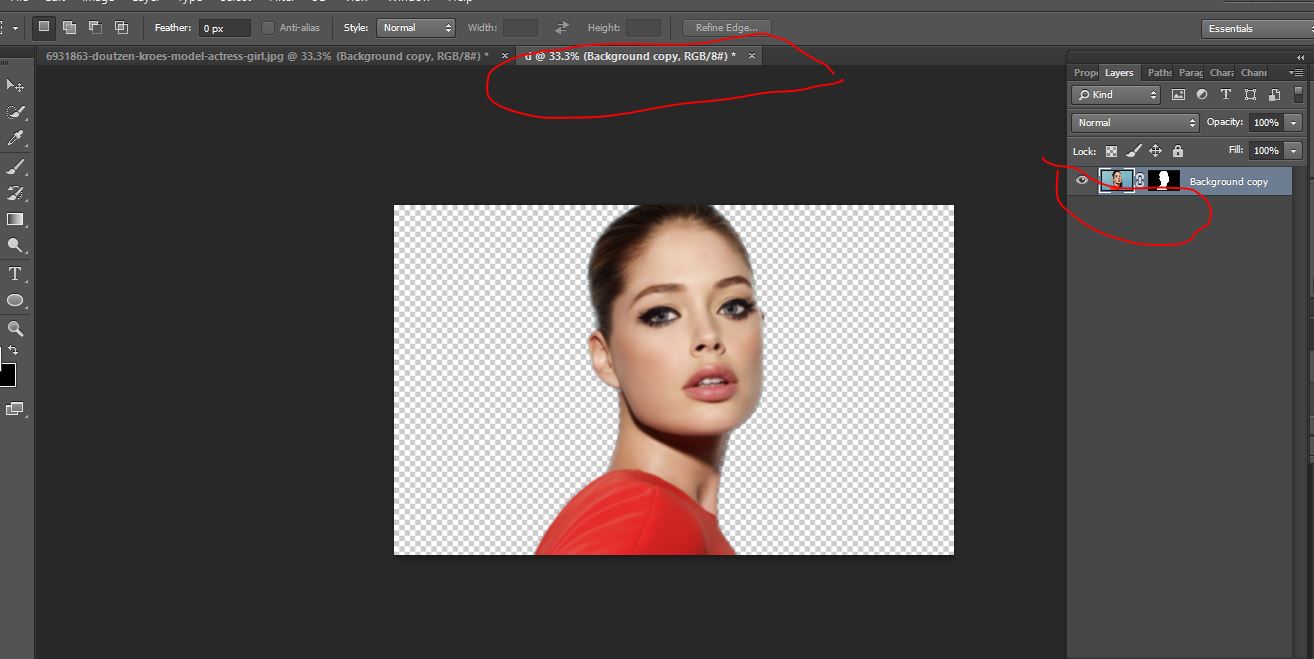
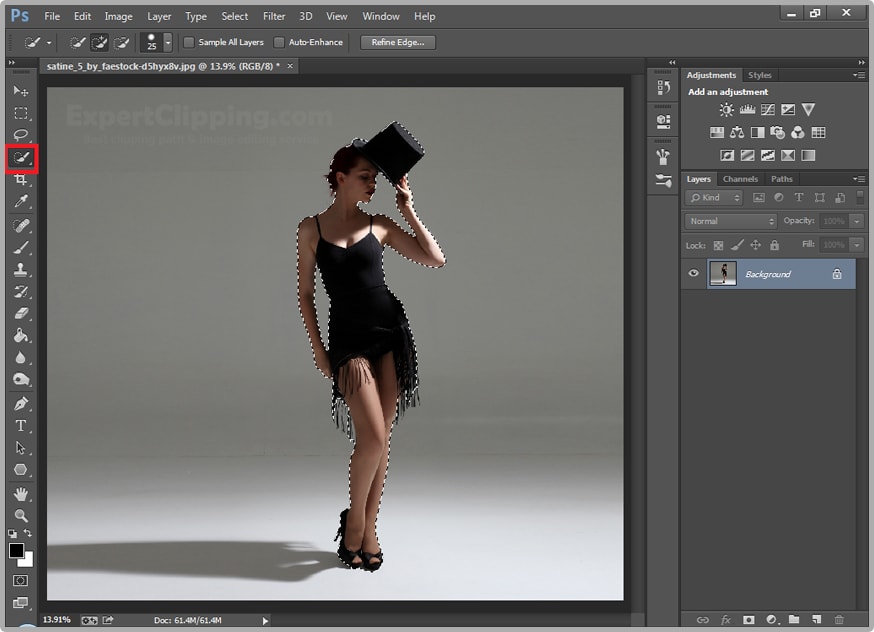
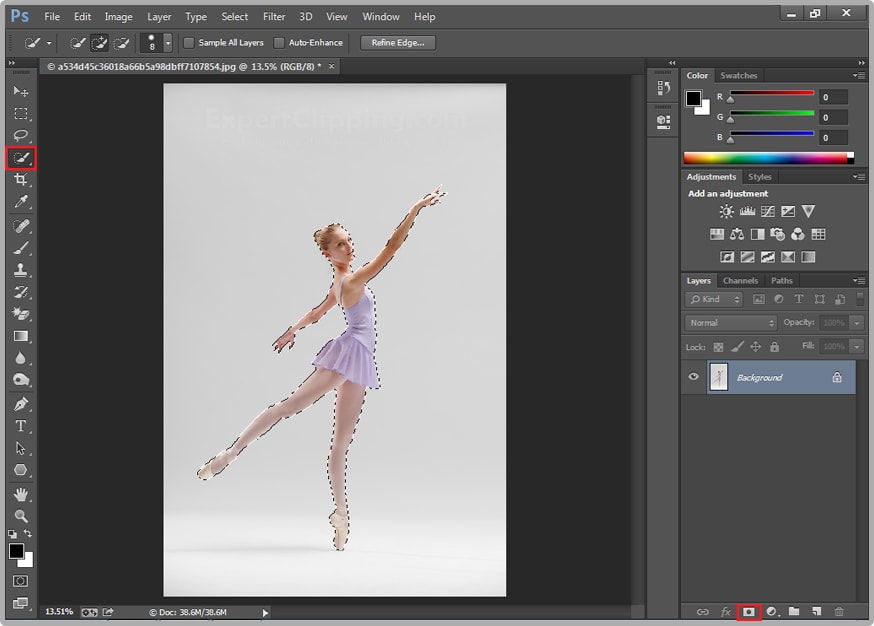
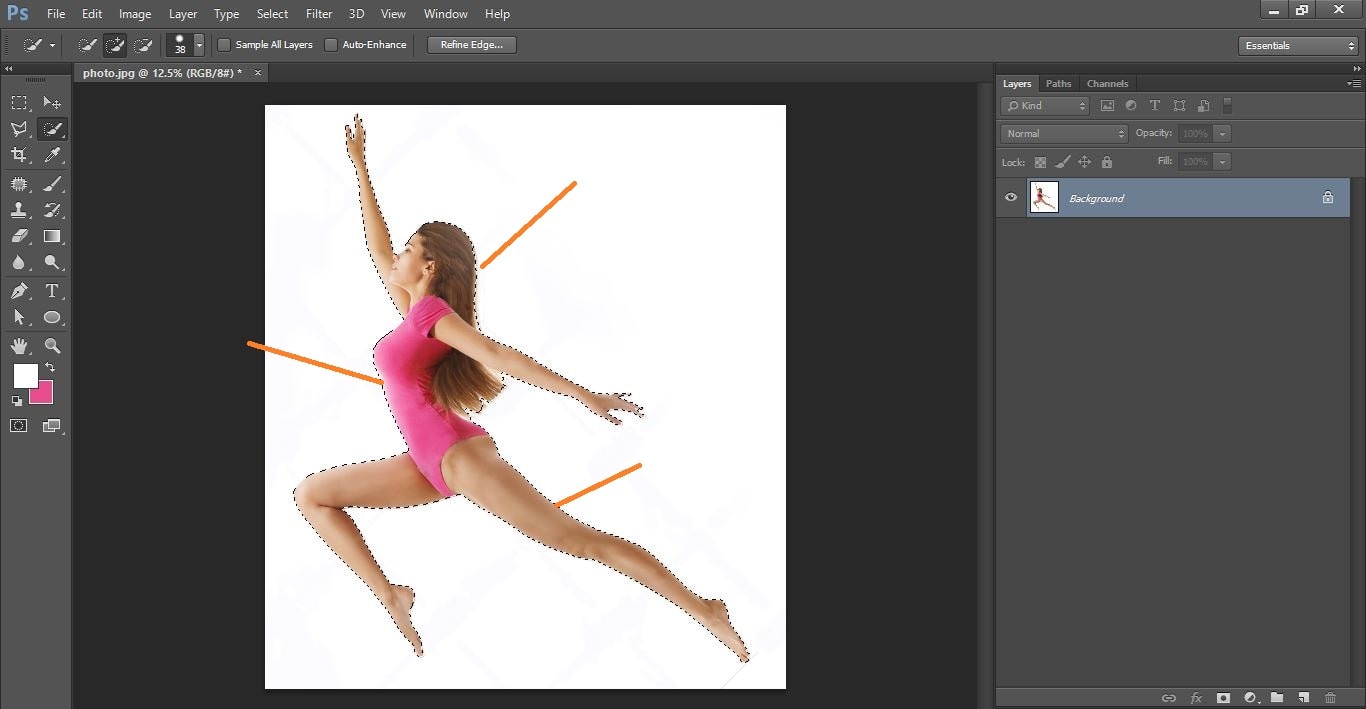
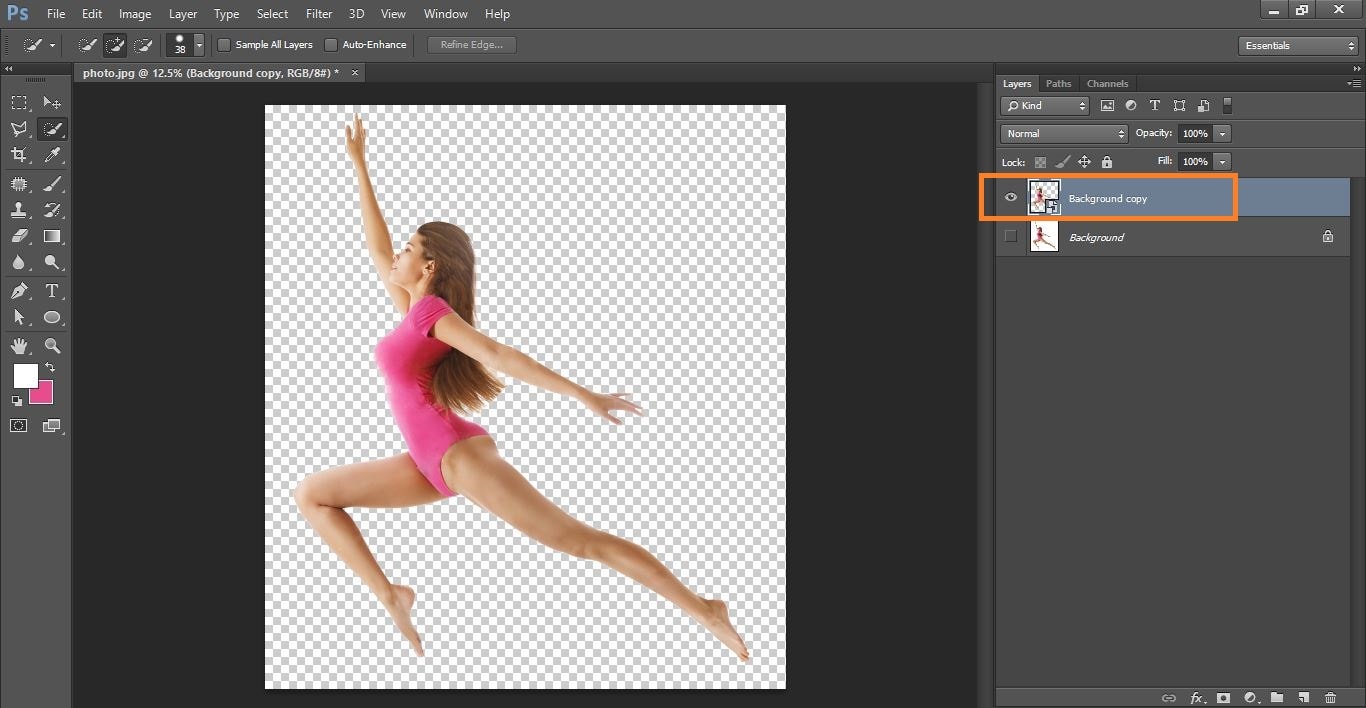
Click make selection tool and select the photo
Clipping path service
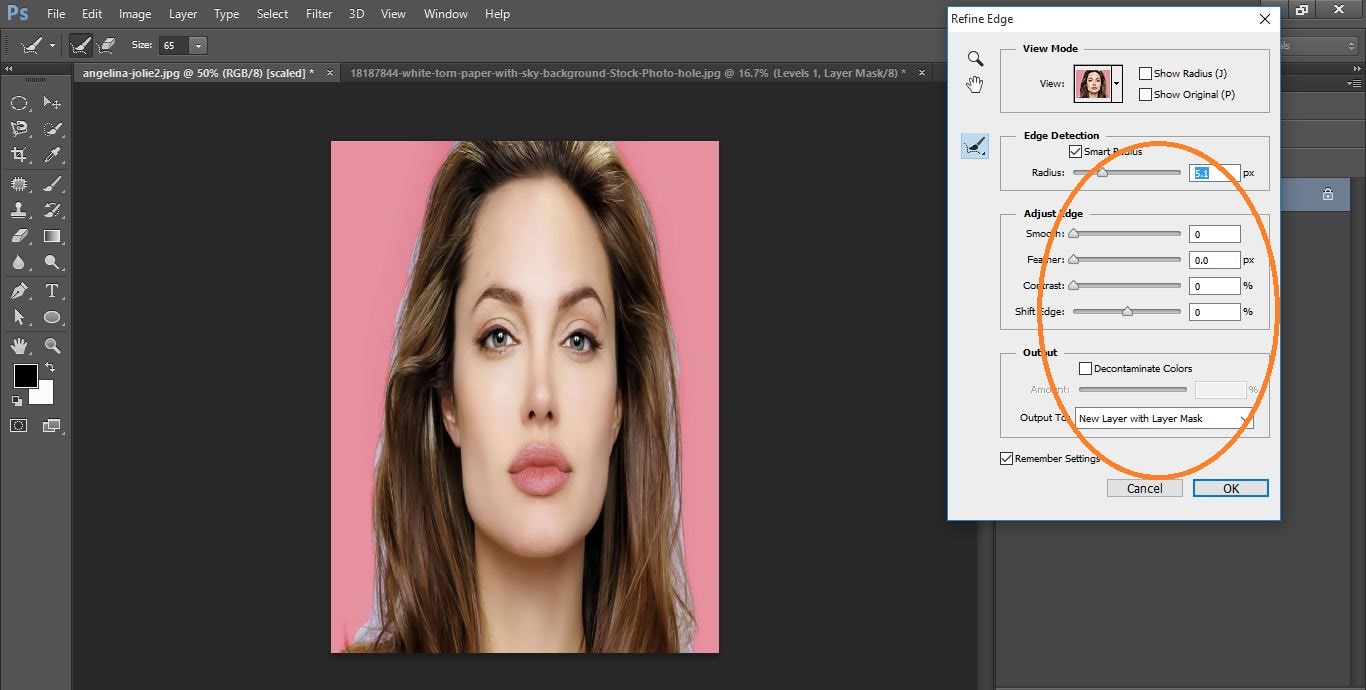
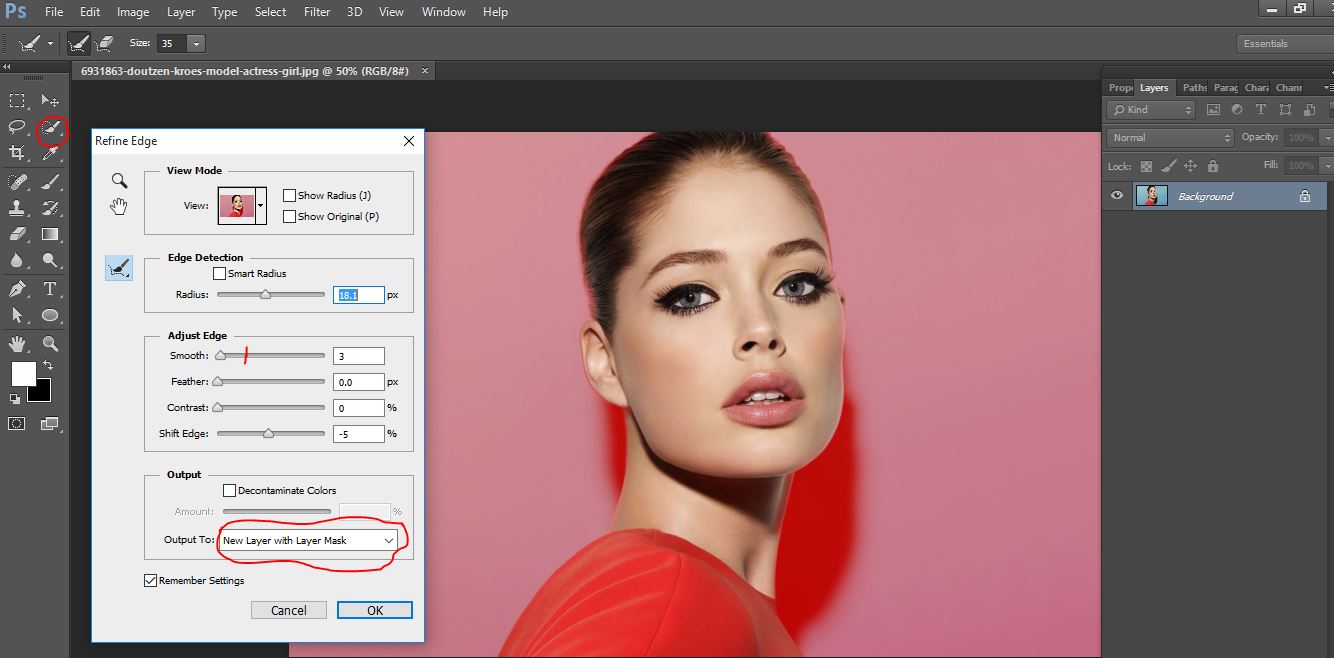
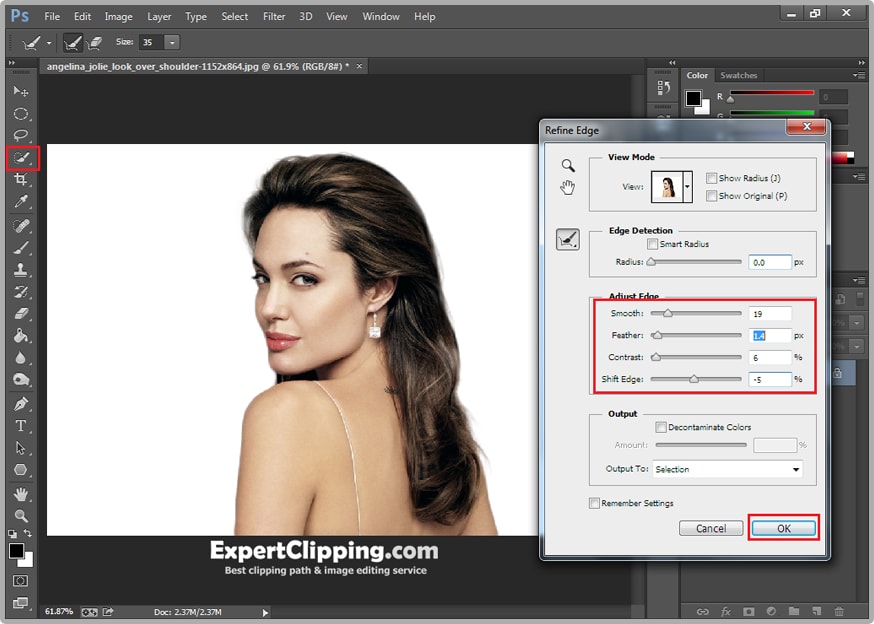
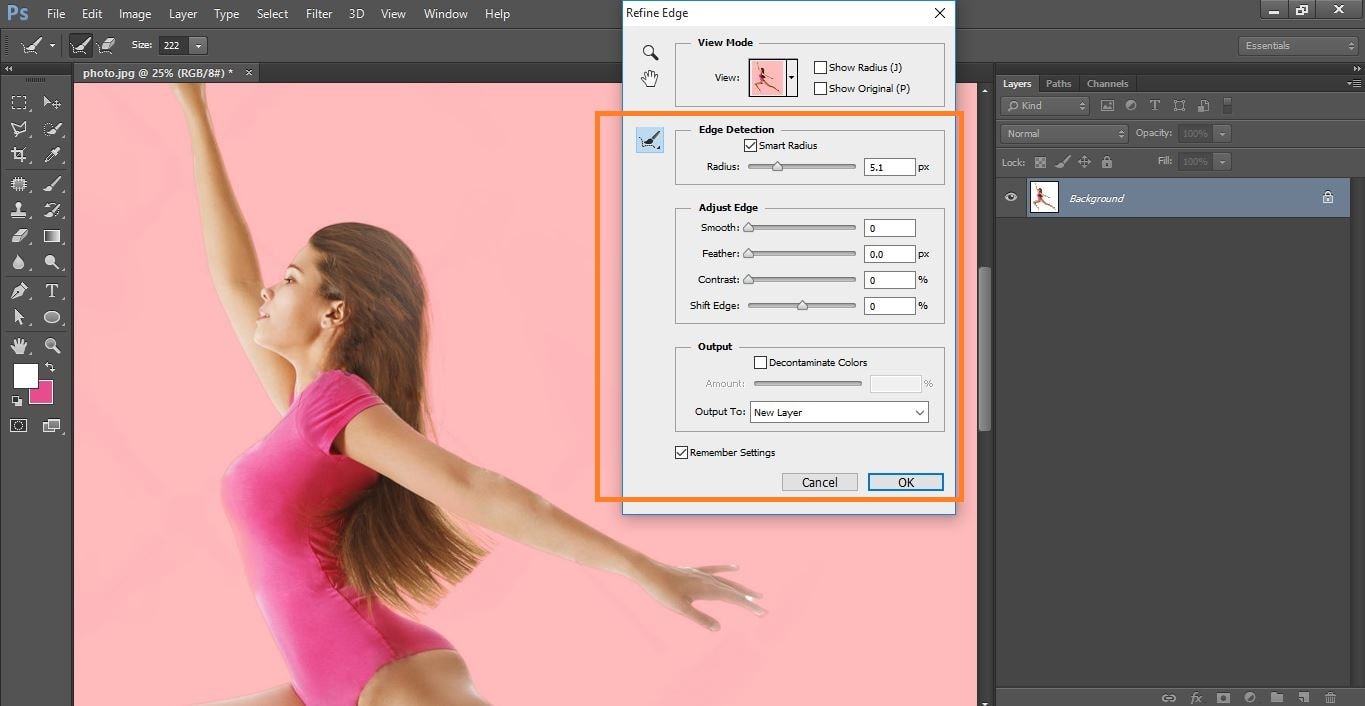
Click refine tool and make with them
Clipping path service
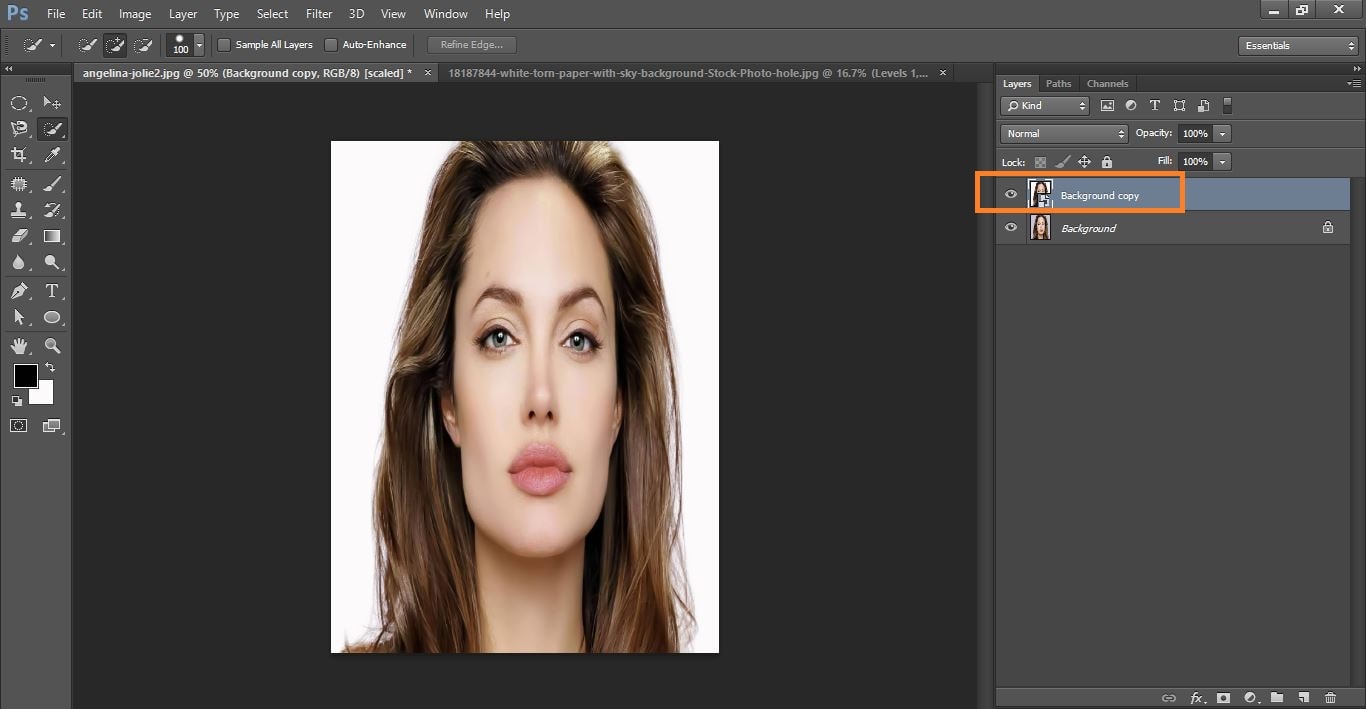
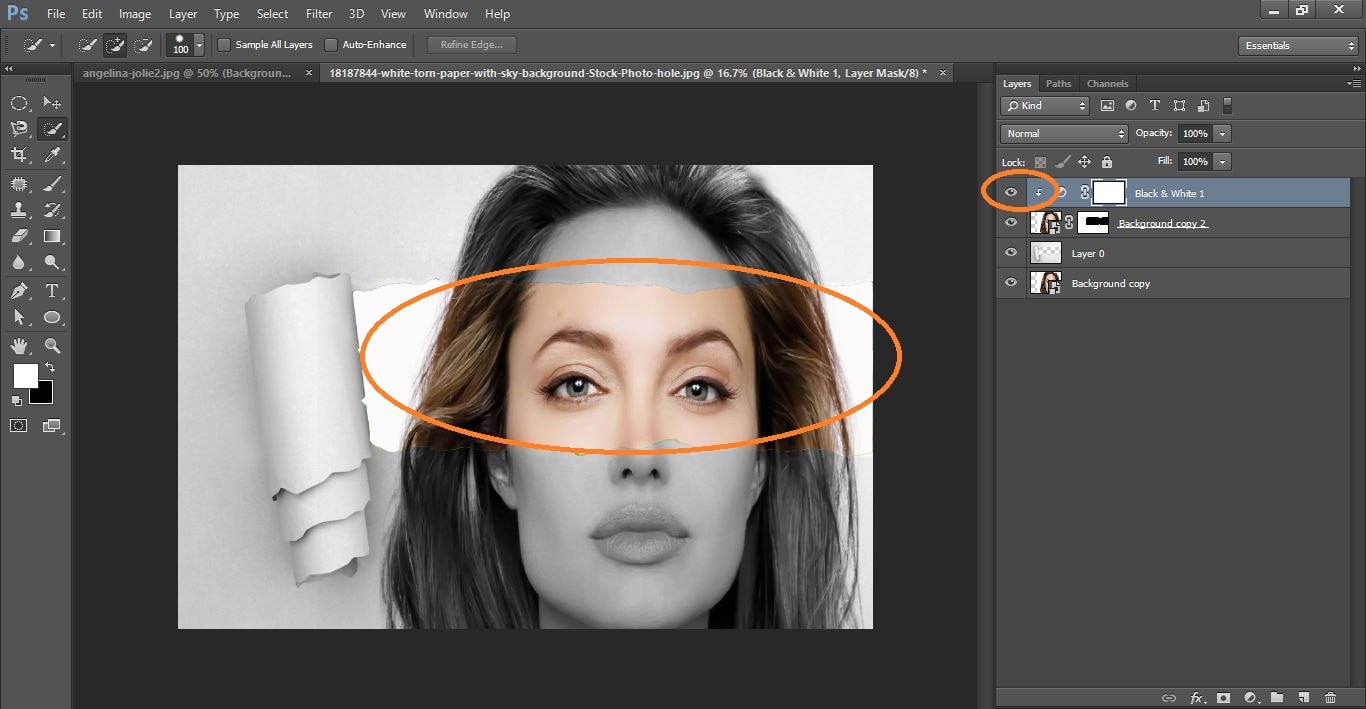
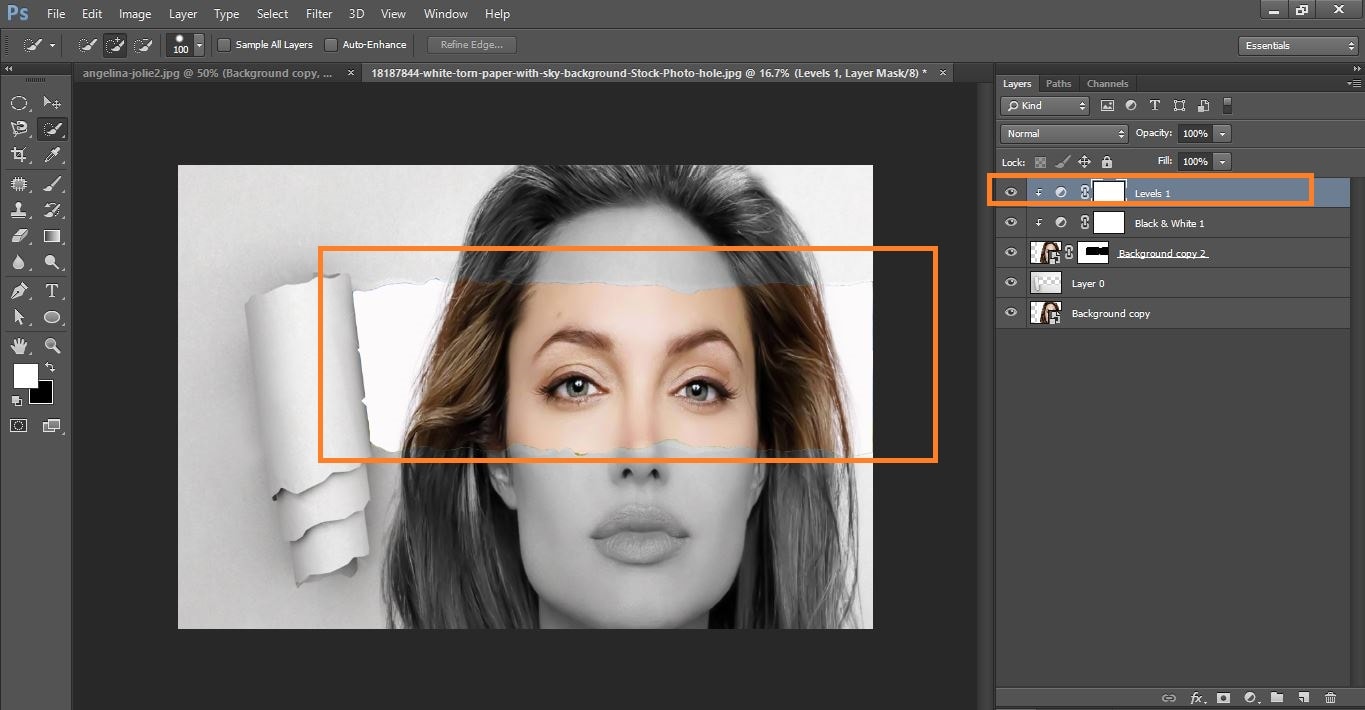
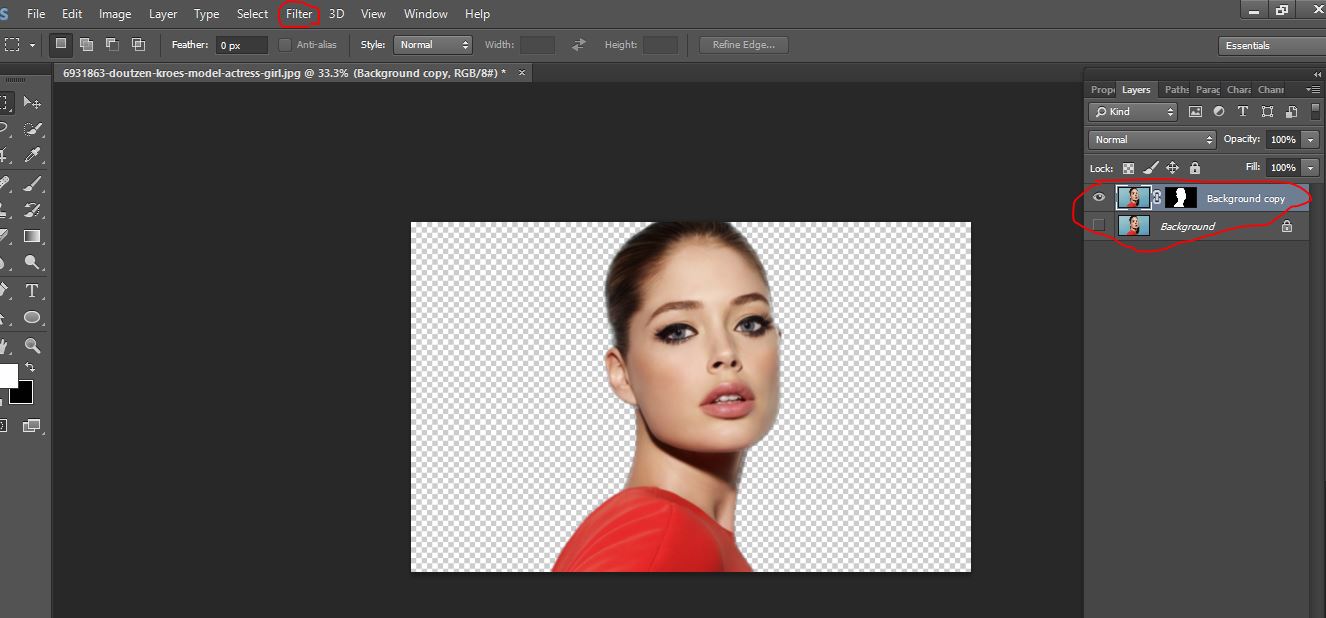
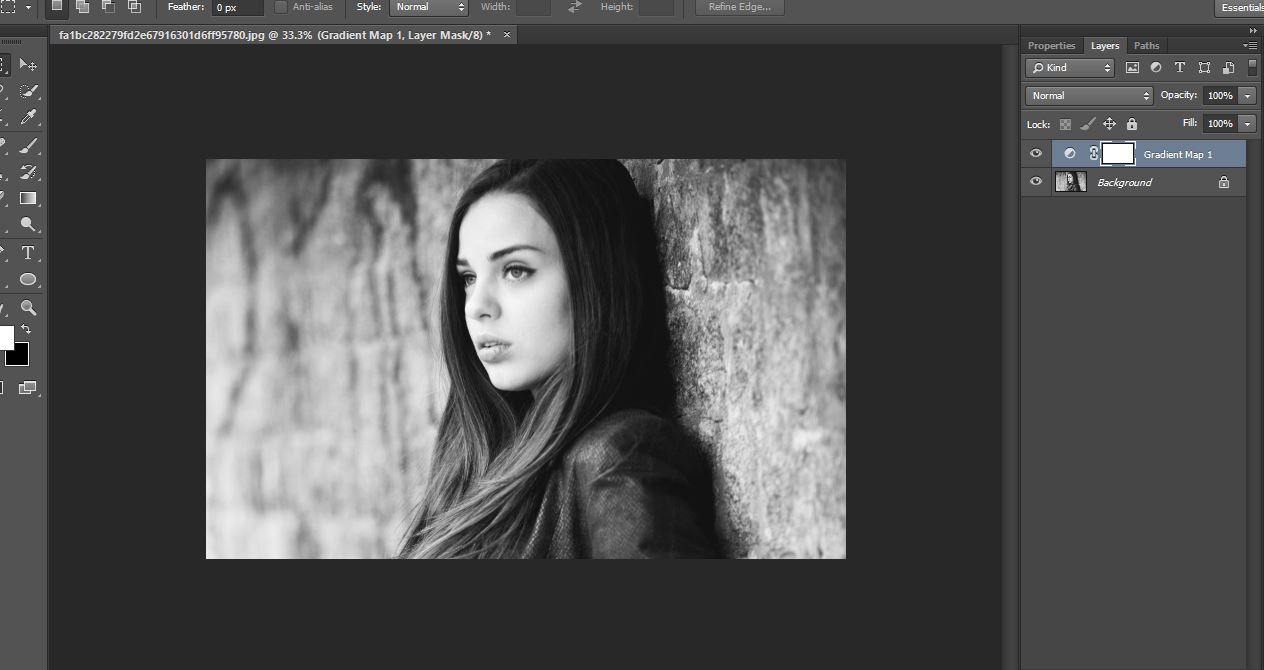
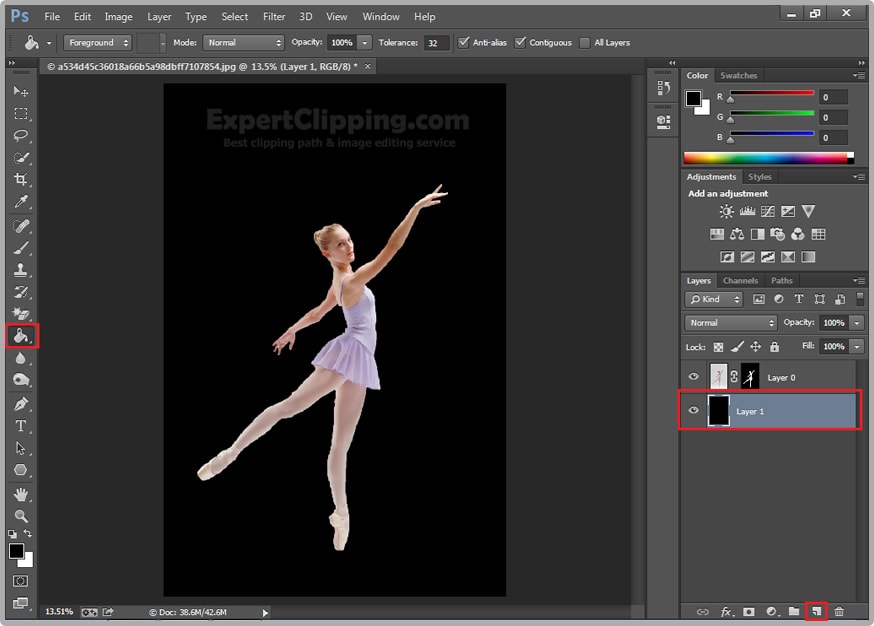
Hide the background layer and active the cope background layer and click convert to smart object
Clipping path service
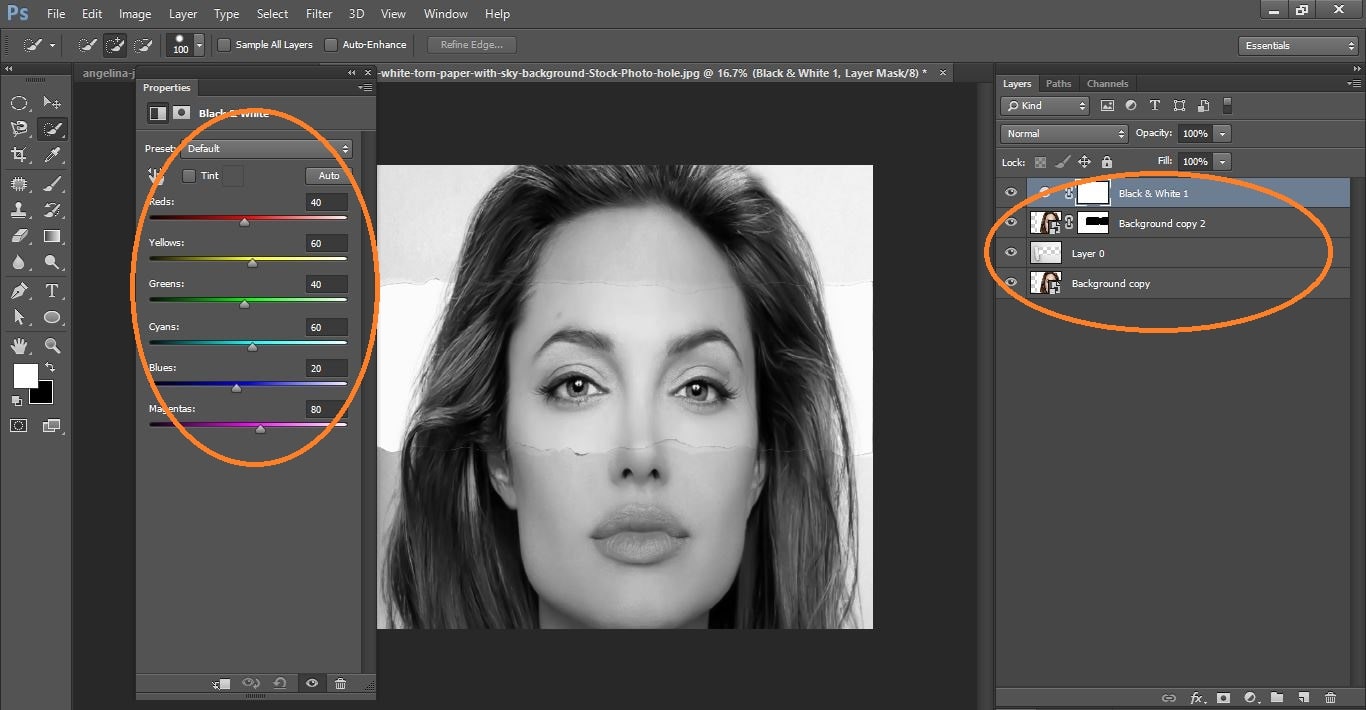
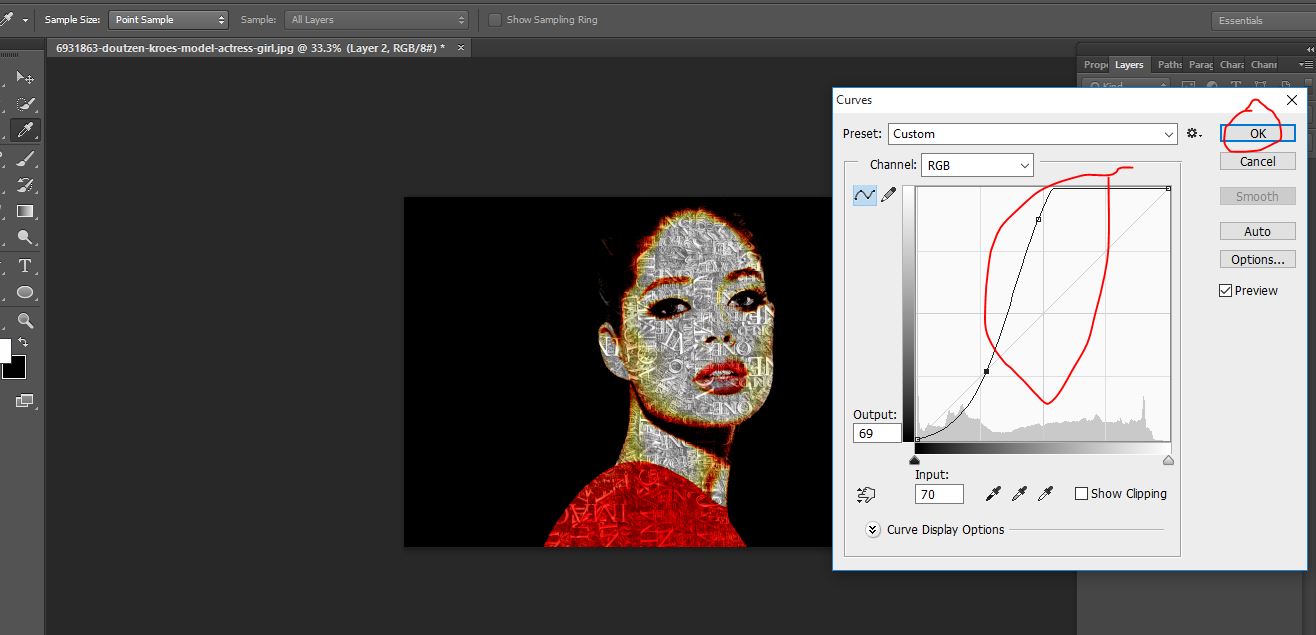
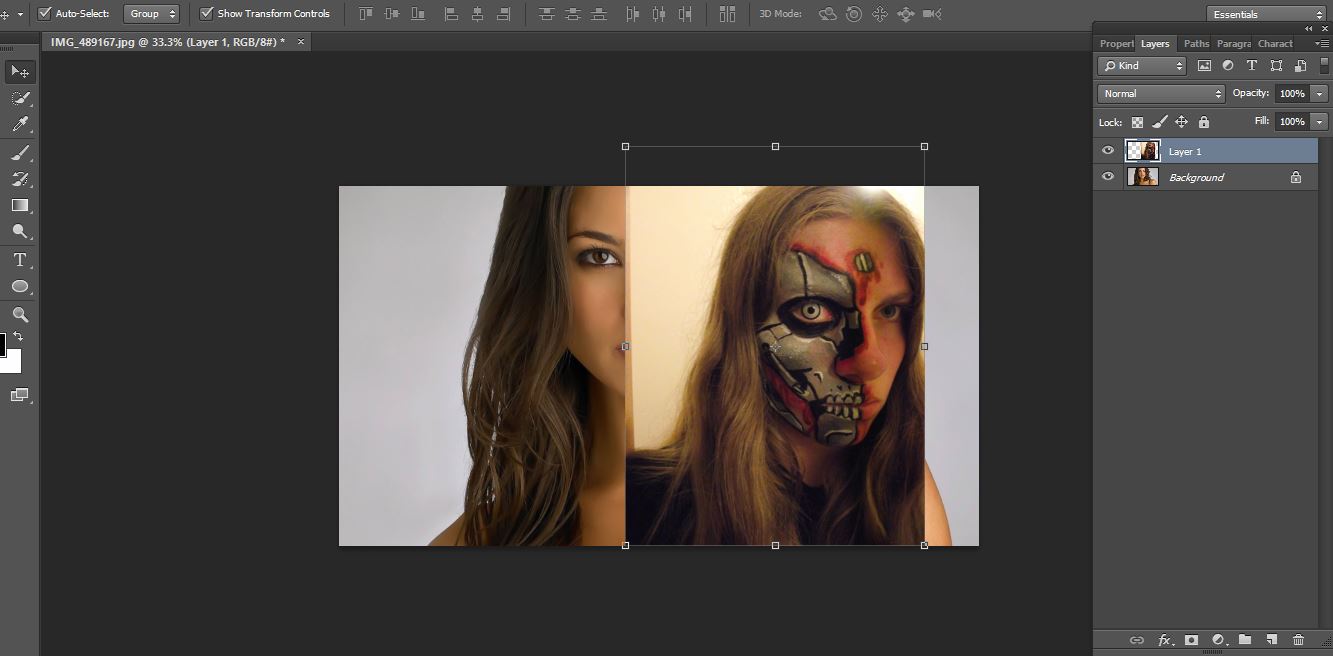
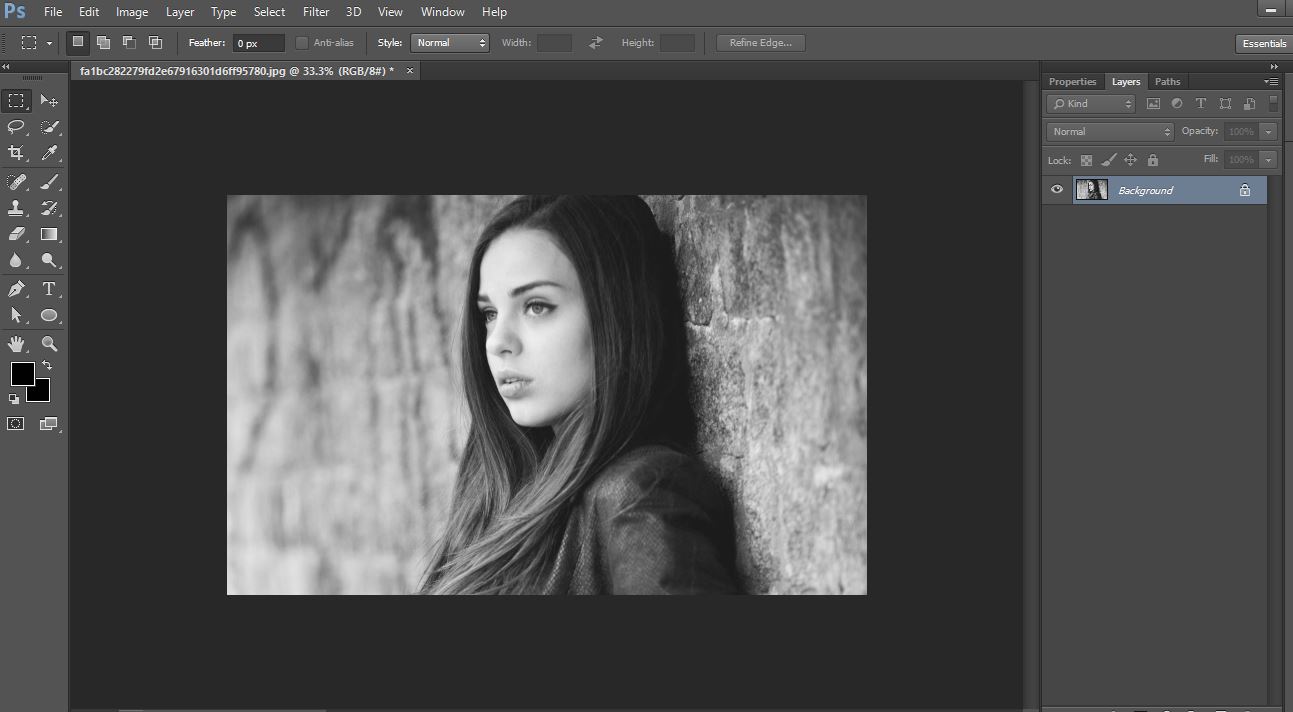
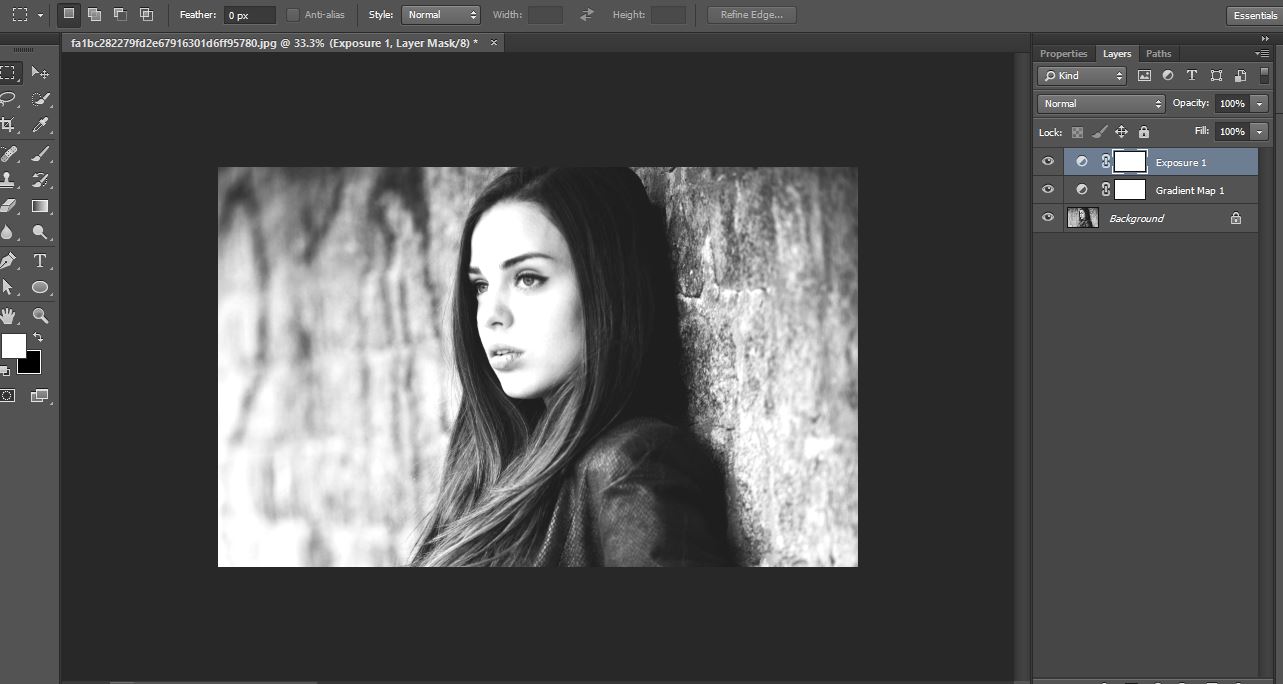
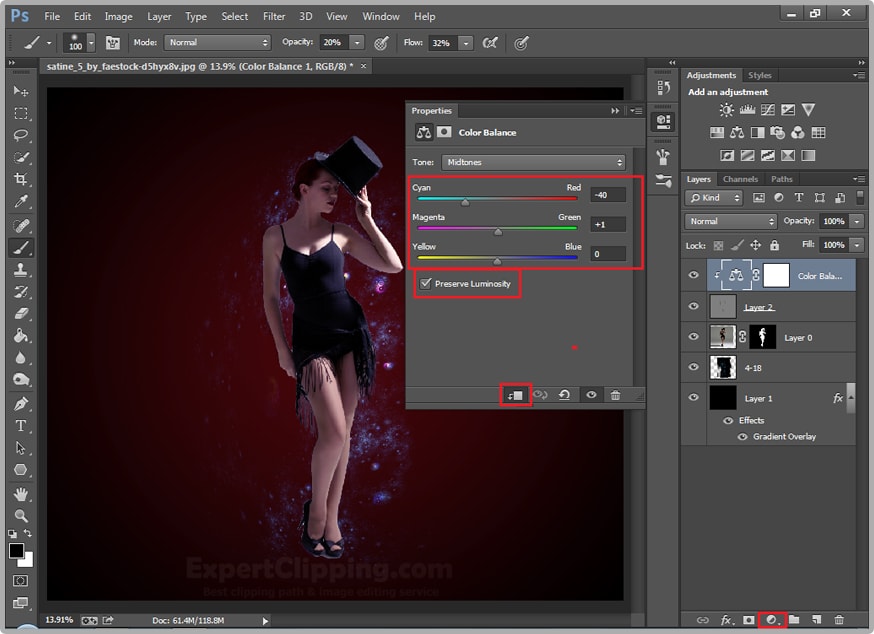
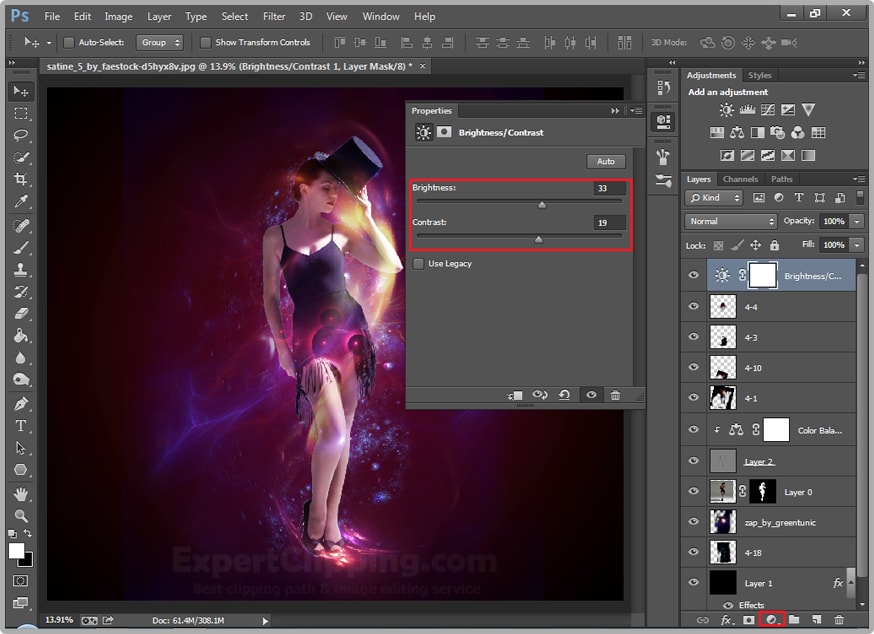
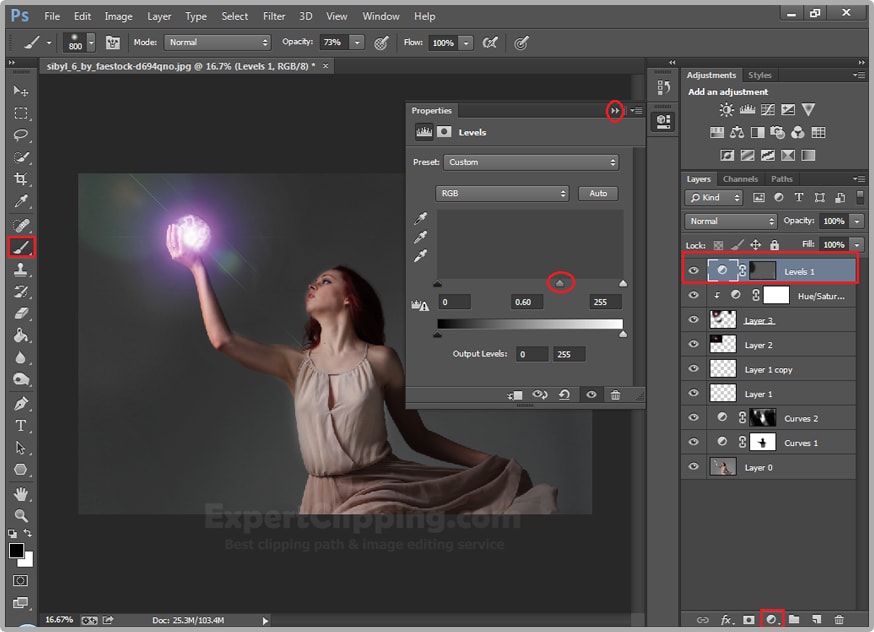
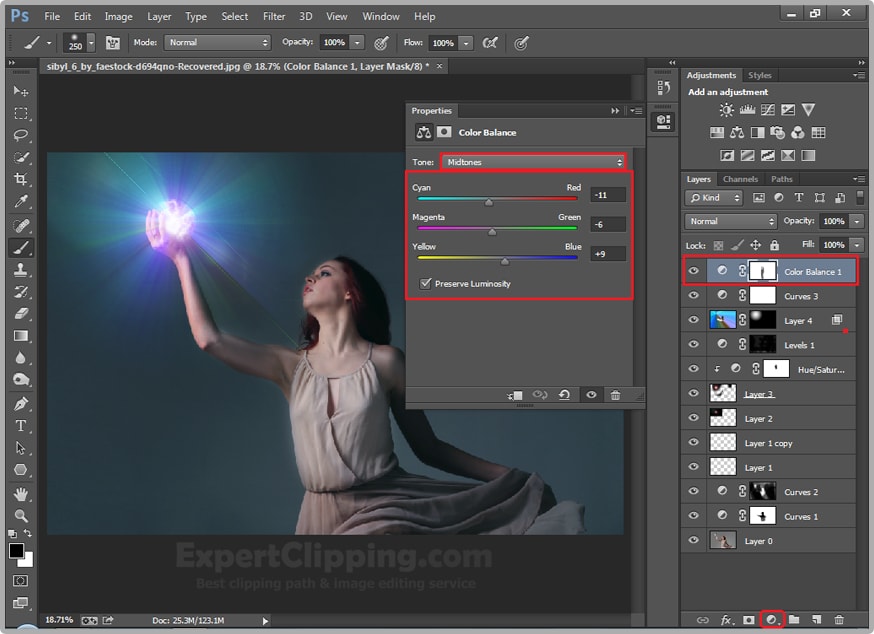
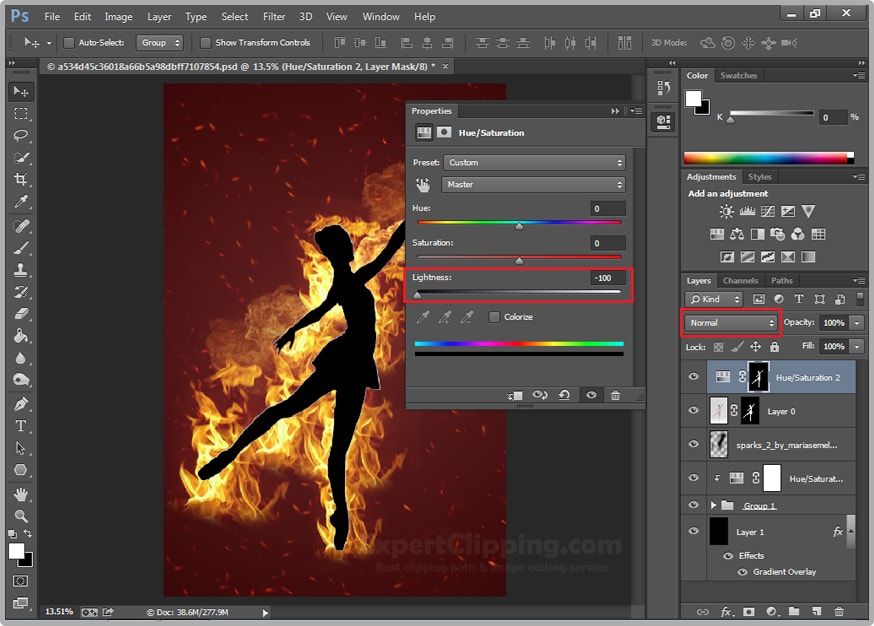
Now go to adjustment> and select shadow/highlights> and do with them
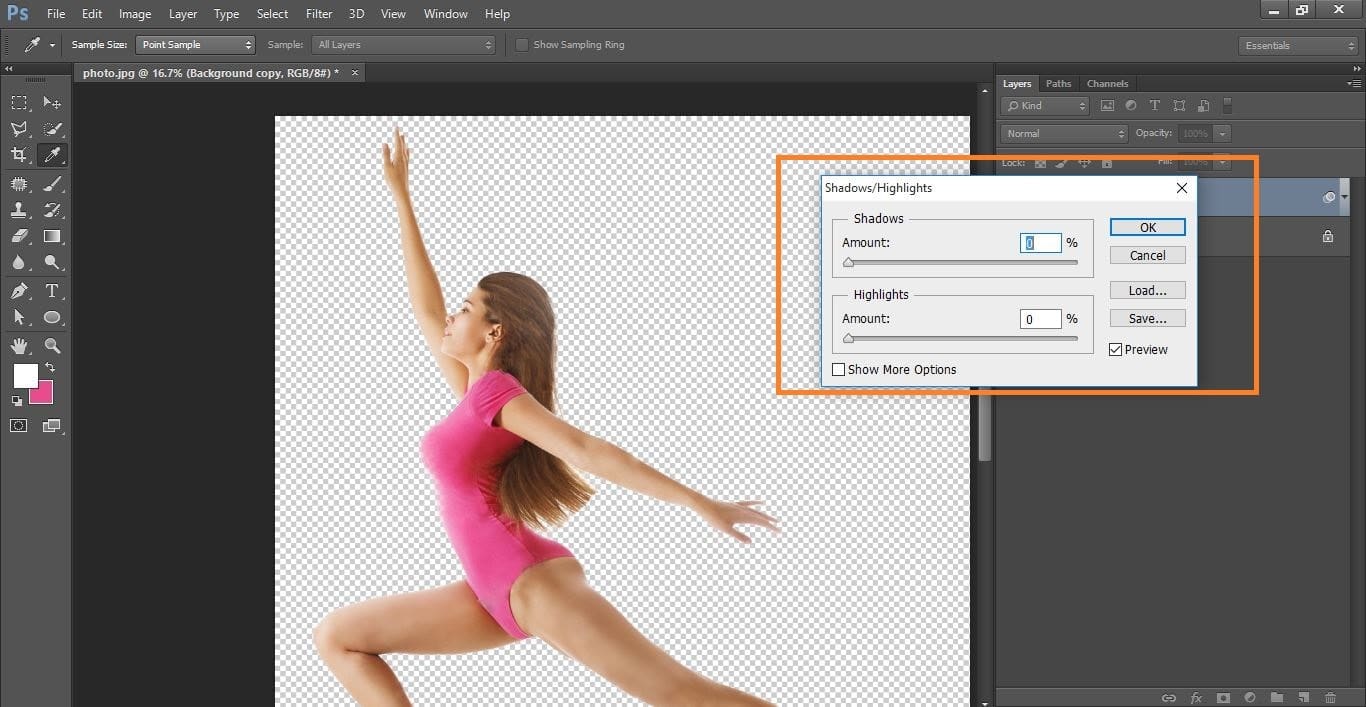
Clipping path service
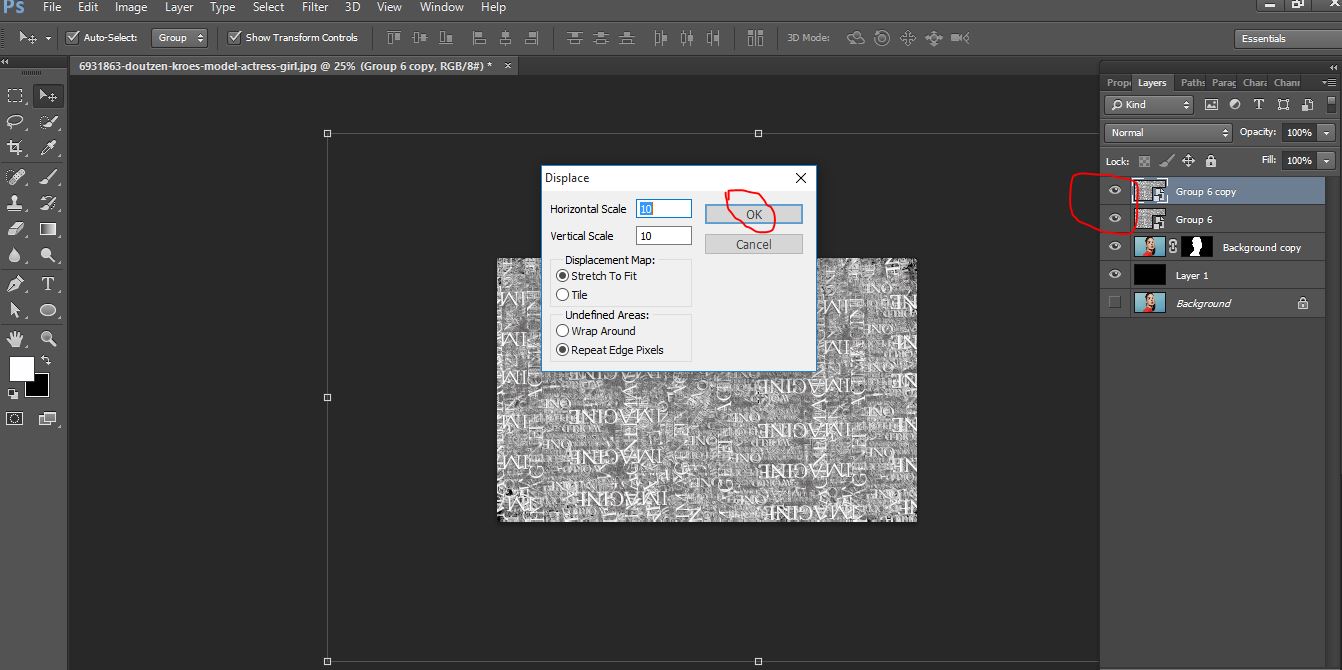
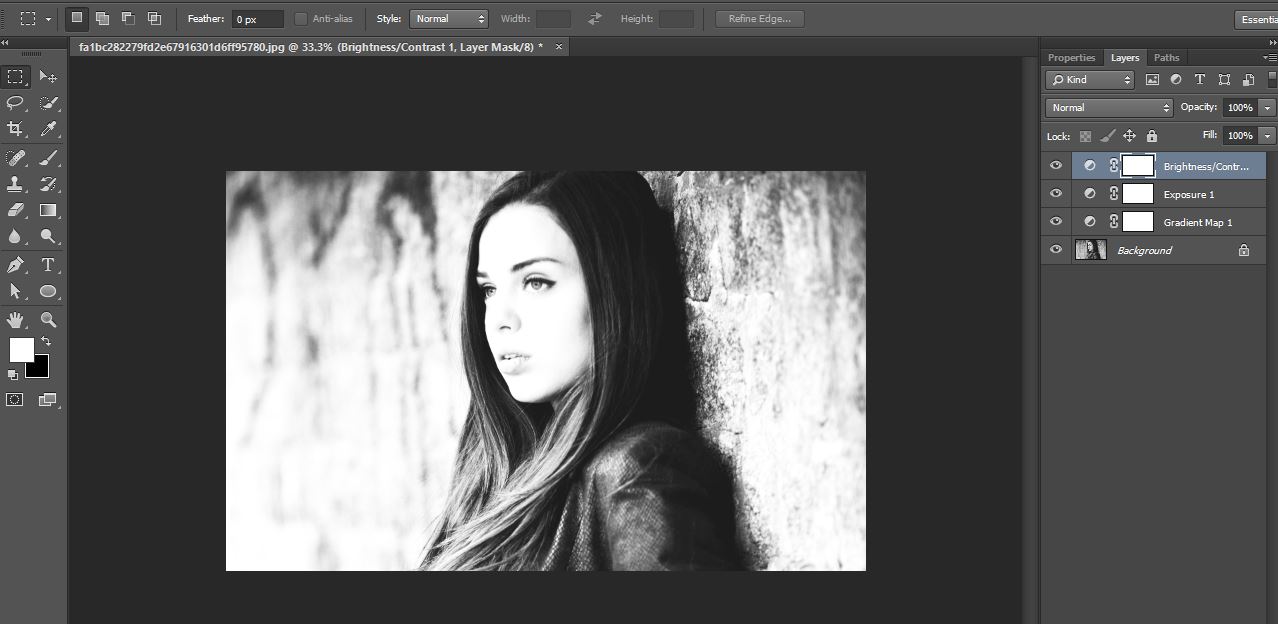
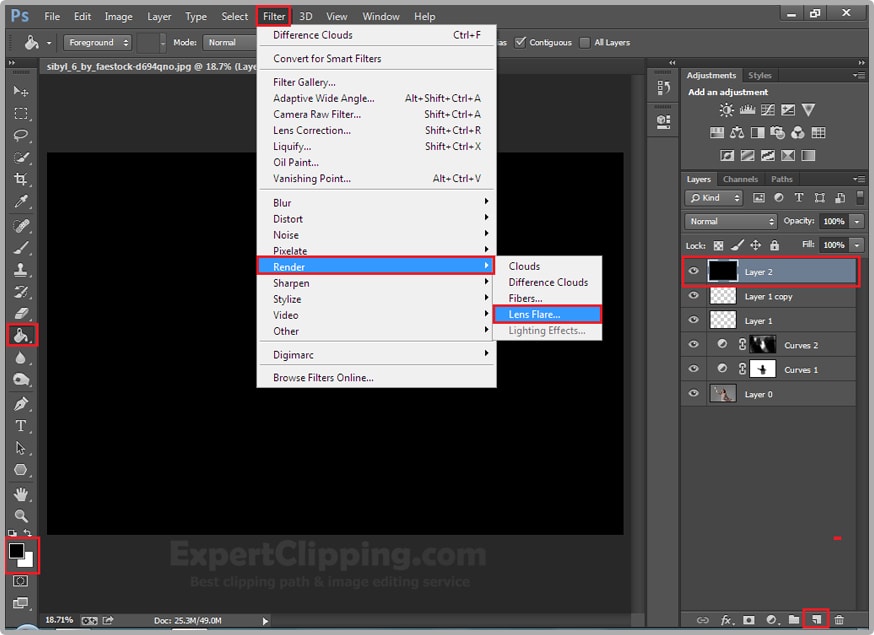
Go to filter> and <filter gallery> and open the sketch> and click photocopy>
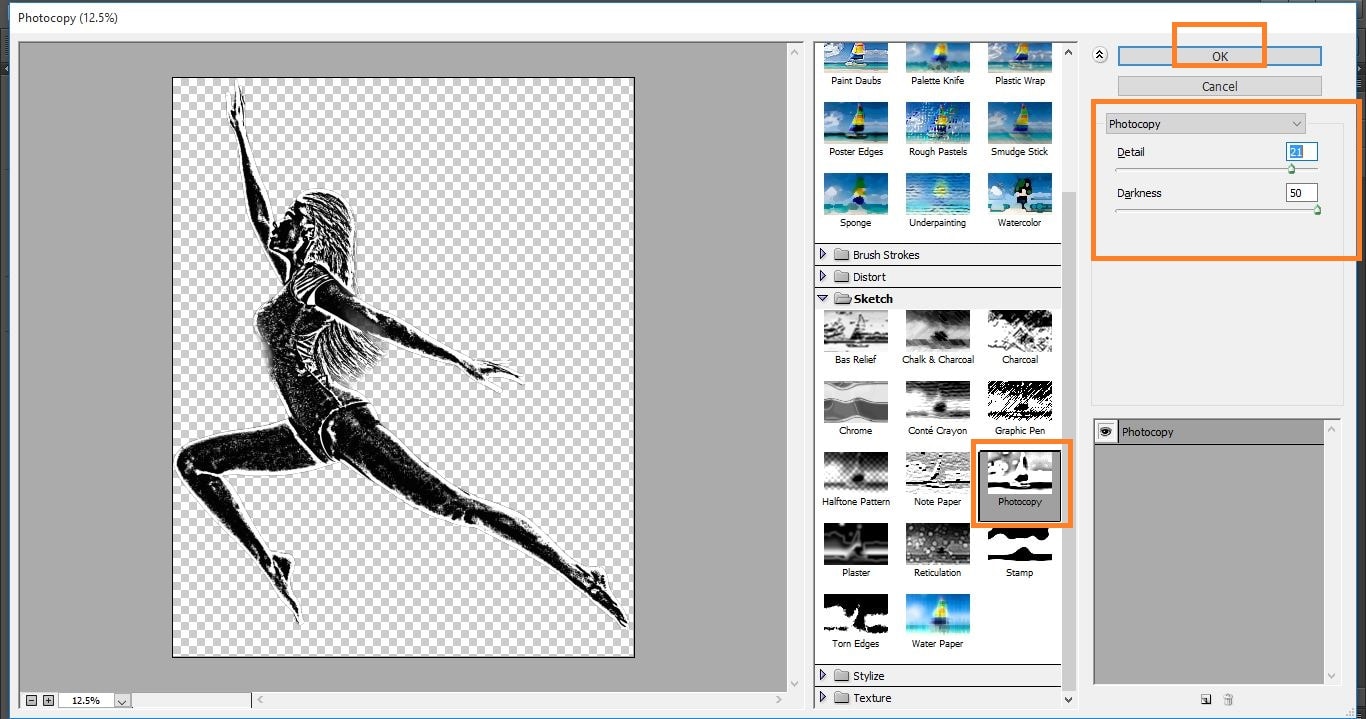
Clipping path service
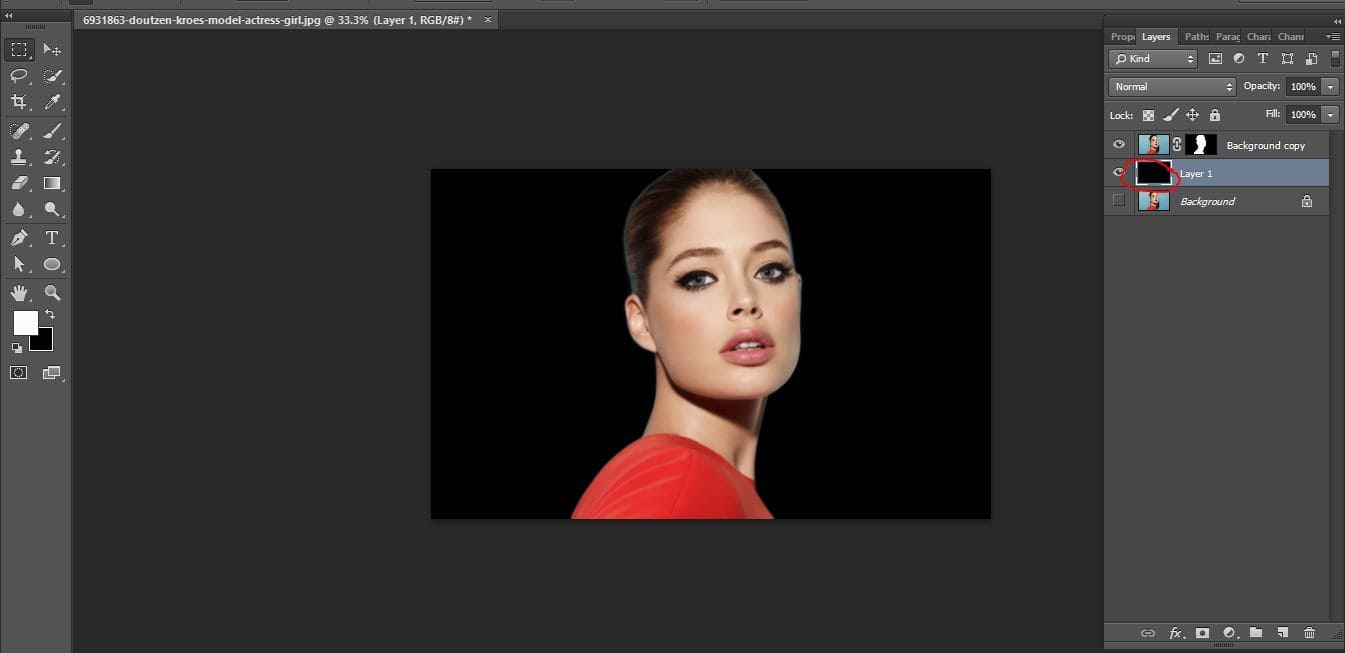
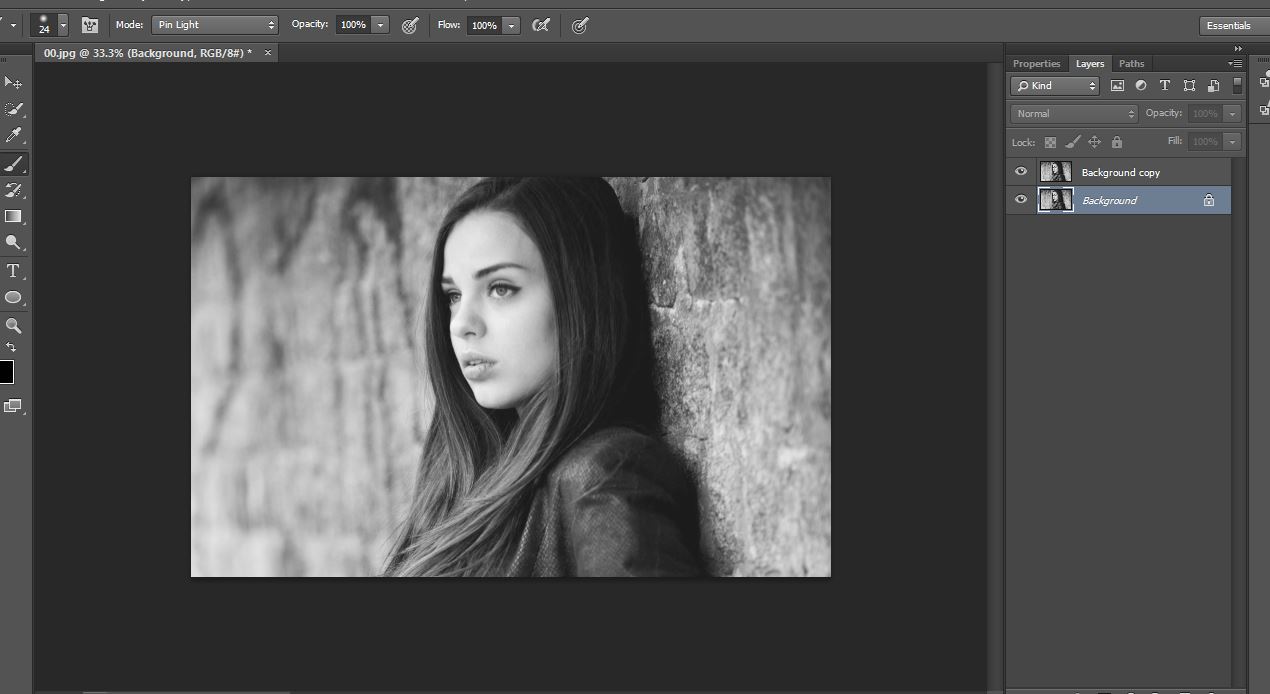
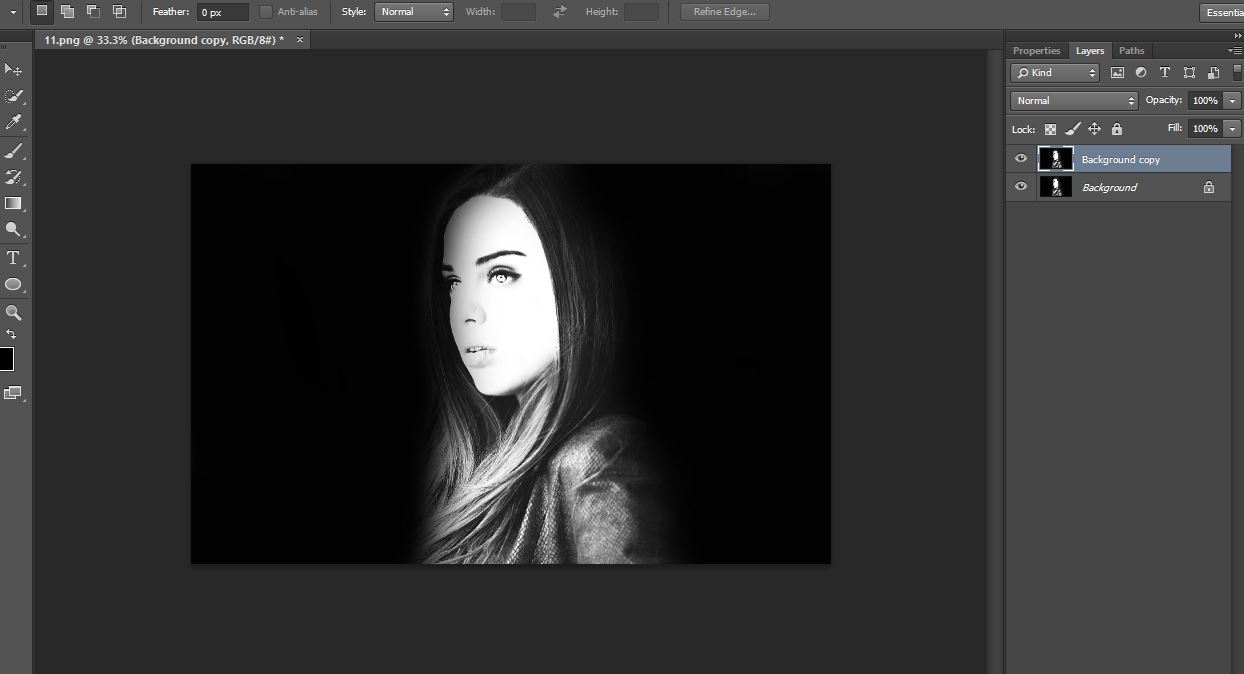
Create new layer pressing with ctrl and file the black color and convert to smart object
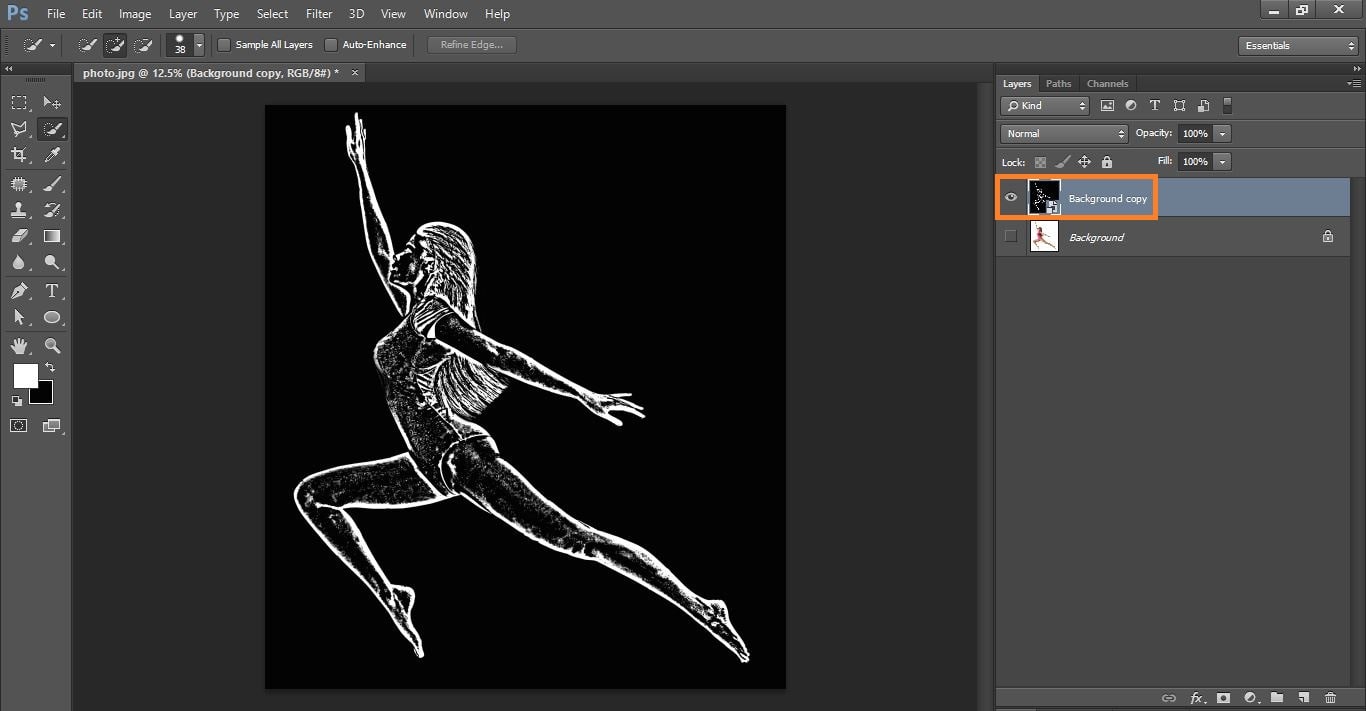
Clipping path service
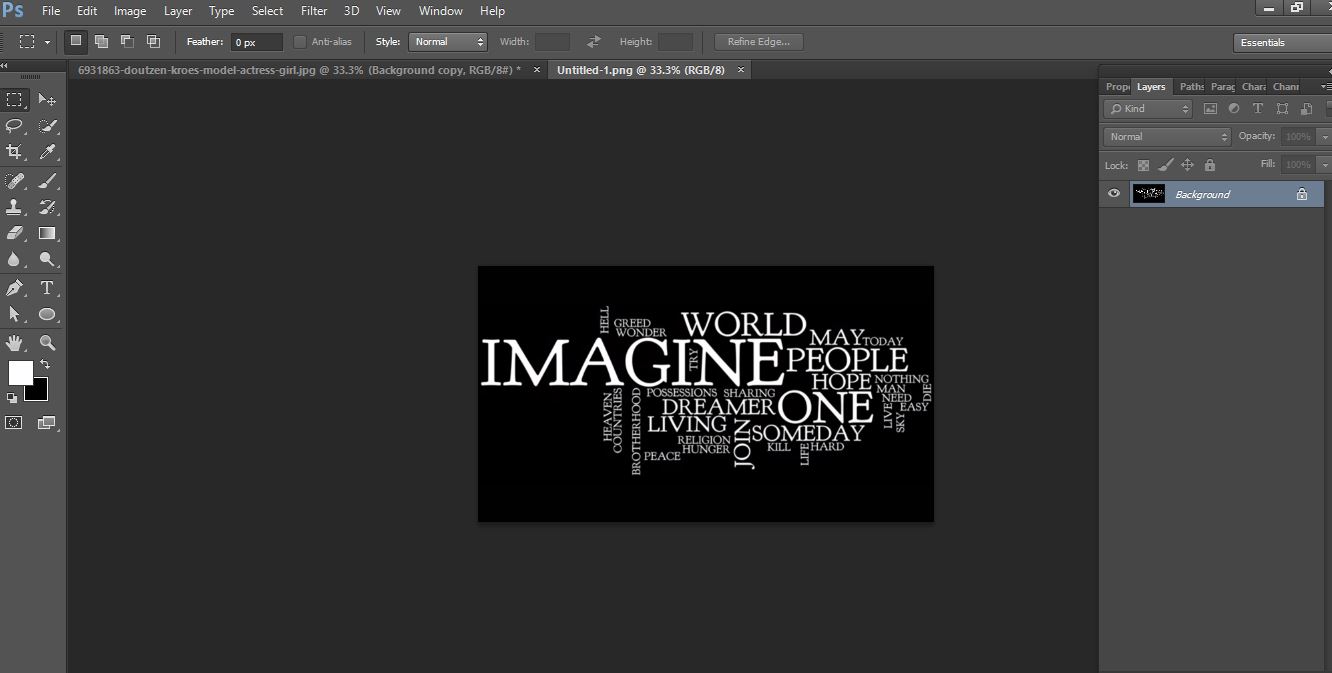
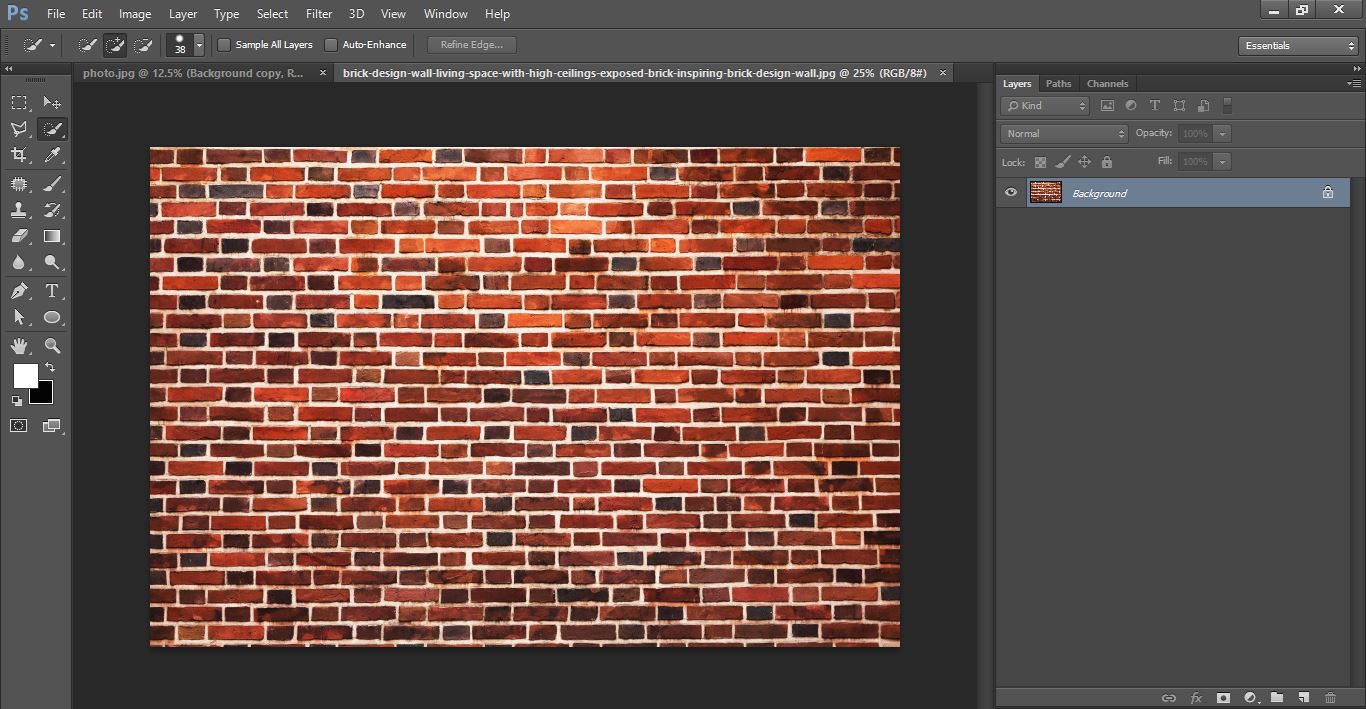
Now open brick wall photo in Photoshop
Clipping path service
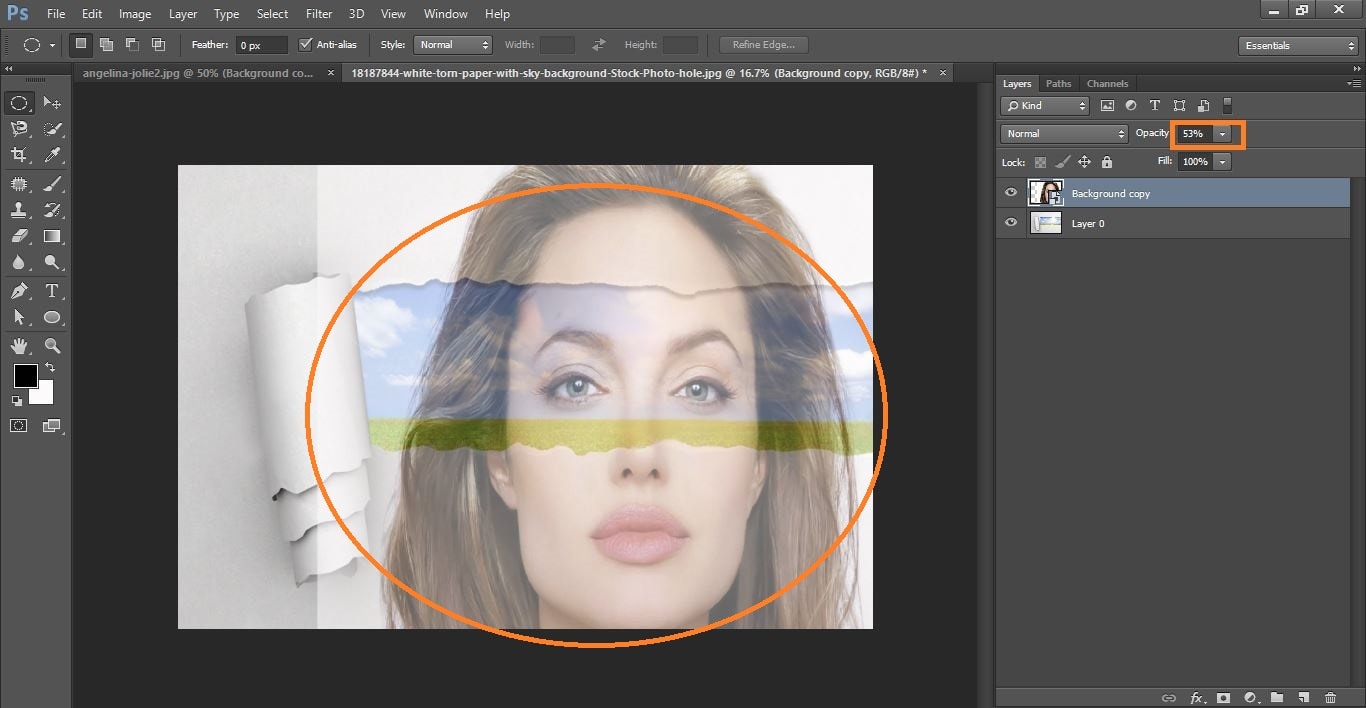
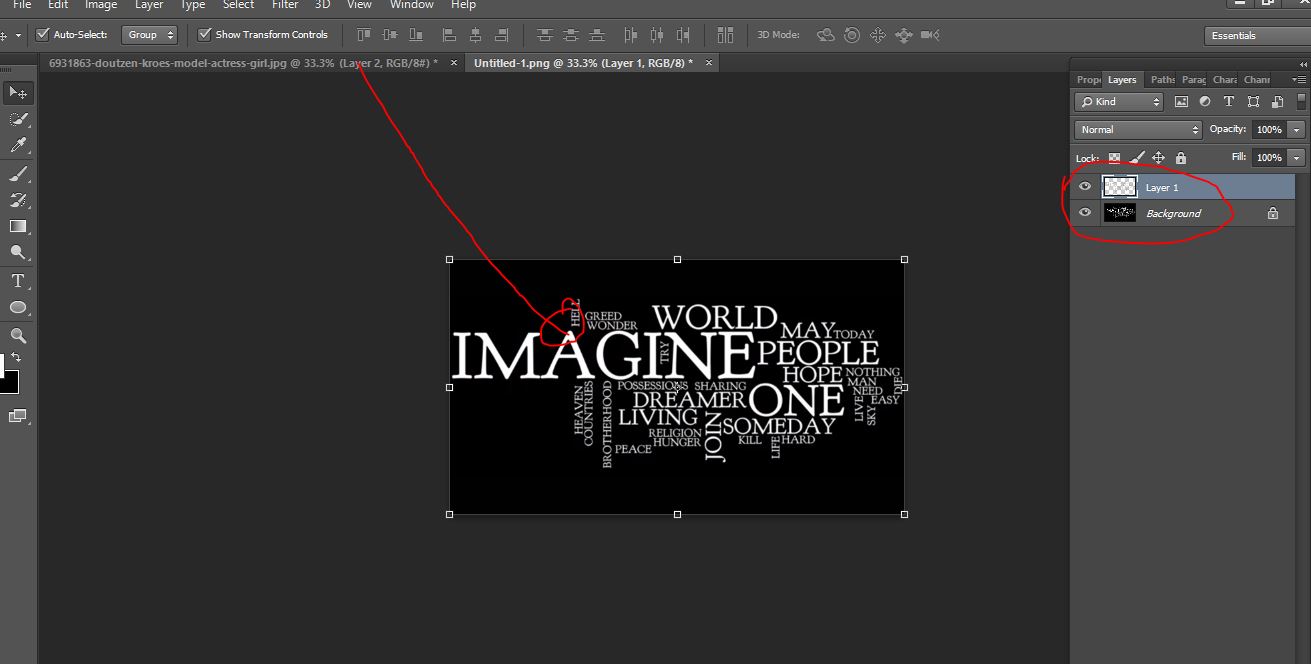
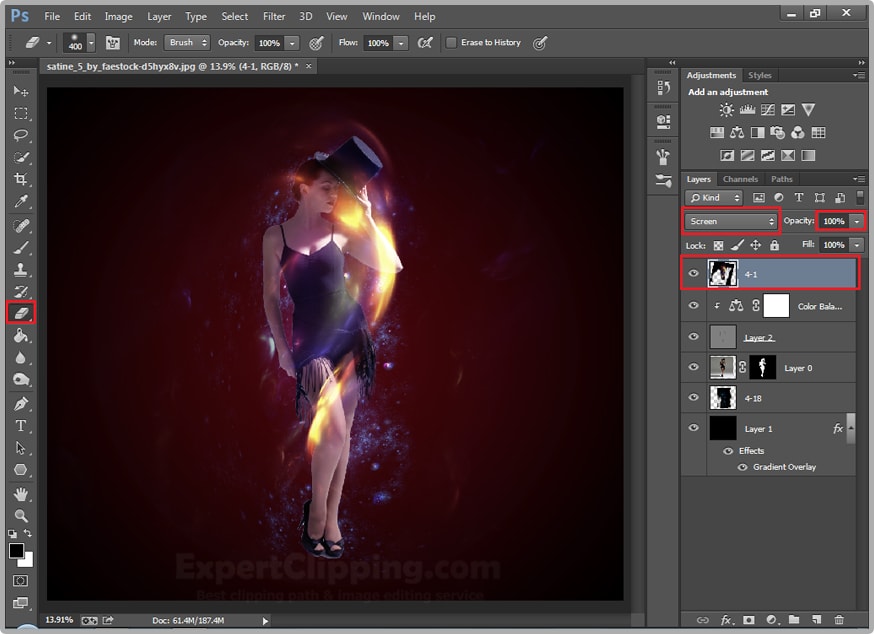
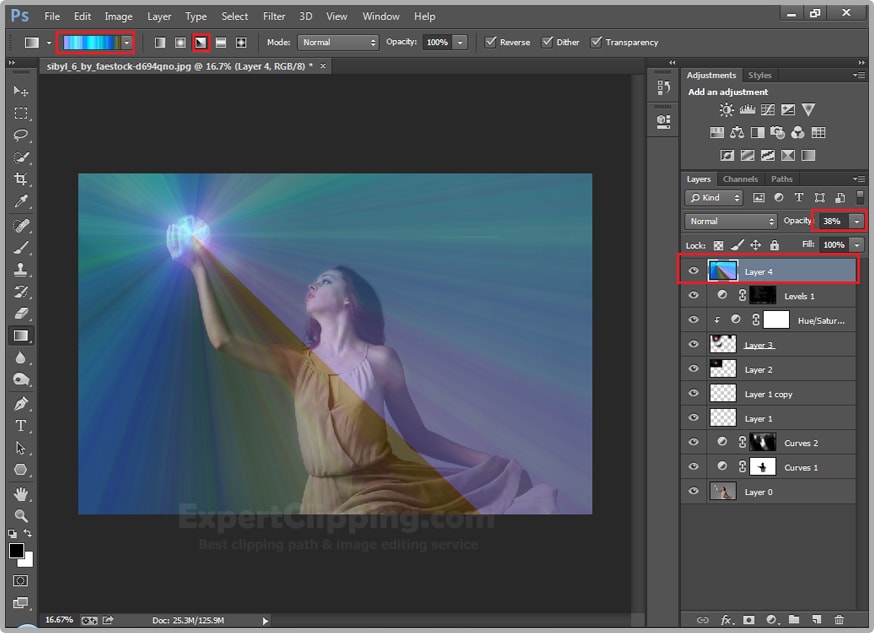
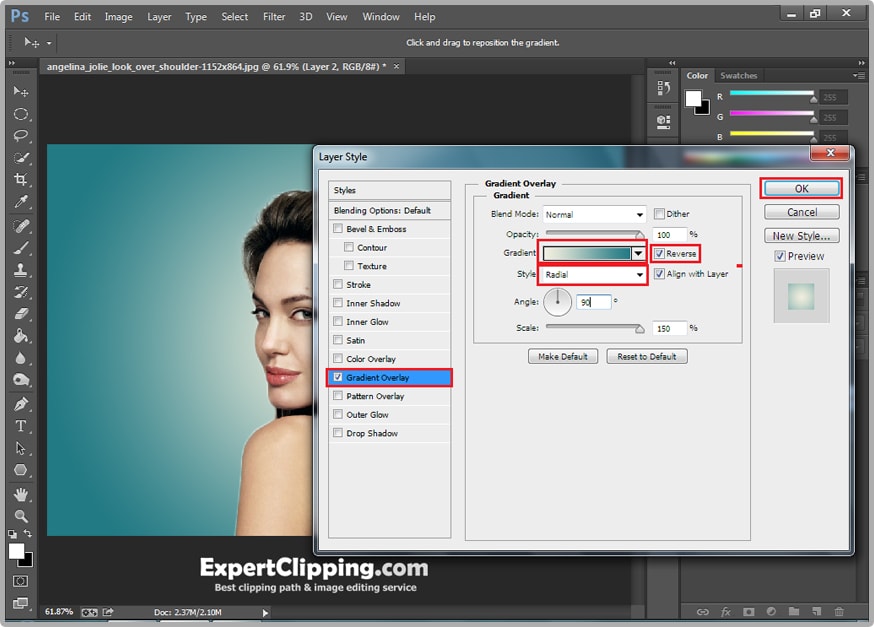
Now active your move tool and dreg the photo go to the brick photo and keep it and change the blending mode to screen
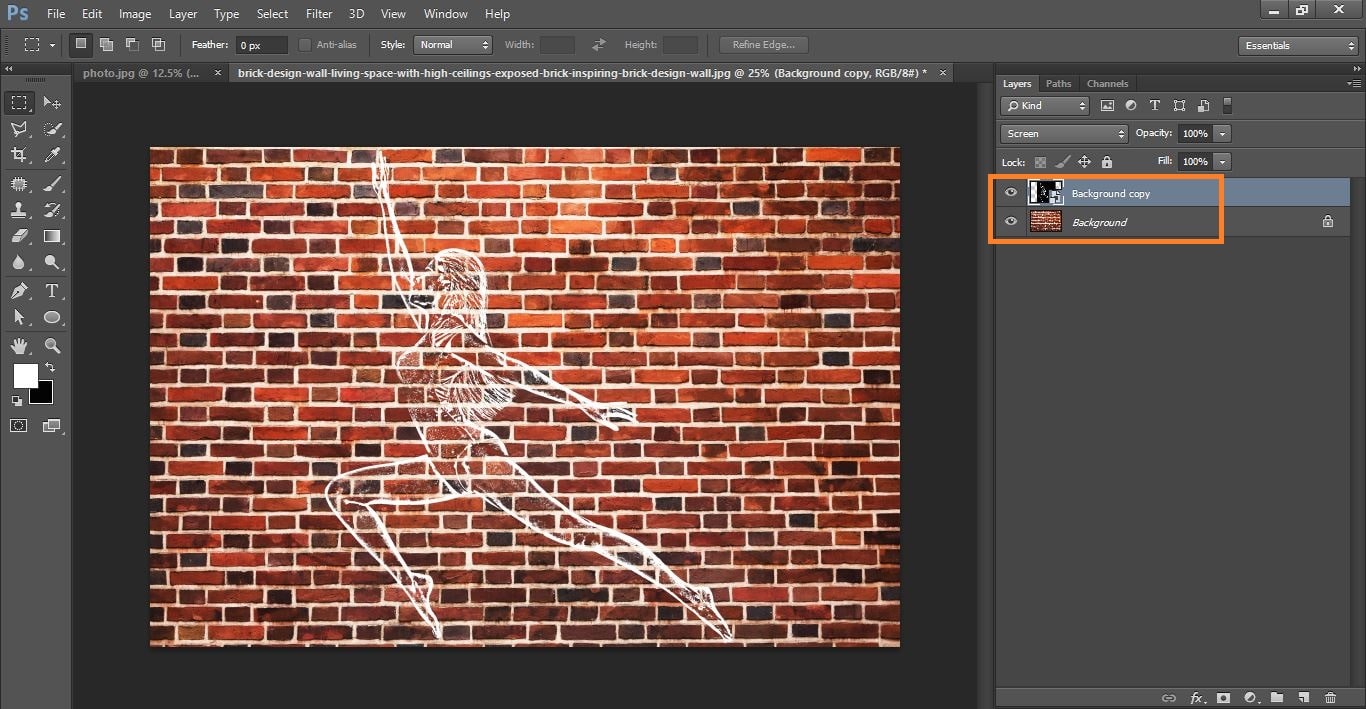
Clipping path service
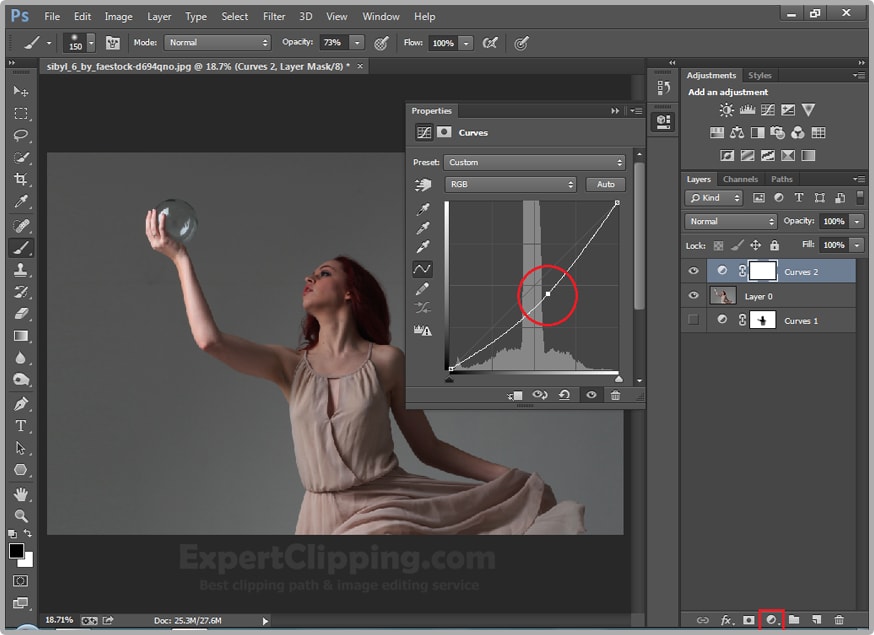
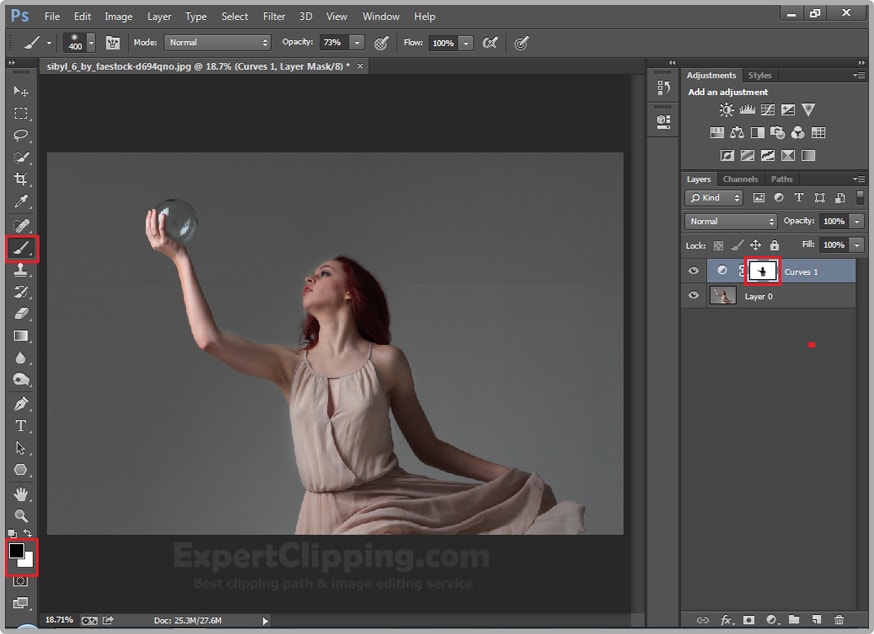
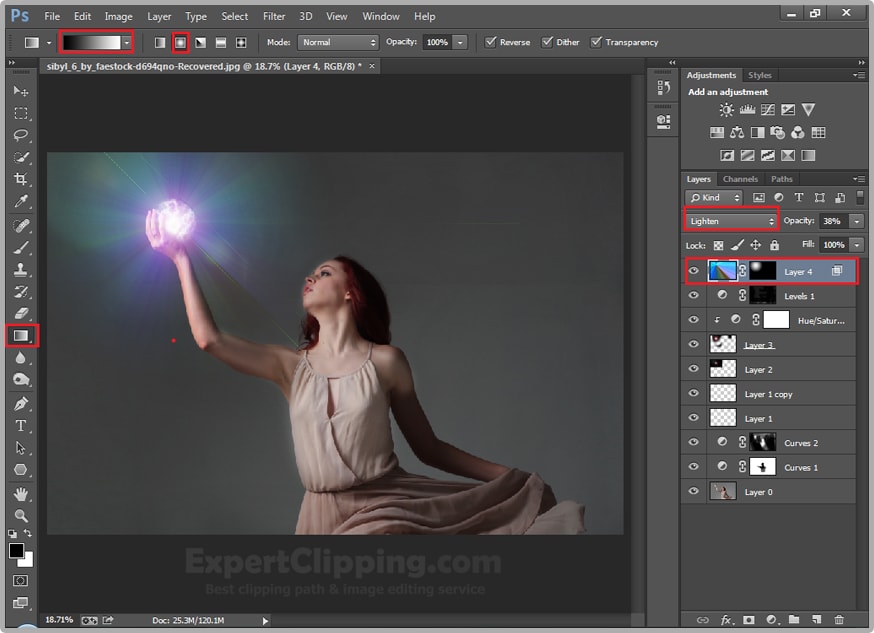
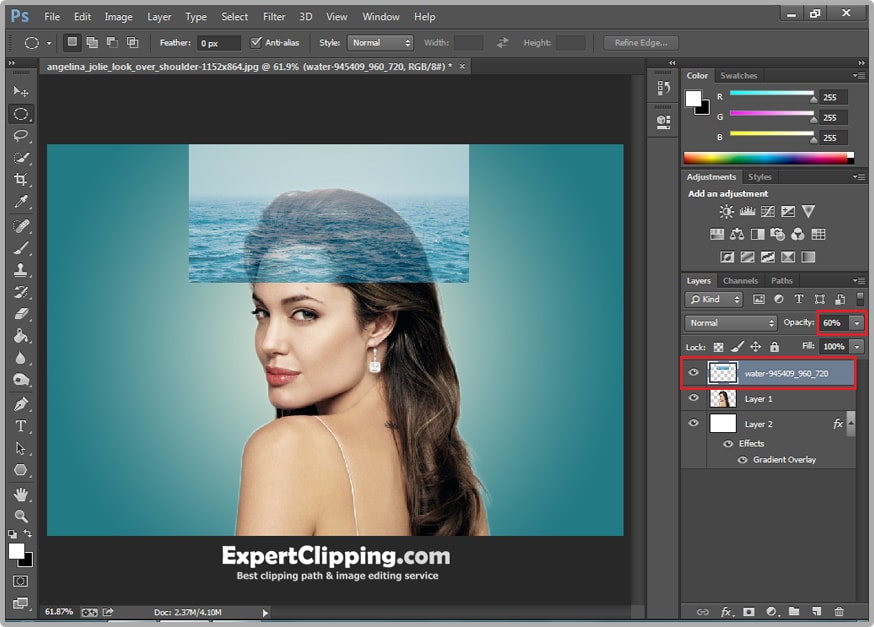
Click the layer mask icon to make a layer mask to the active layer.open your pencil tool make with it.
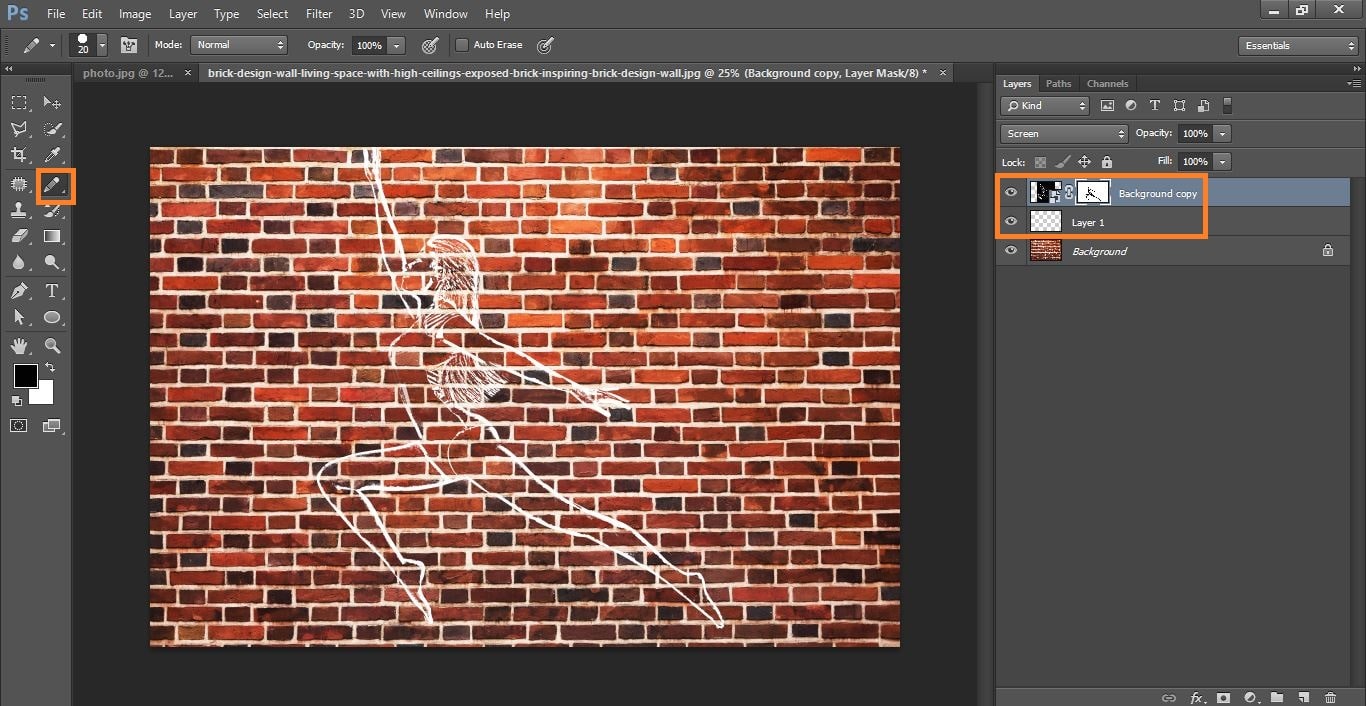
Clipping path service
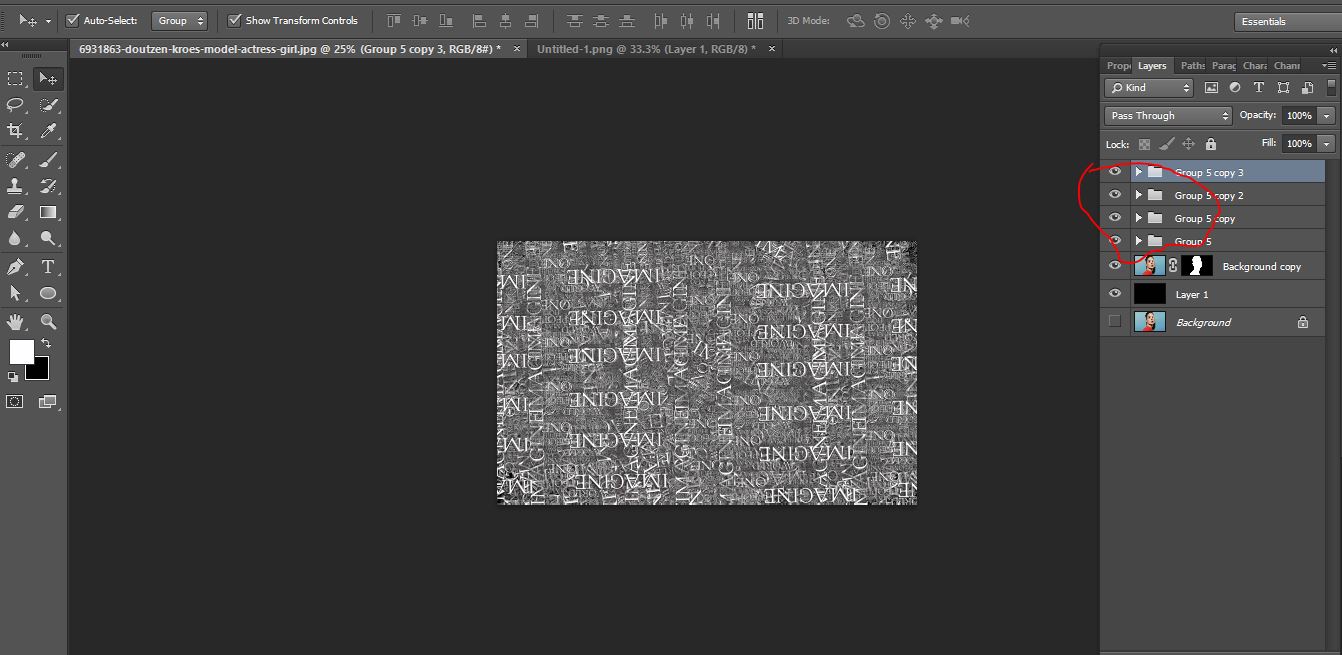
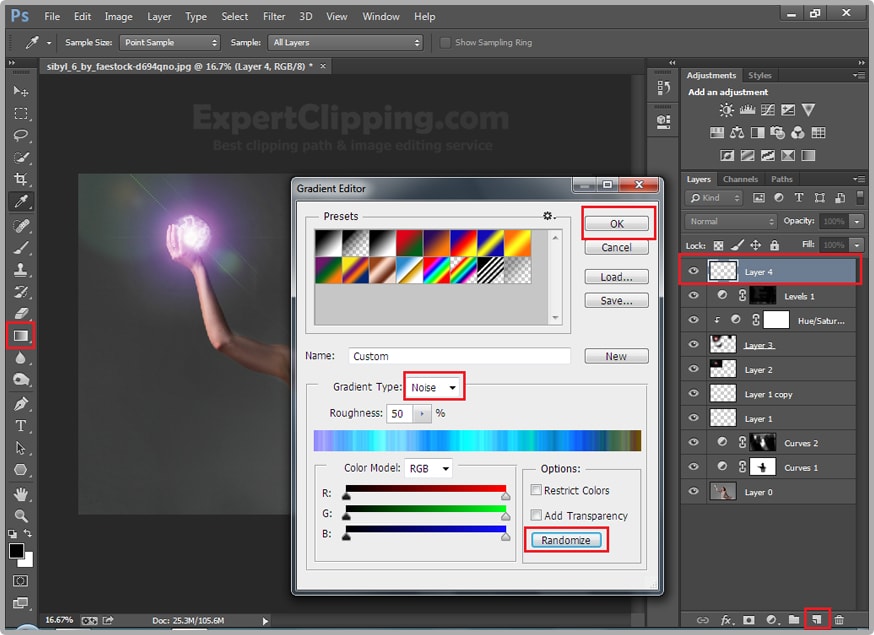
Go to filter>noise> and add noise> and take Gaussian
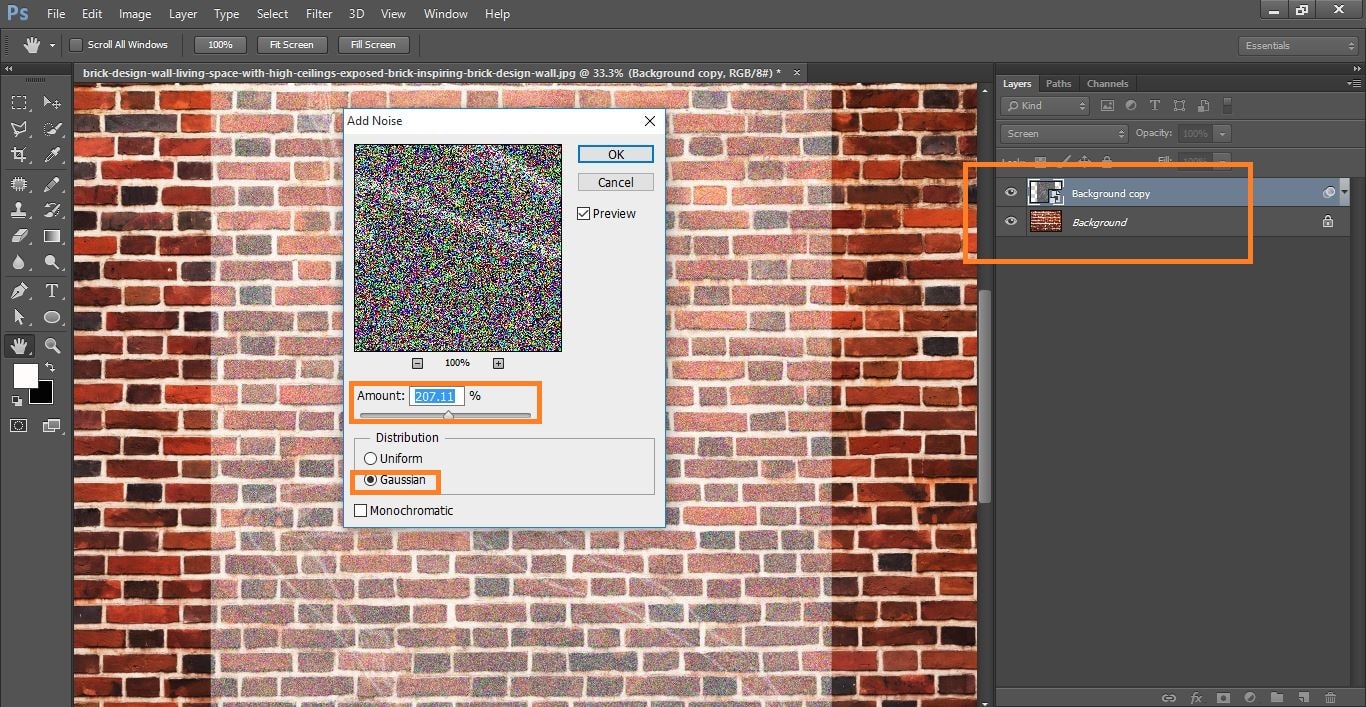
Clipping path service
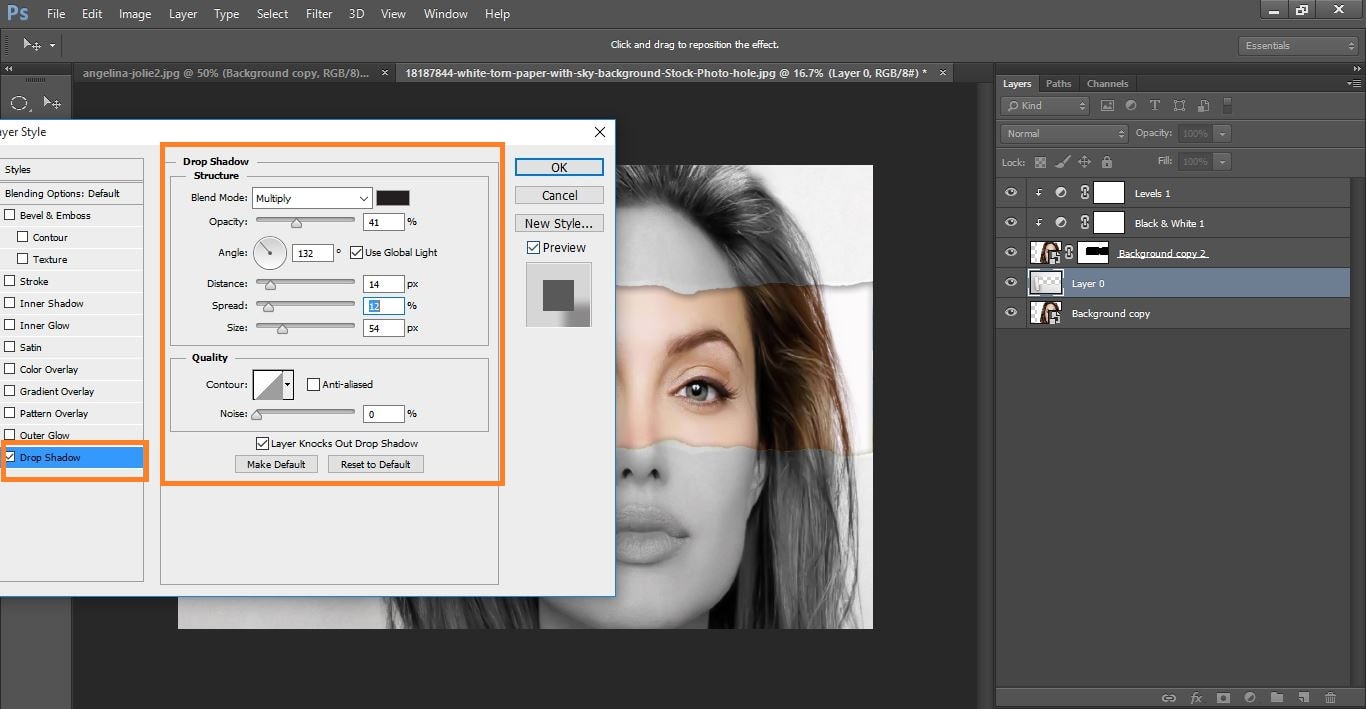
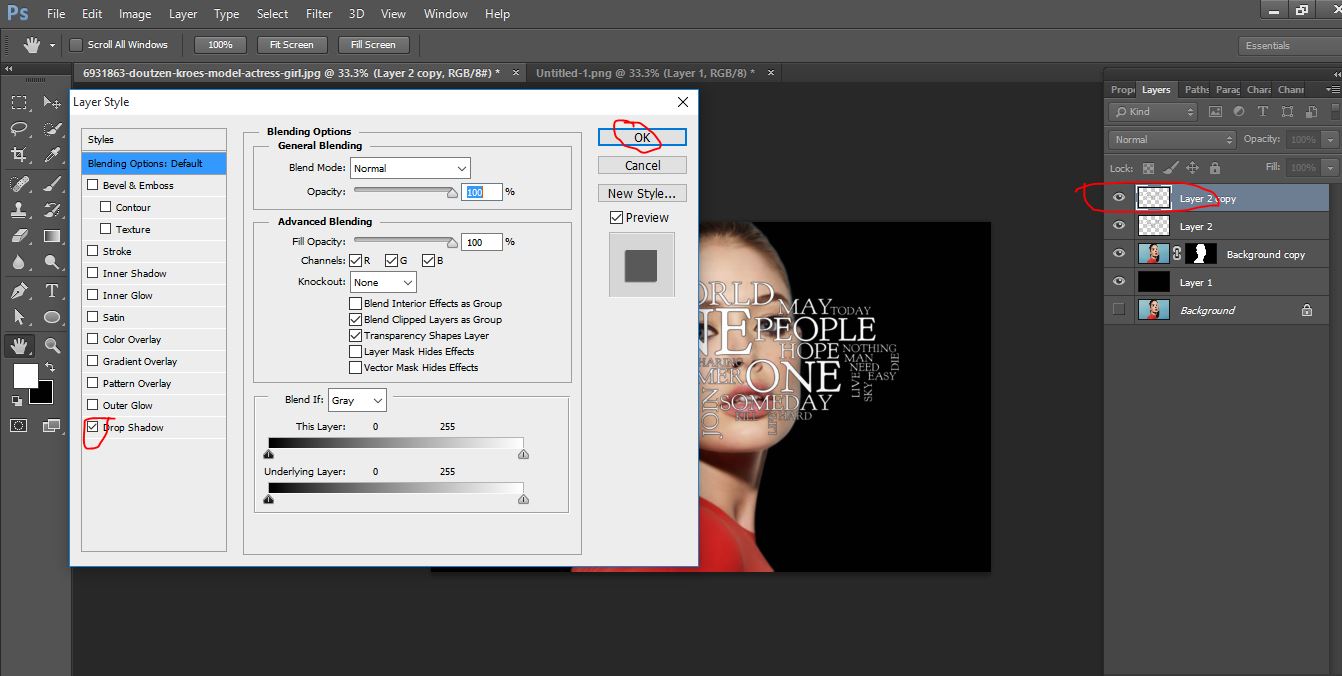
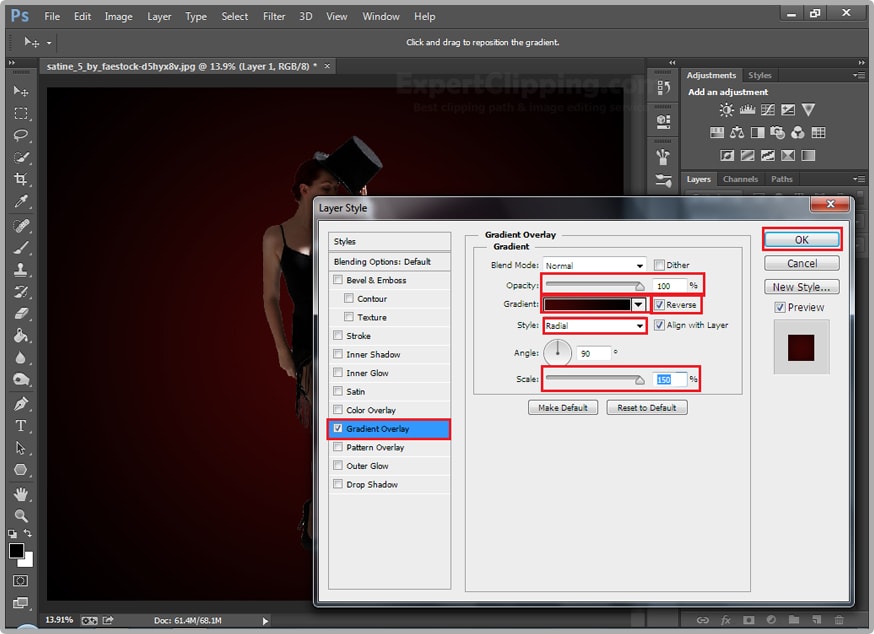
Dubble click your smart object and open itand click the fx icon and click stroke and do with them

Clipping path service
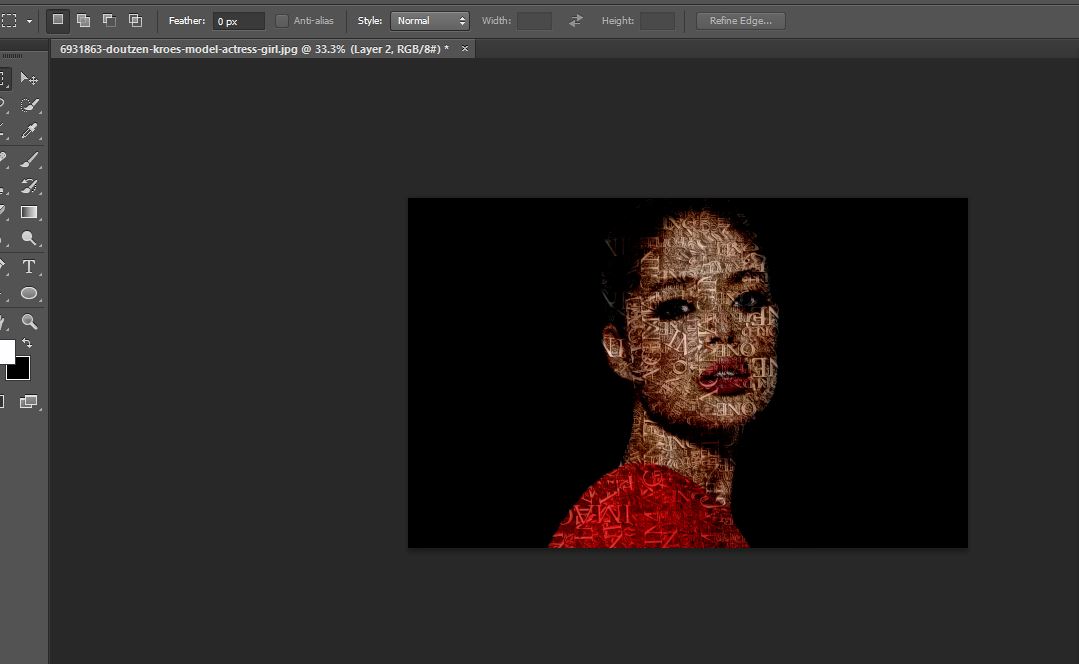
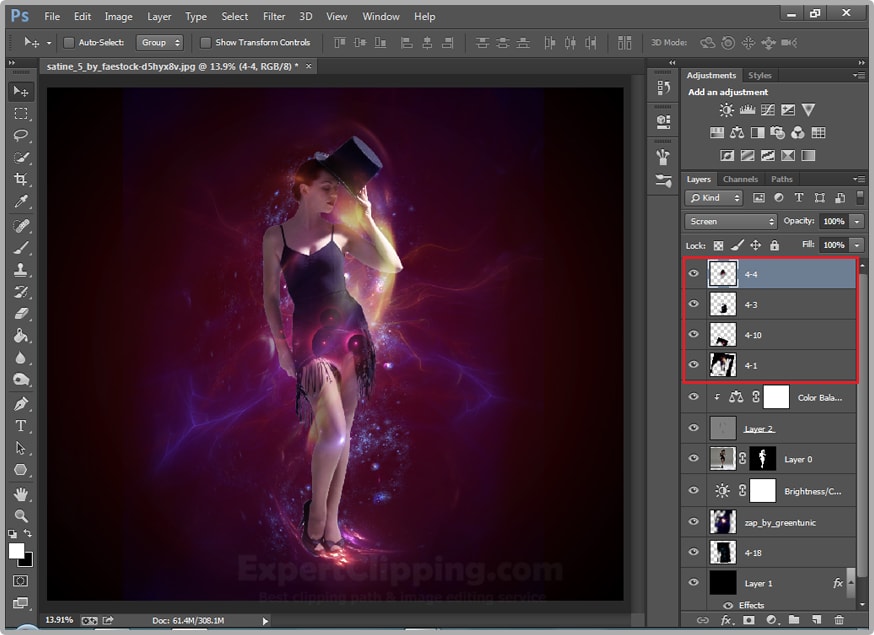
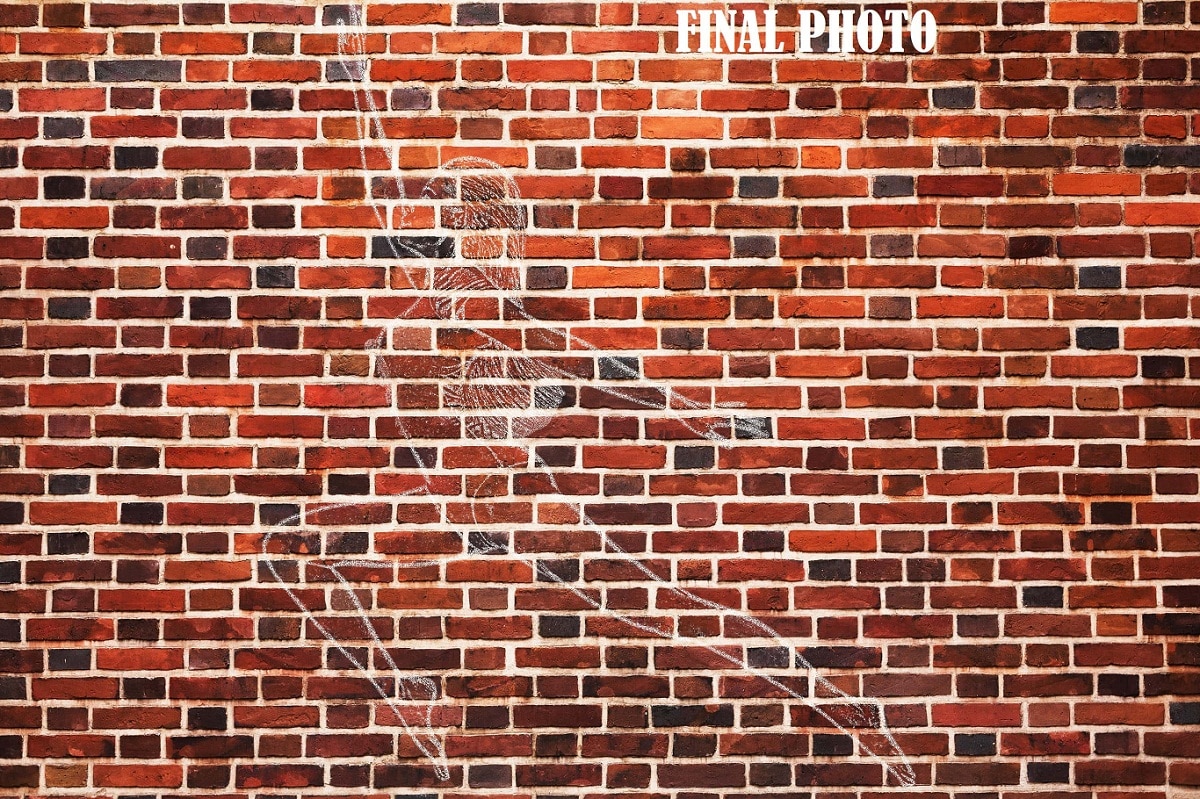
Complete the photo
Clipping path service
I hope that it will help you and from now on, hopefully you will follow this procedure more often in Photoshop and be an expert in this field in the future.
How to Transform Someone into a Huge Chalk Drawing on a Brick Wall Video Tutorial
Please Like Us, Comment And Share This
If You Have Any Question About This Please Comment.
Join our Facebook, Youtube, Google+, Twitter page to learn more video.